Set the accounts for product lines and discount codes
Choose the accounts each product line and discount code posts to, so items in a product line post to that line's accounts.
Before you start
- Your company has turned on GL mapping grids in Settings > Module Features, under General & GL.
- Only someone allowed to change settings can edit it.
Steps
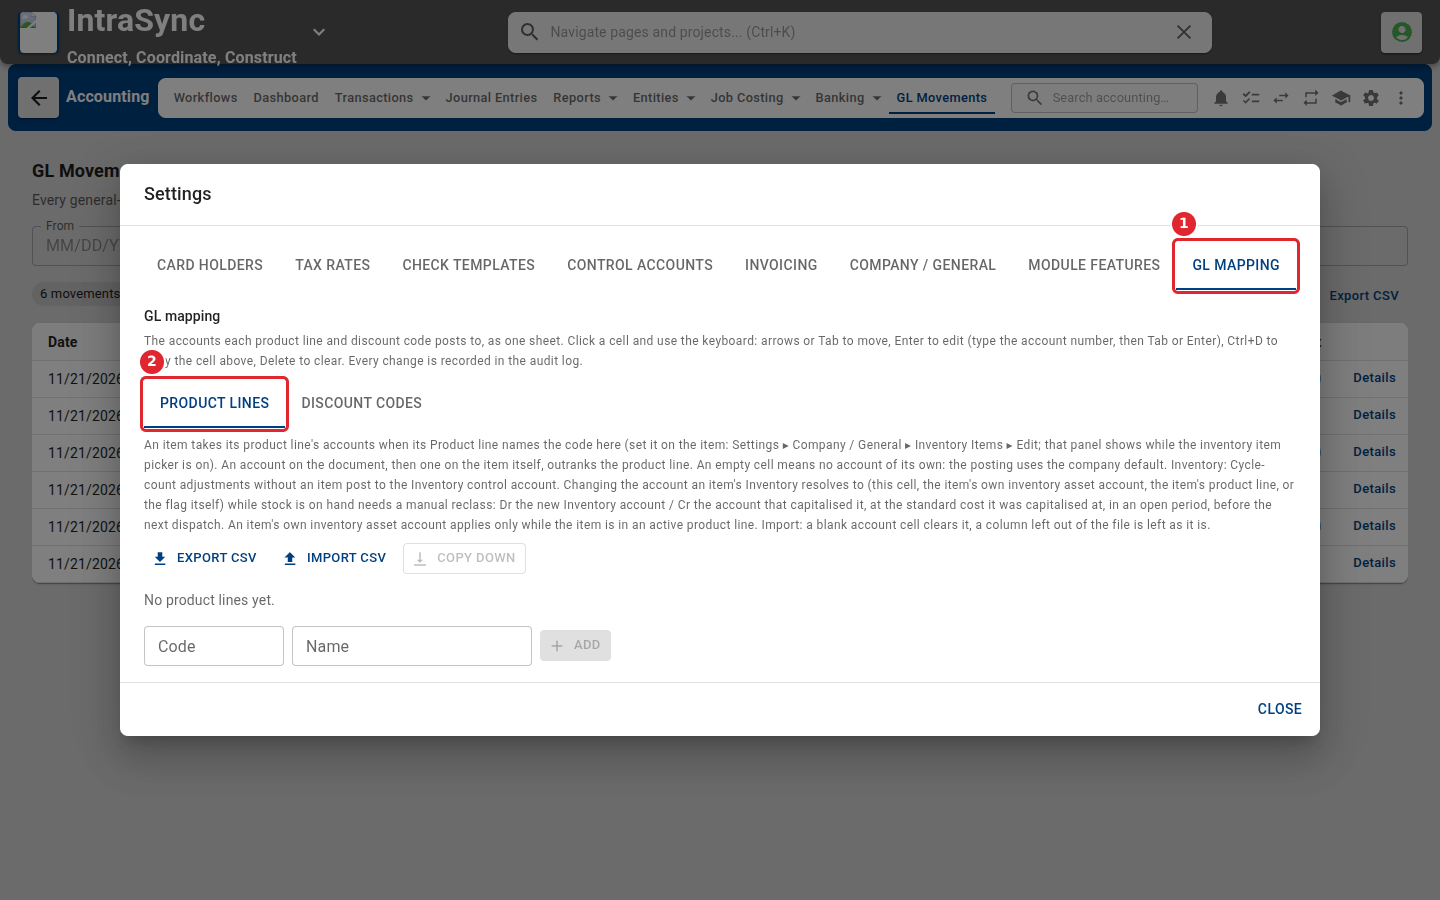
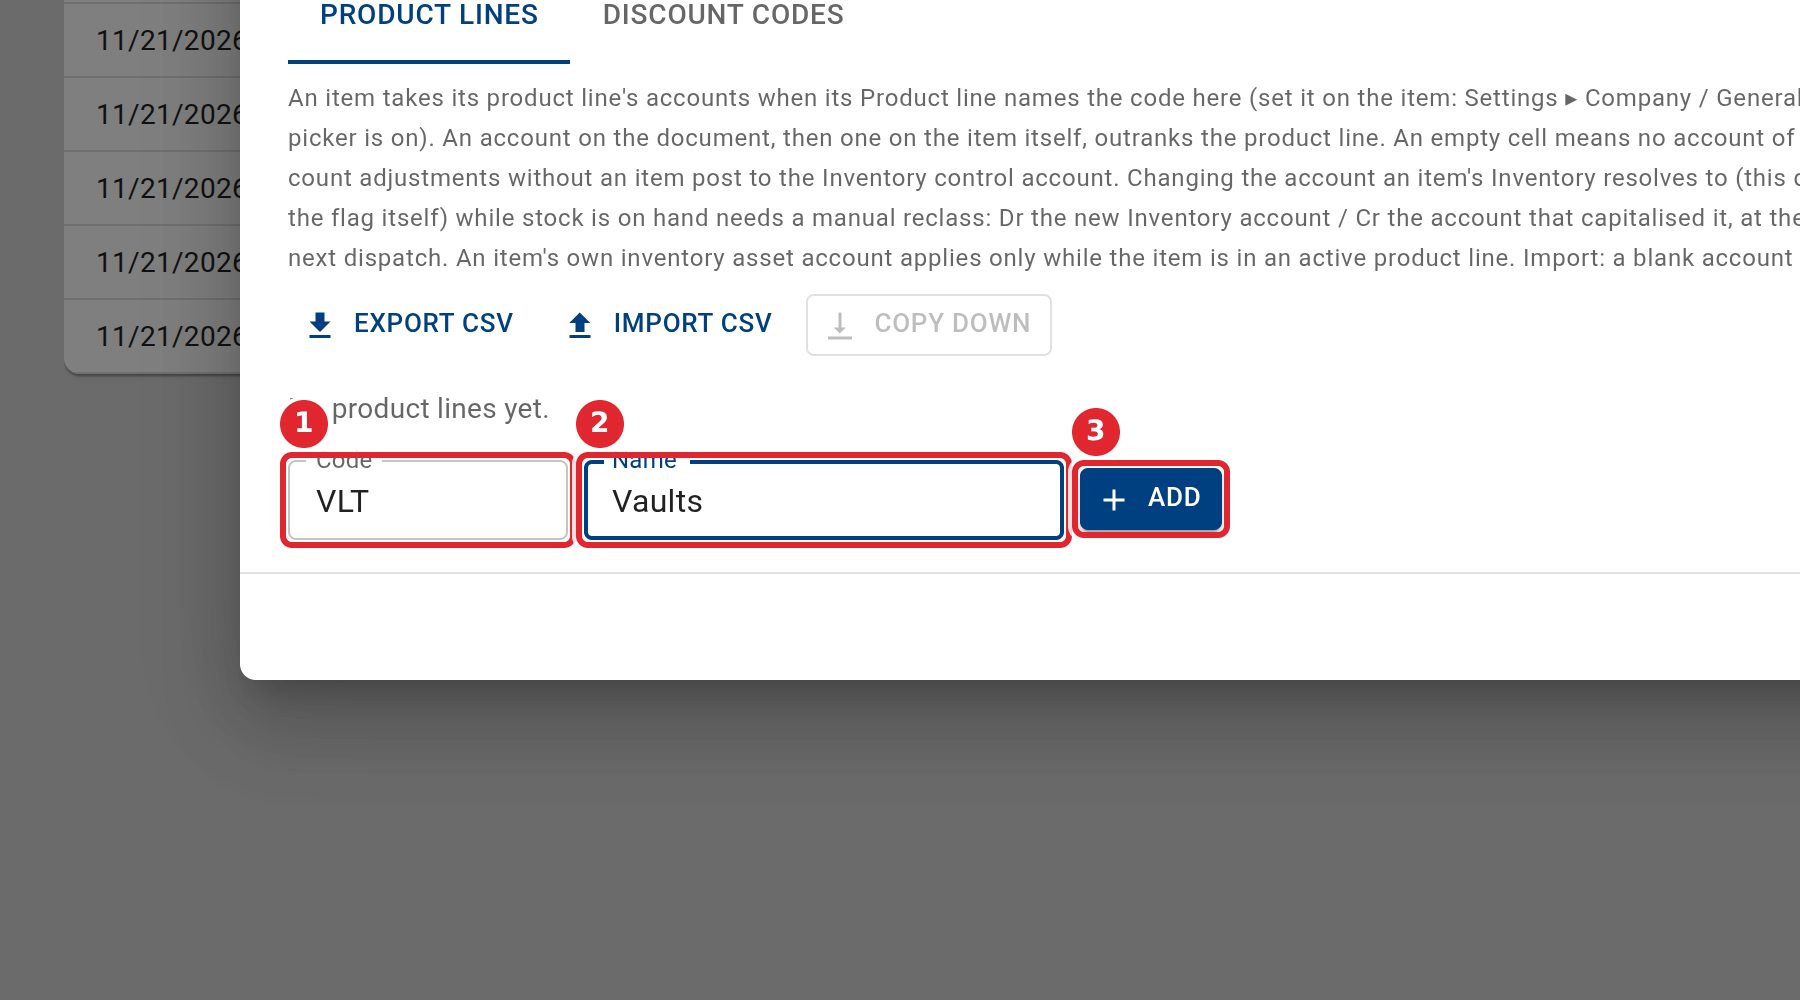
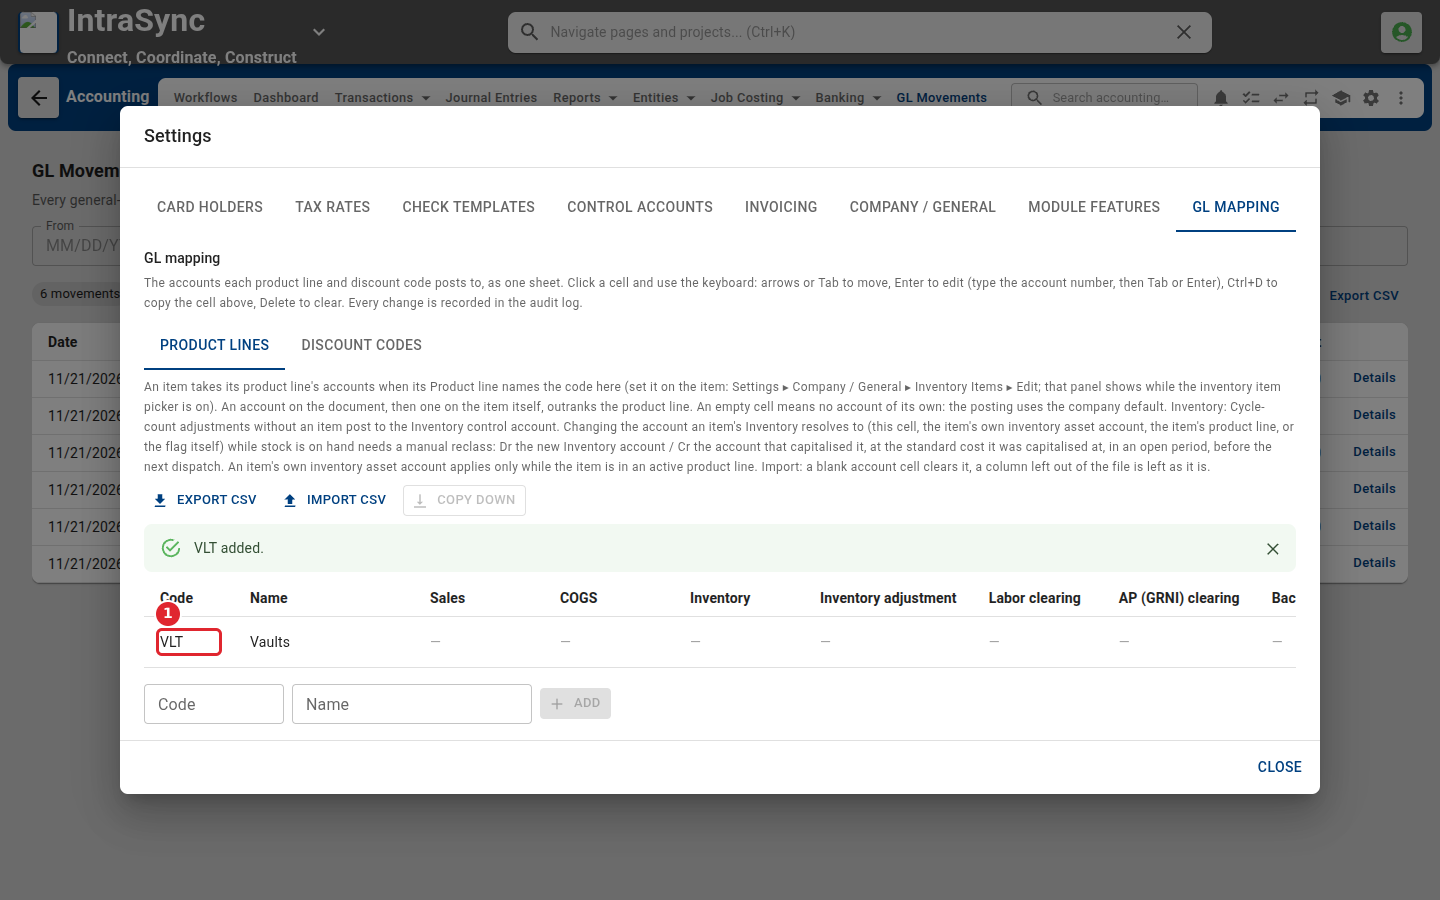
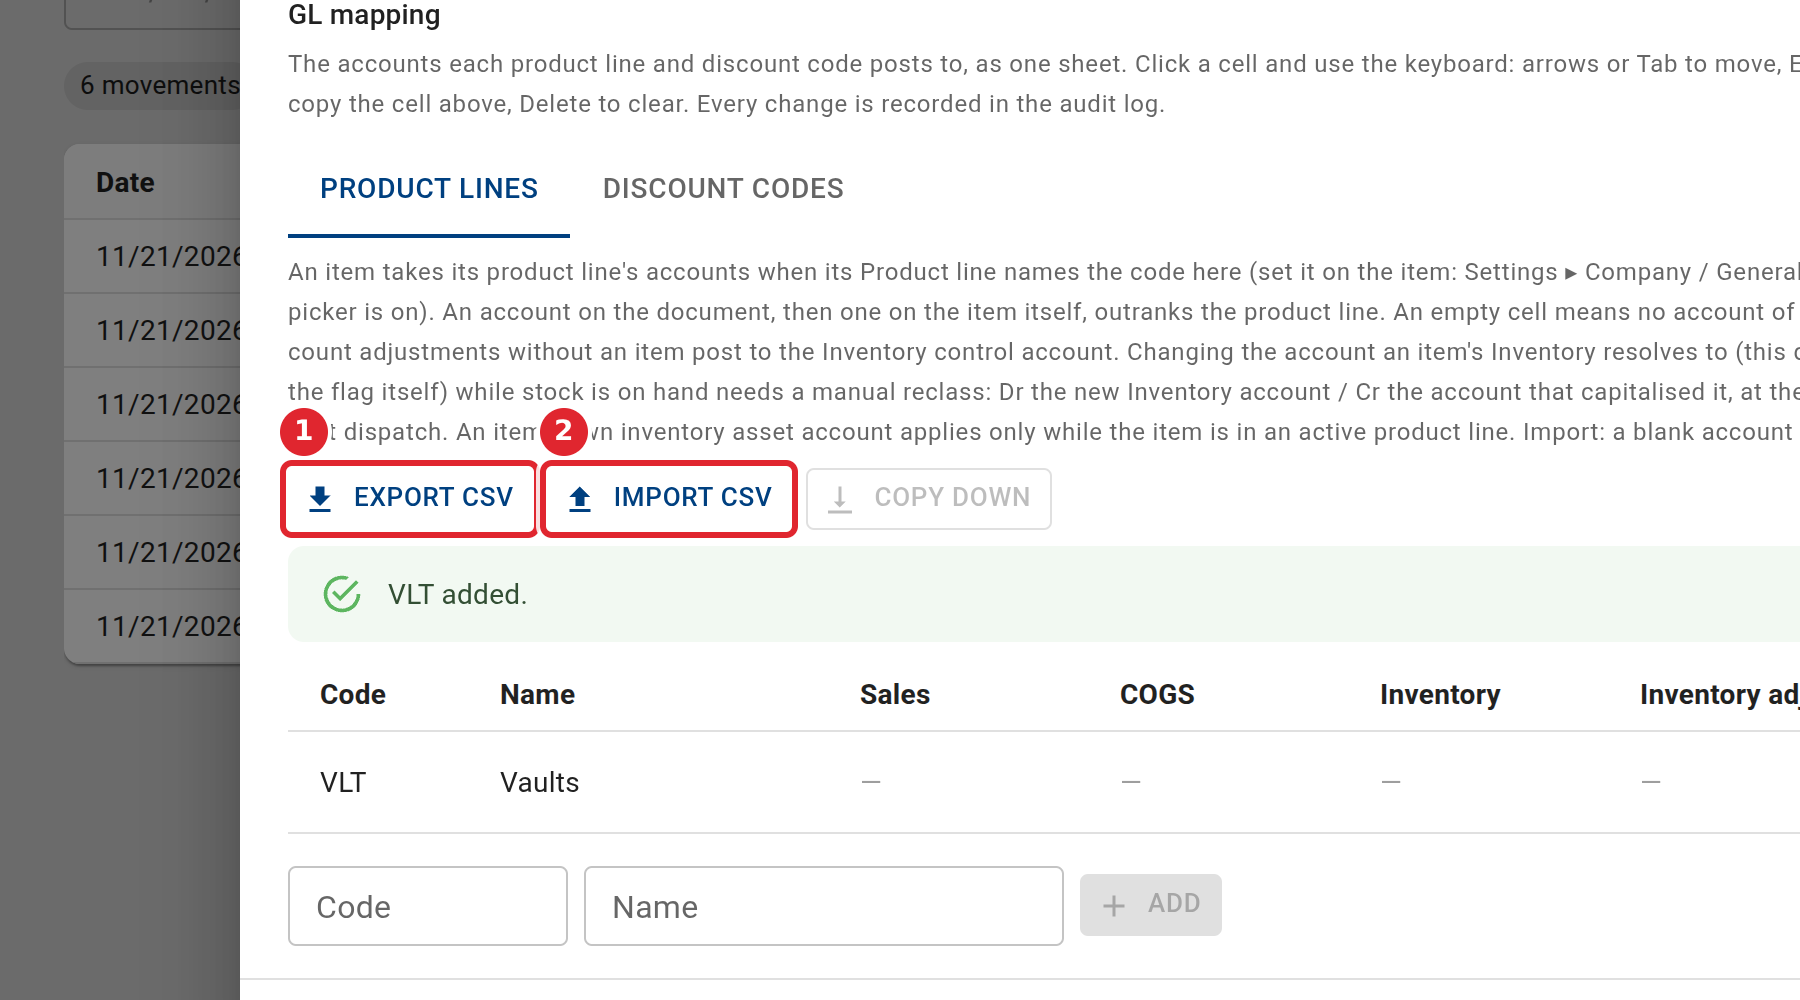
In the pictures, a numbered red box marks where to click or type. Where a picture has more than one box, the numbers give the order.
Open Settings from the header and select GL Mapping. It sets the accounts each product line and discount code posts to, as one sheet.
Under Product lines, type a code and a name for the product line, then select Add.
The product line gets a row with a cell for each account. Select a cell, press Enter, type the account number, then press Tab or Enter. Use the arrow keys or Tab to move between cells. An empty cell uses the company default.
Select Export CSV to edit the sheet in a spreadsheet, and Import CSV to read it back. You see what will change before it is applied.
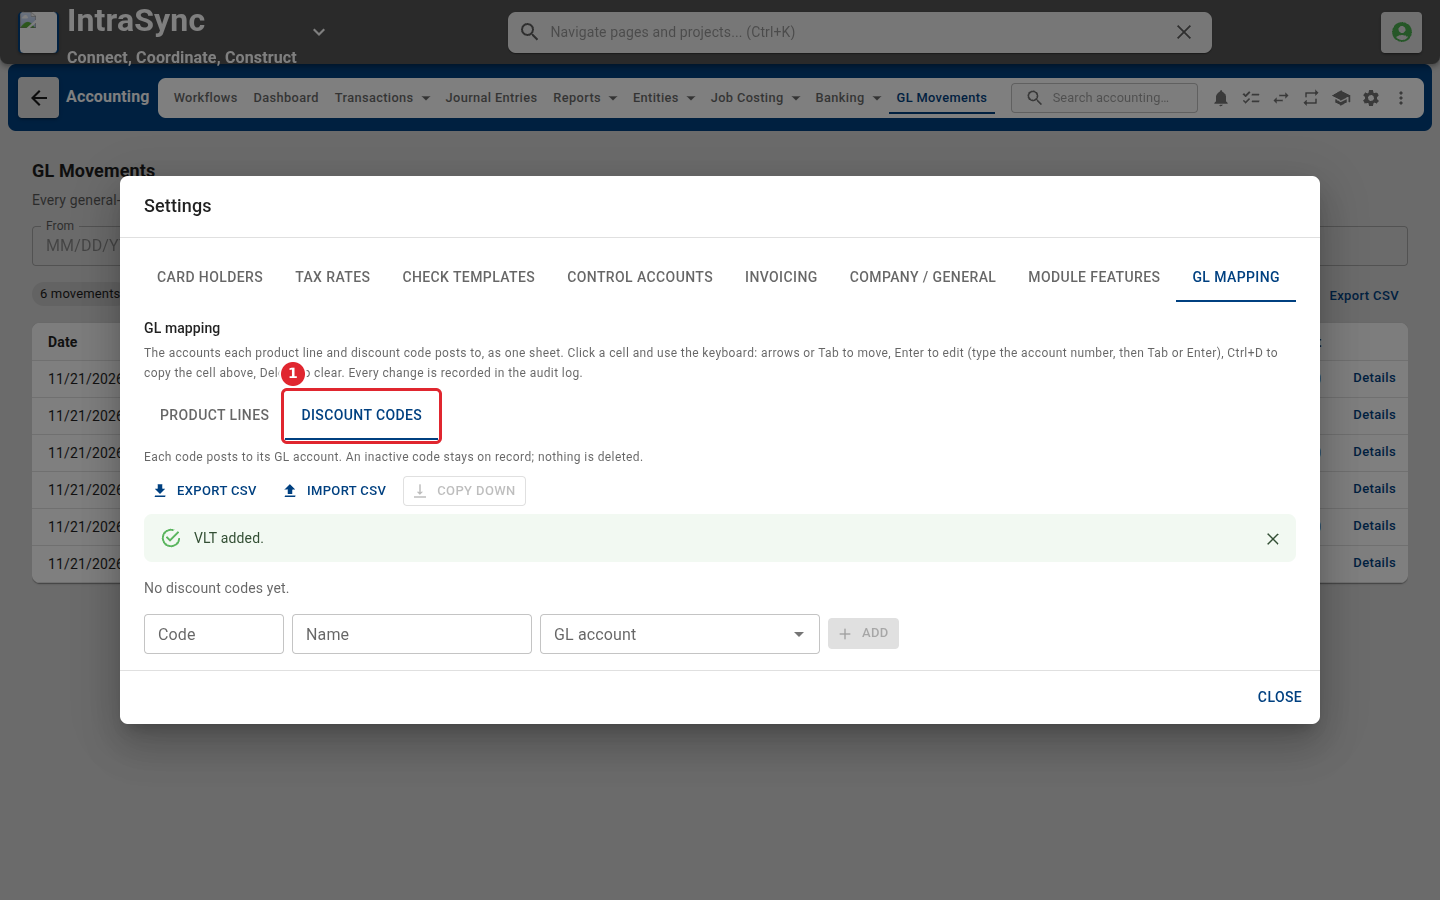
Select Discount codes to set the GL account each discount code posts to, the same way.
Tips
- An account on the document, then one on the item itself, comes before the product line's account.
- Ctrl+D copies the cell above, and Delete clears a cell. Every change is recorded in the audit log.
- An account number that does not exist is refused, with a message naming the column.
- On import, a blank account cell clears that account, and a column left out of the file is left as it is.