Production Schedule guide · section 1 of 23
Find your way around Production Schedule
Know where each part of the schedule lives before you start planning.
Watch this in the video (0:03)
Steps
In the pictures, a numbered red box marks where to click or type. Where a picture has more than one box, the numbers give the order.
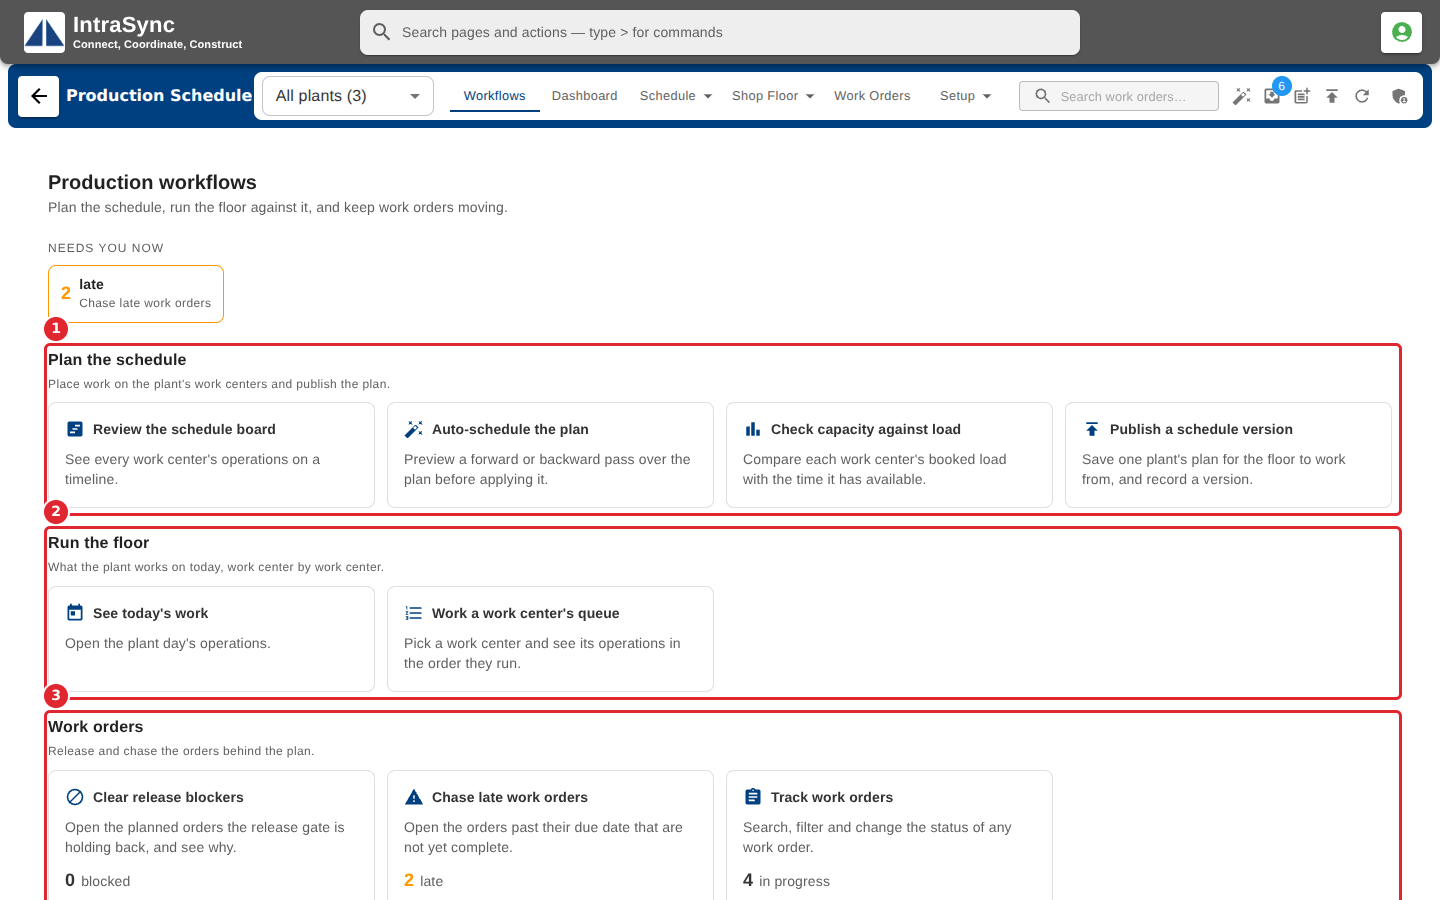
Open Production Schedule. It opens on Workflows, grouped by the job you came to do.
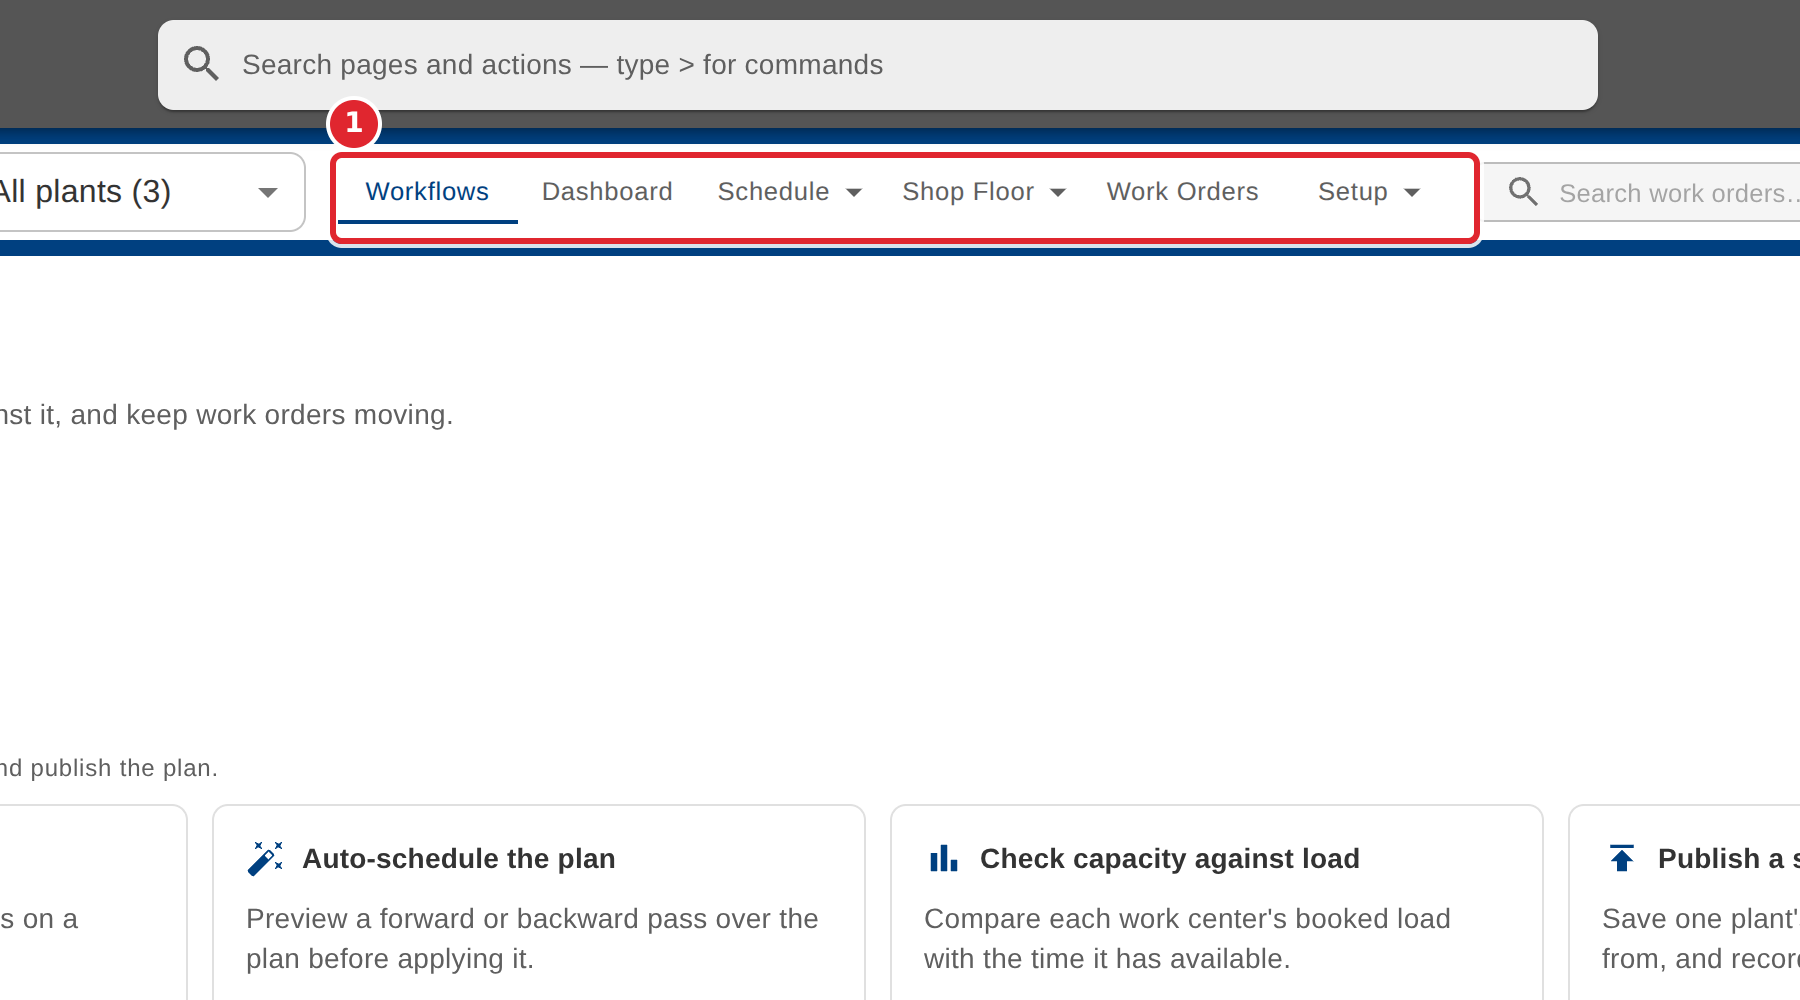
Use the menu across the top to move between areas.
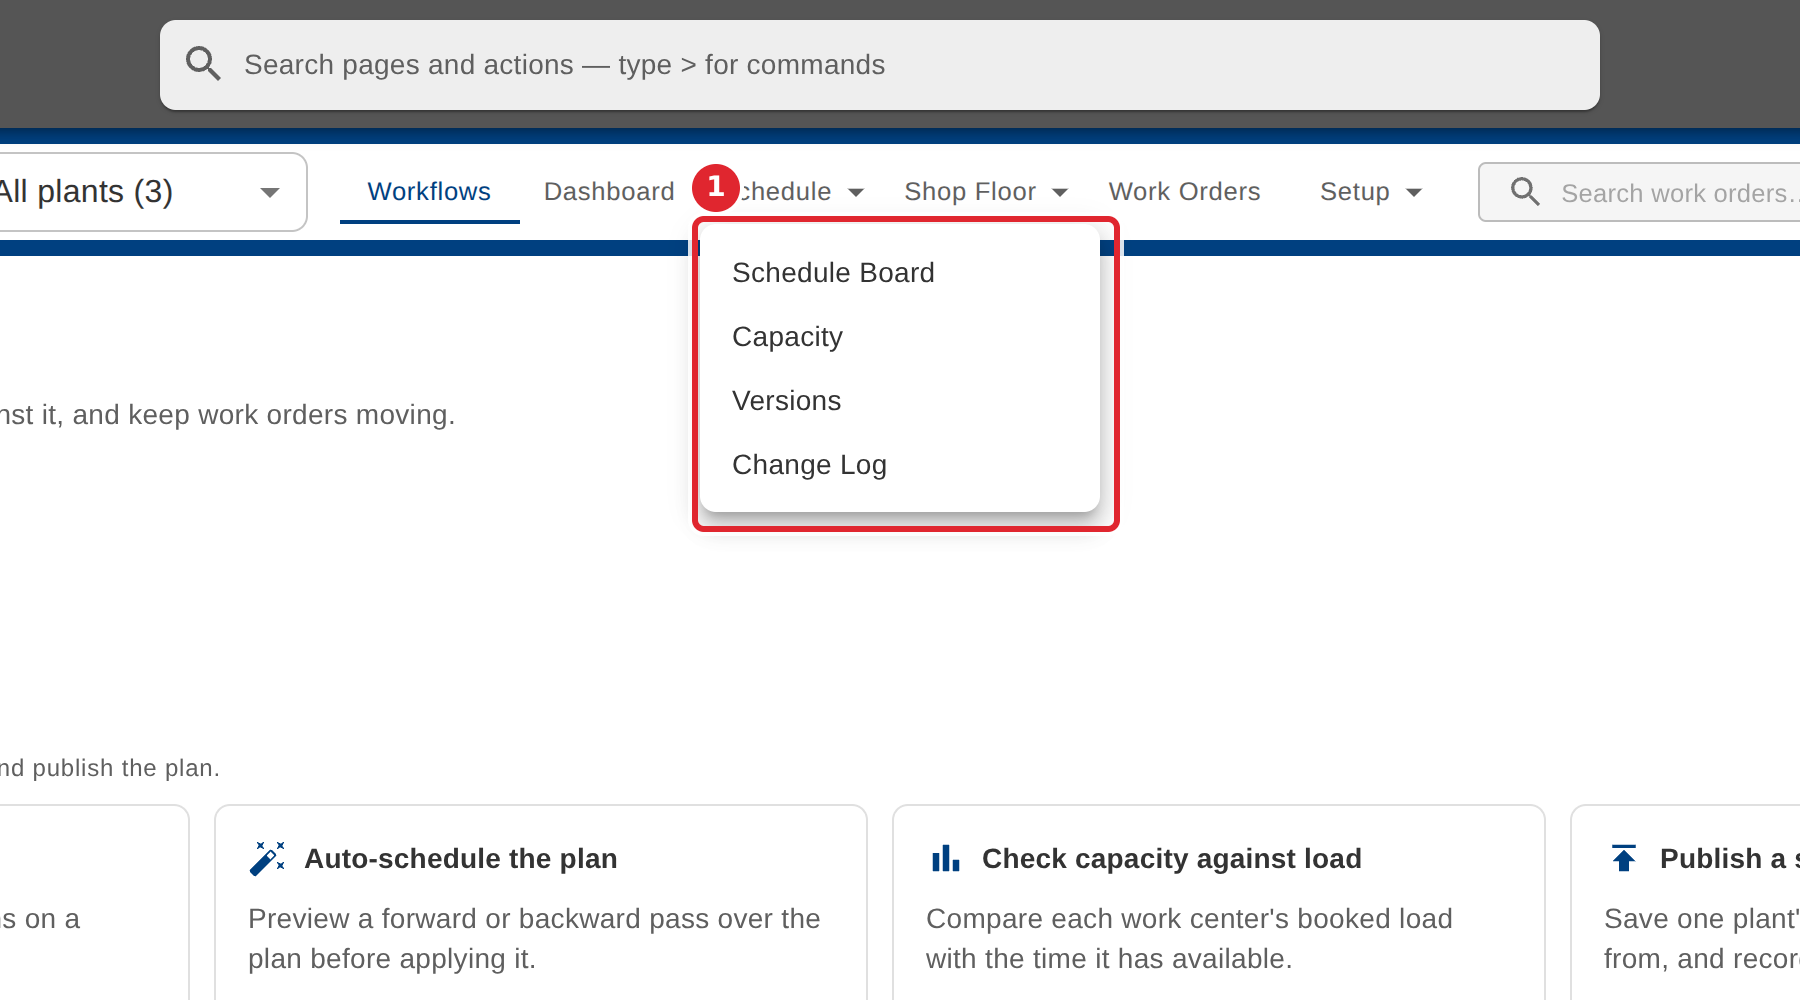
Select Schedule, Shop Floor or Setup to open its list, then pick a screen.
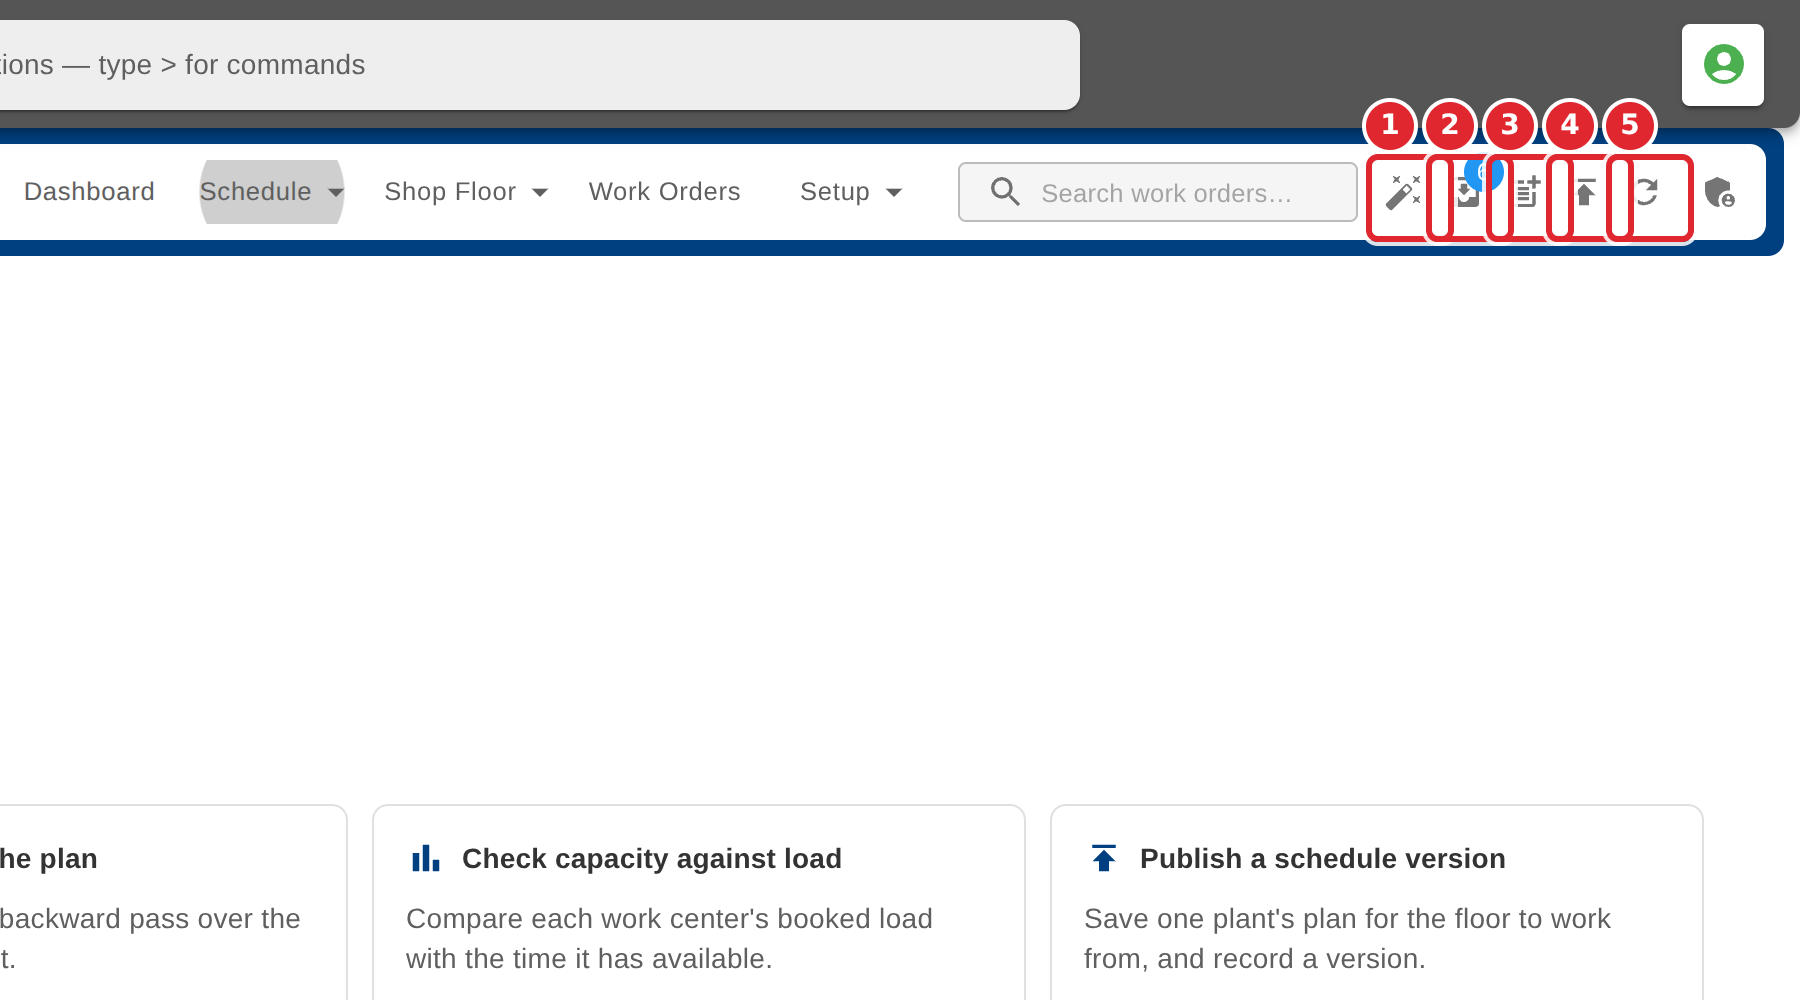
The buttons at the right run the planner's actions: Auto-schedule, Convert sales-order lines, Schedule a custom item, Publish and Refresh.
Tips
- Each card on Workflows opens the screen for that job, so it is a quick way in when you are not sure where something is.
- Schedule holds the Schedule Board, Capacity, Versions and the Change Log. Shop Floor holds Today and the Run Queue. Setup holds Calendars, Work Centers and Routings.
- Rest the pointer on a header button to see what it does.