Production Schedule guide · section 7 of 23
Set the planning horizon
Choose the range of plant days that every schedule screen shows and that auto-schedule plans over.
Watch this in the video (1:53)
Before you start
- Open Schedule > Schedule Board.
Steps
In the pictures, a numbered red box marks where to click or type. Where a picture has more than one box, the numbers give the order.
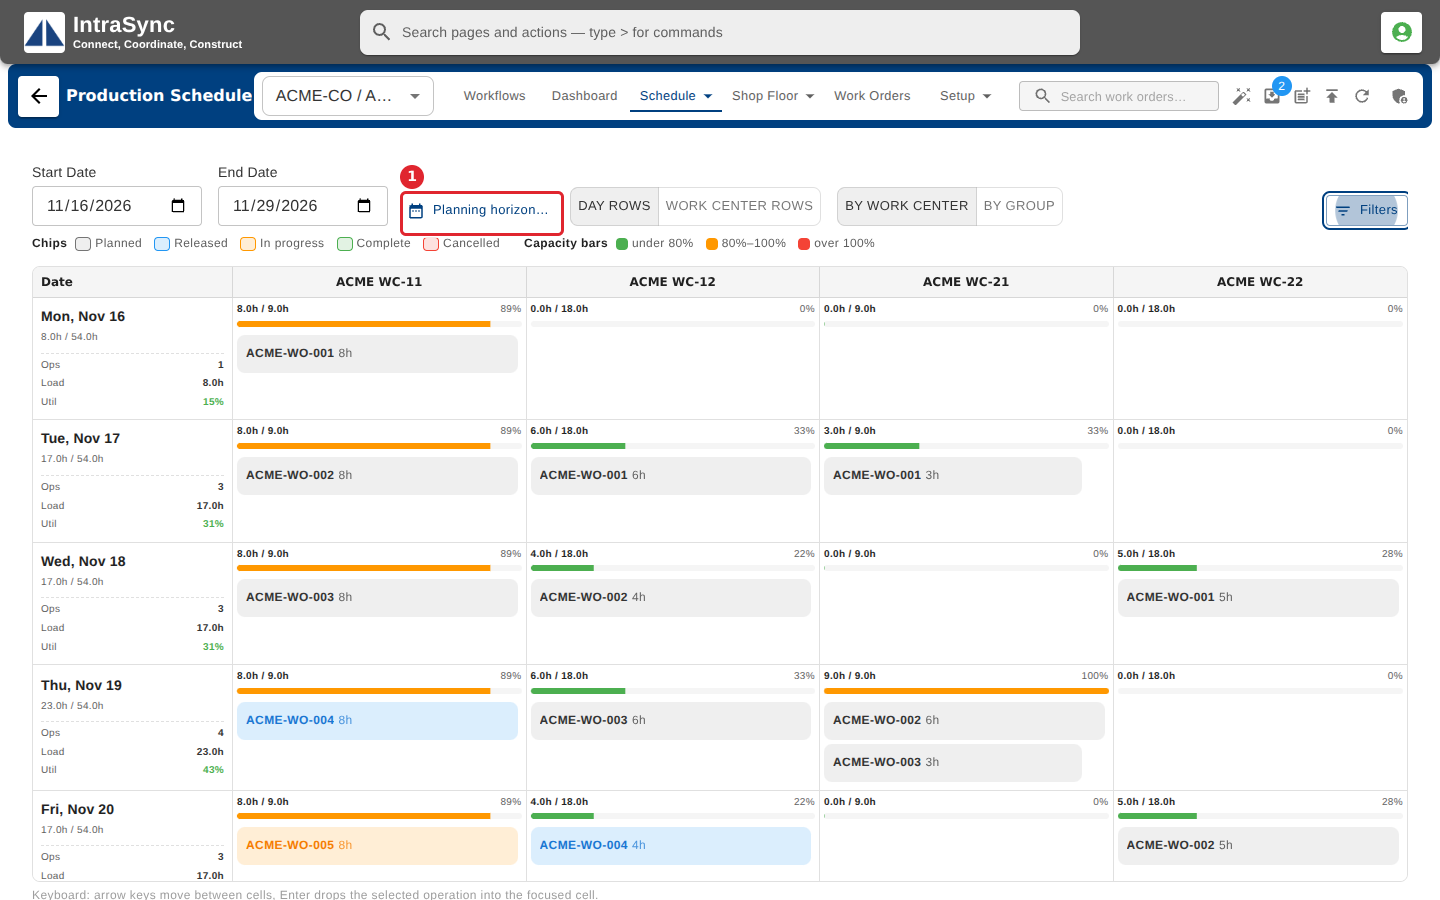
On the Schedule Board, select Planning horizon.
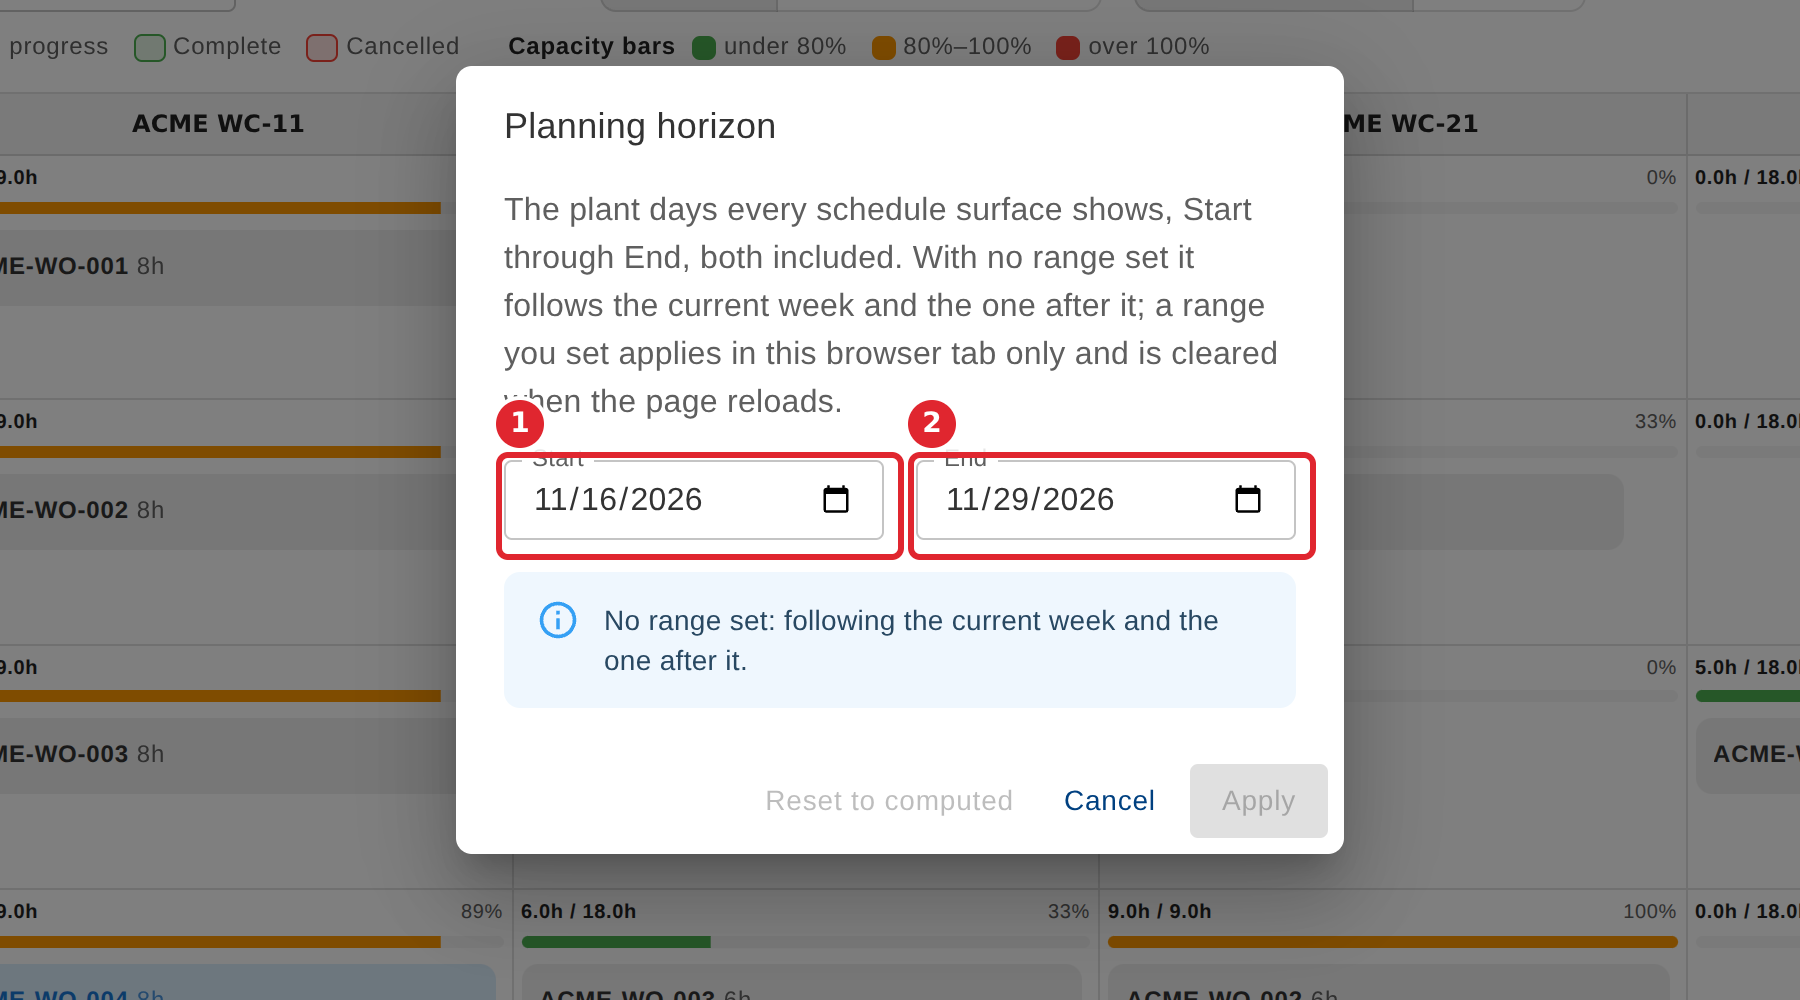
Enter the Start and End days to plan. Both days are included.
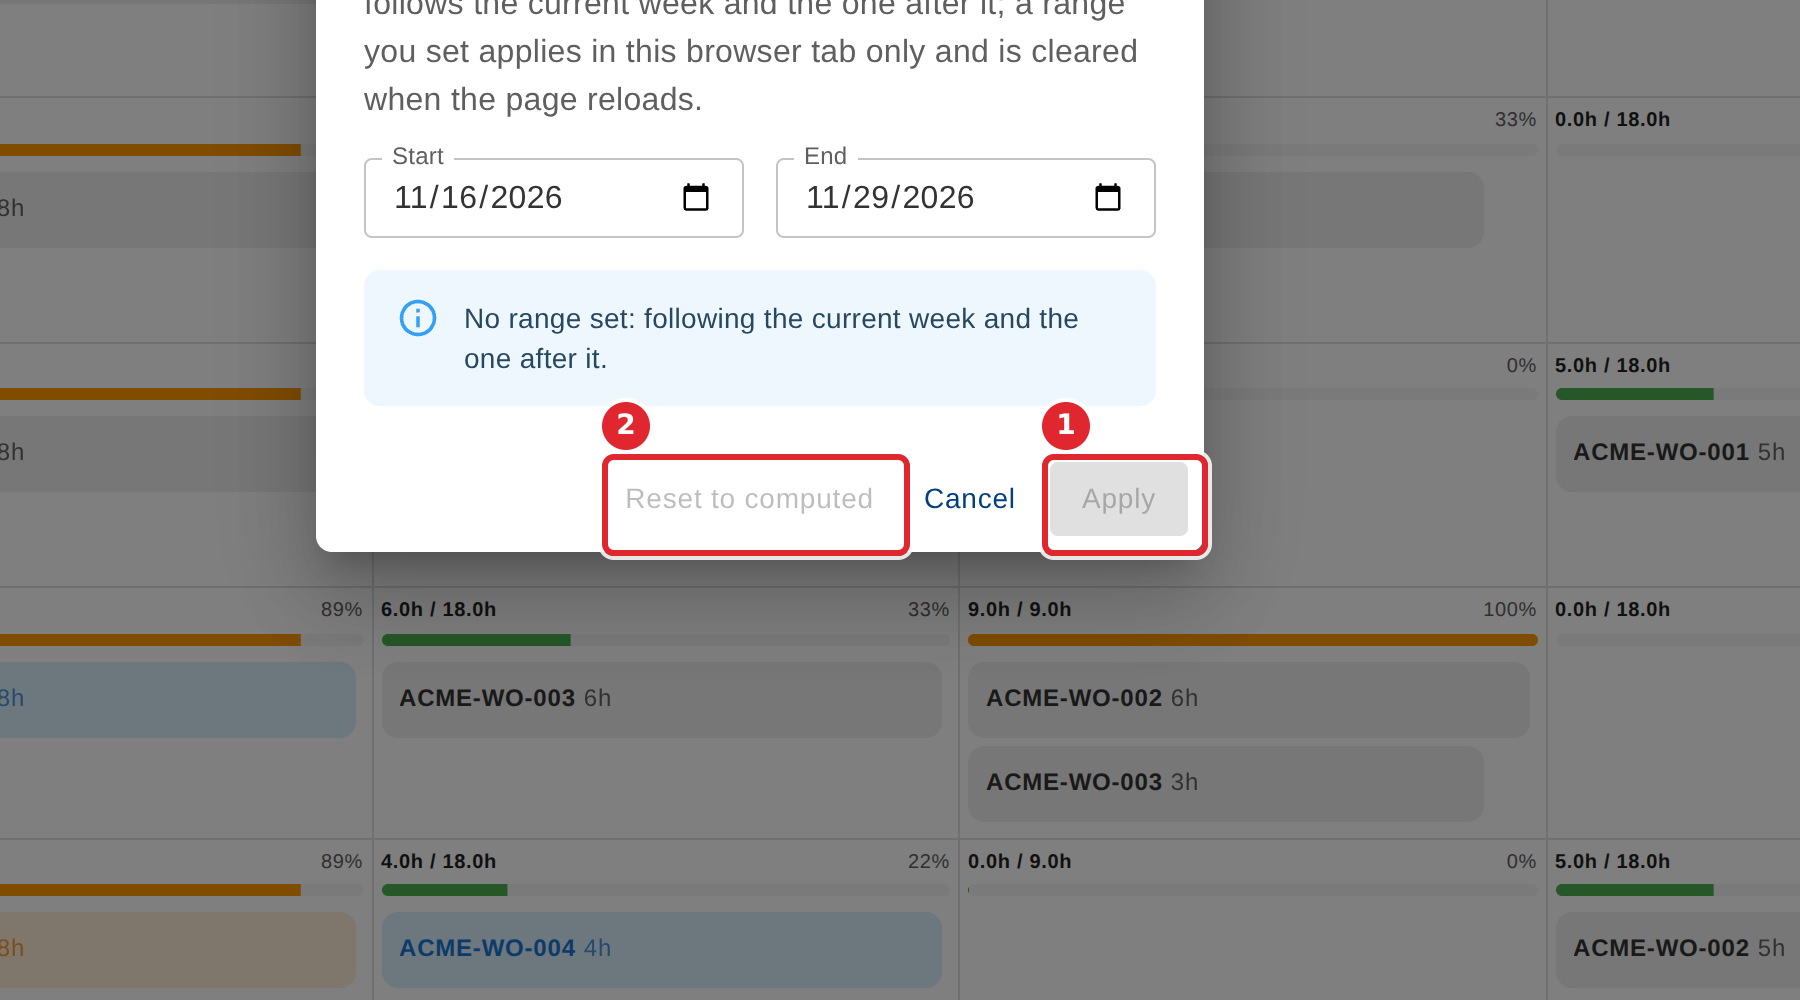
Select Apply. To go back to the current week and the next, select Reset to computed.
Tips
- With no range set, the horizon follows the current week and the one after it.
- A range you set applies in this browser tab only and is cleared when the page reloads.