Production Schedule guide · section 5 of 23
Read the Schedule Board
See every operation placed on its work center, day by day, and how full each work center is.
Watch this in the video (0:11)
Steps
In the pictures, a numbered red box marks where to click or type. Where a picture has more than one box, the numbers give the order.
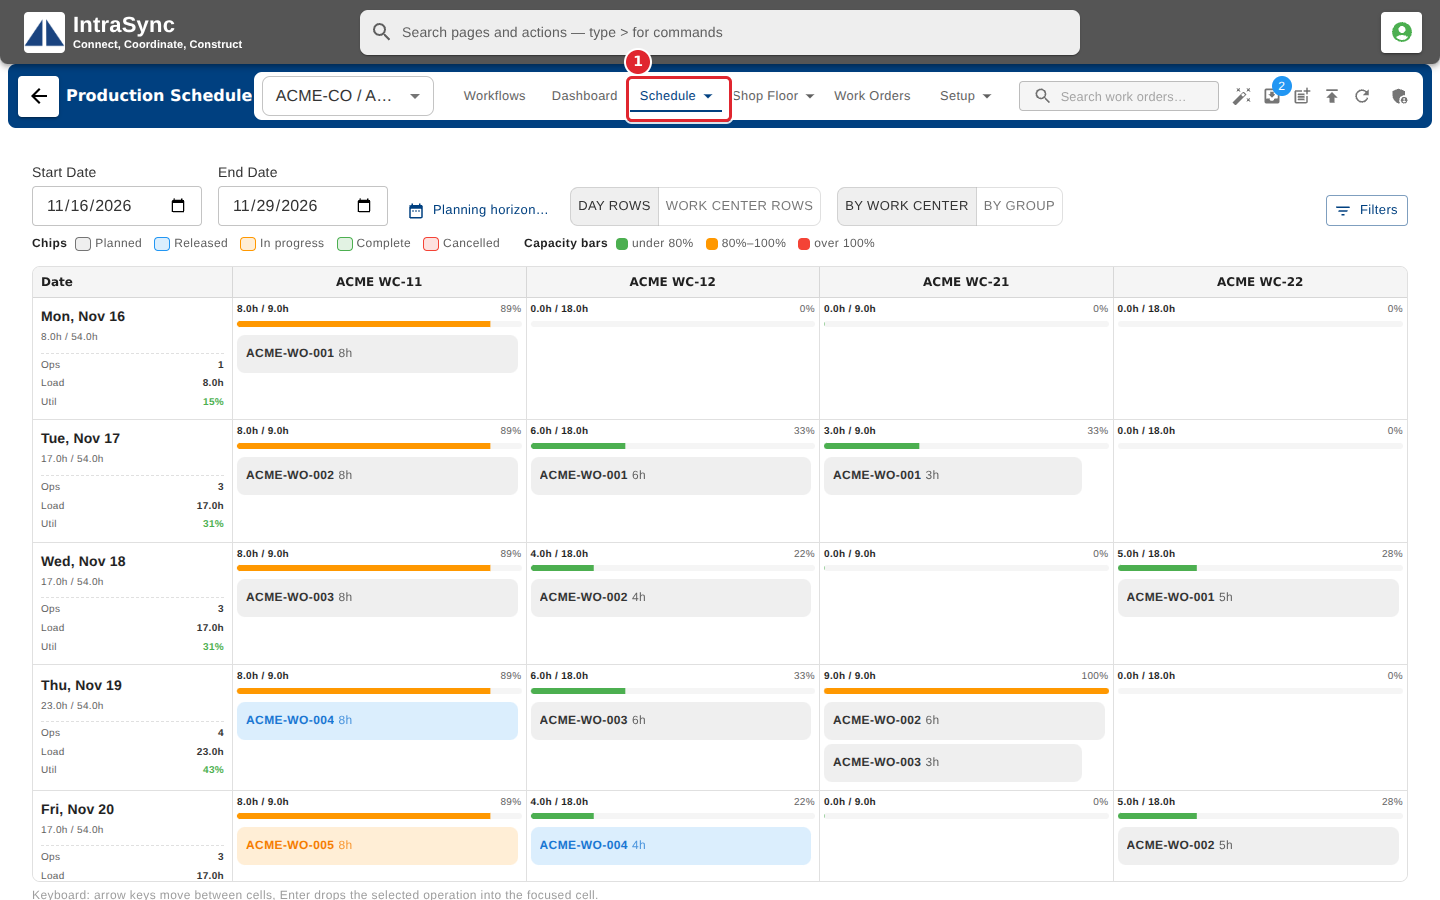
Select Schedule > Schedule Board.
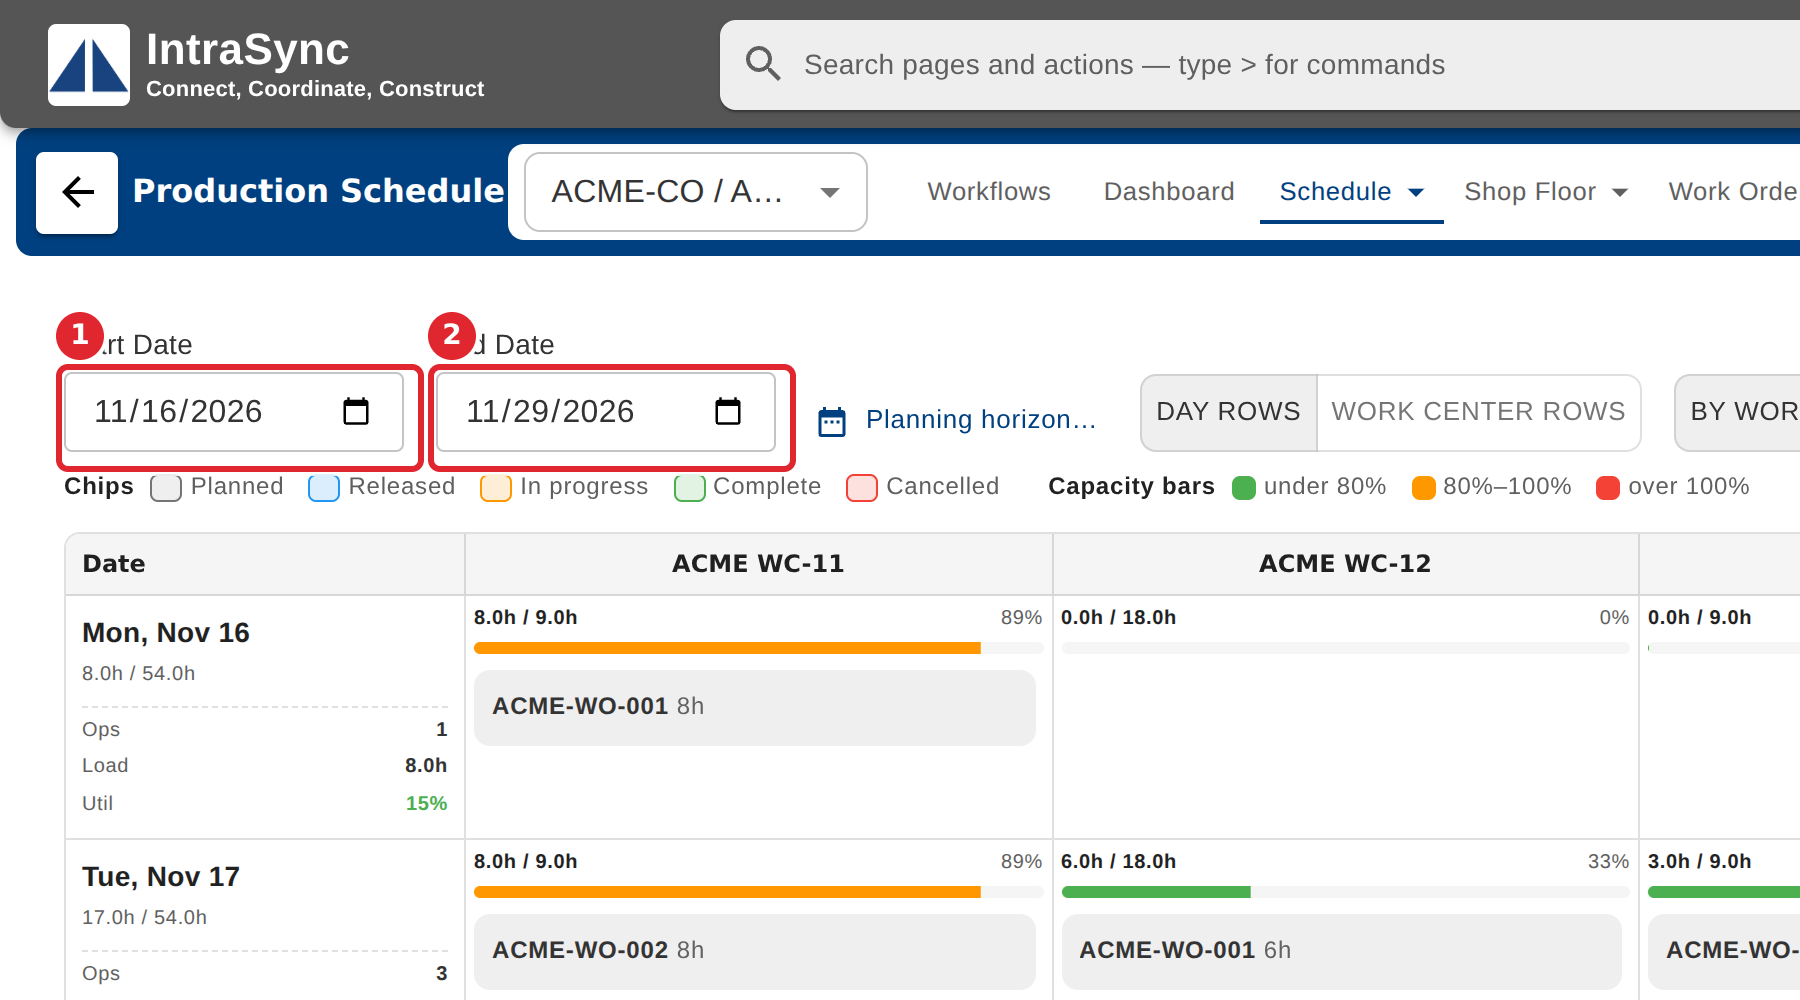
Set the dates to show with Start Date and End Date.
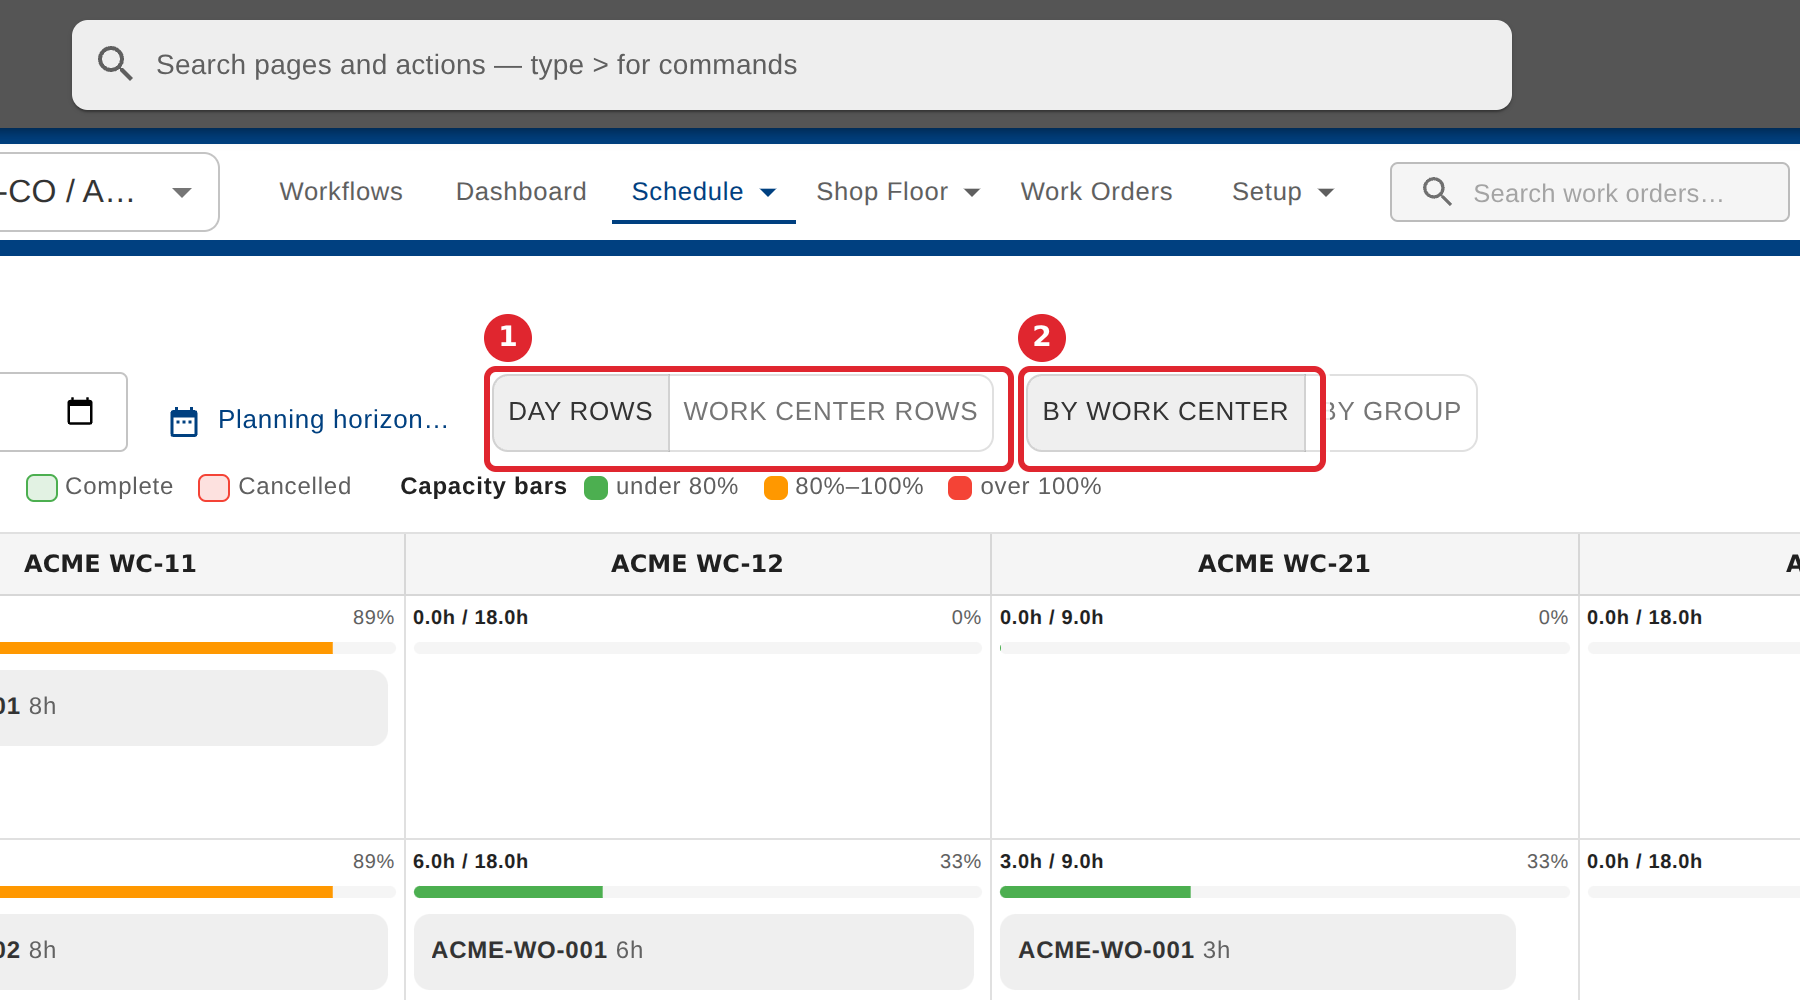
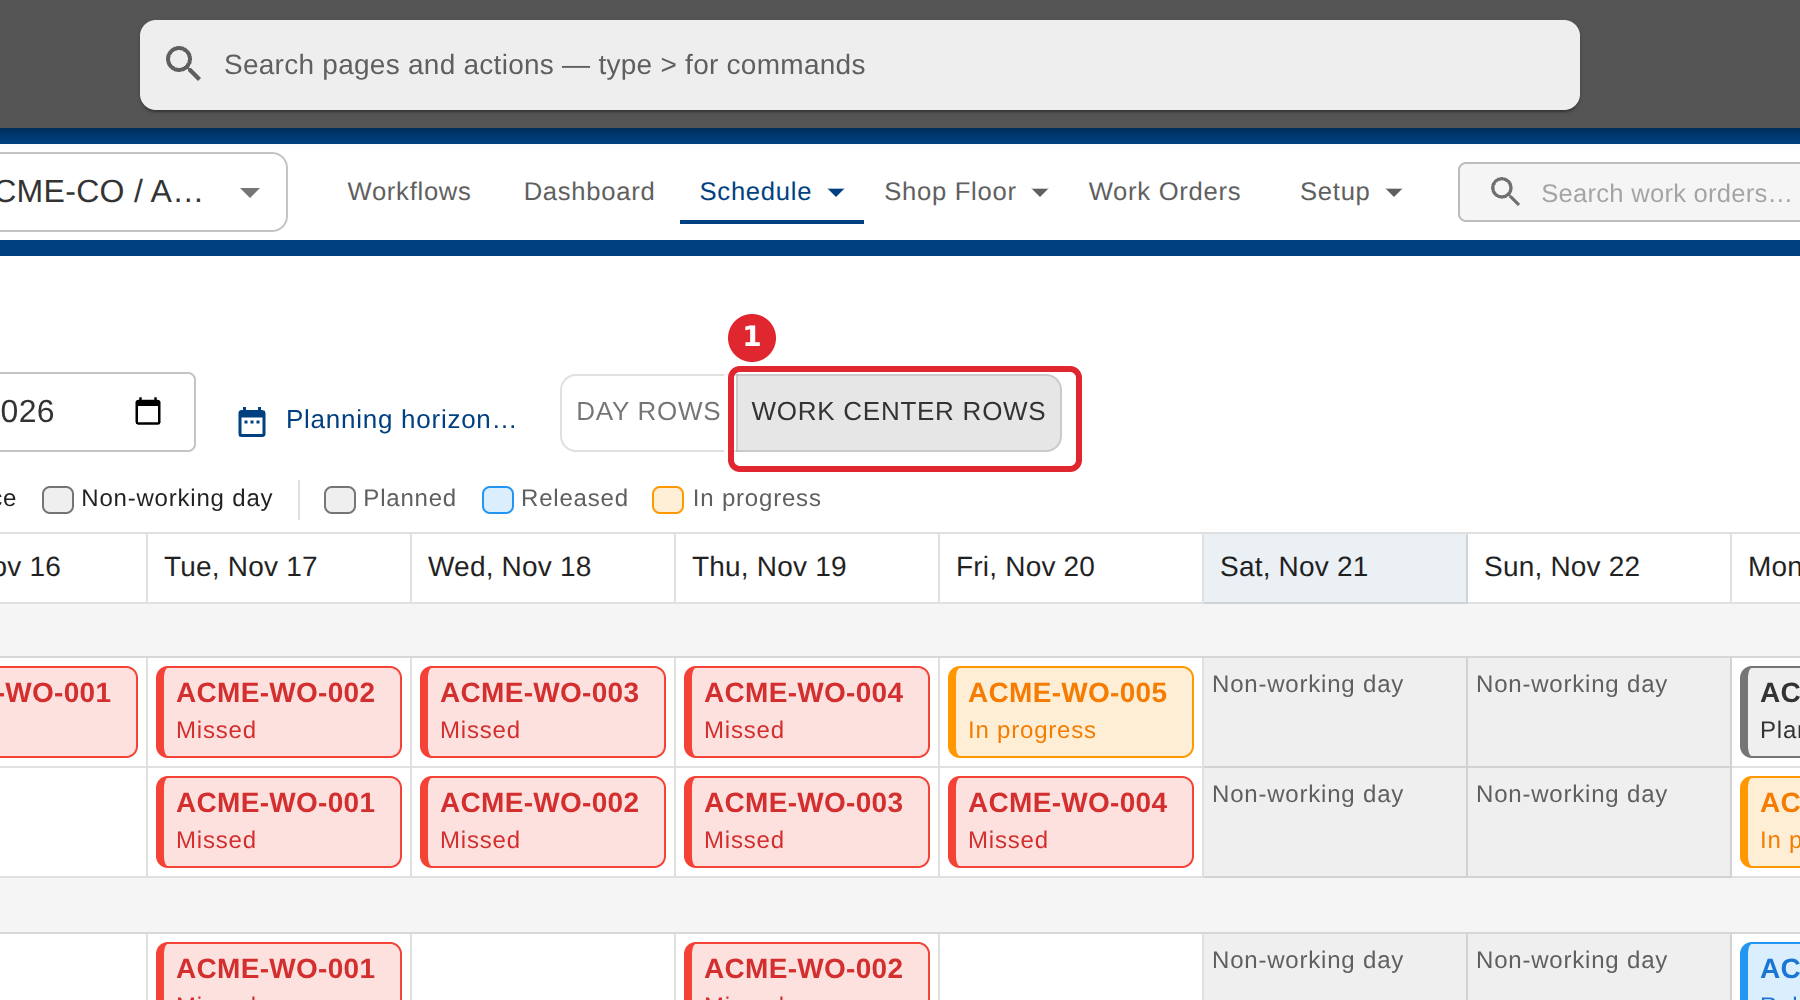
Choose the layout: one row per day or one row per work center, and columns by work center or by group.
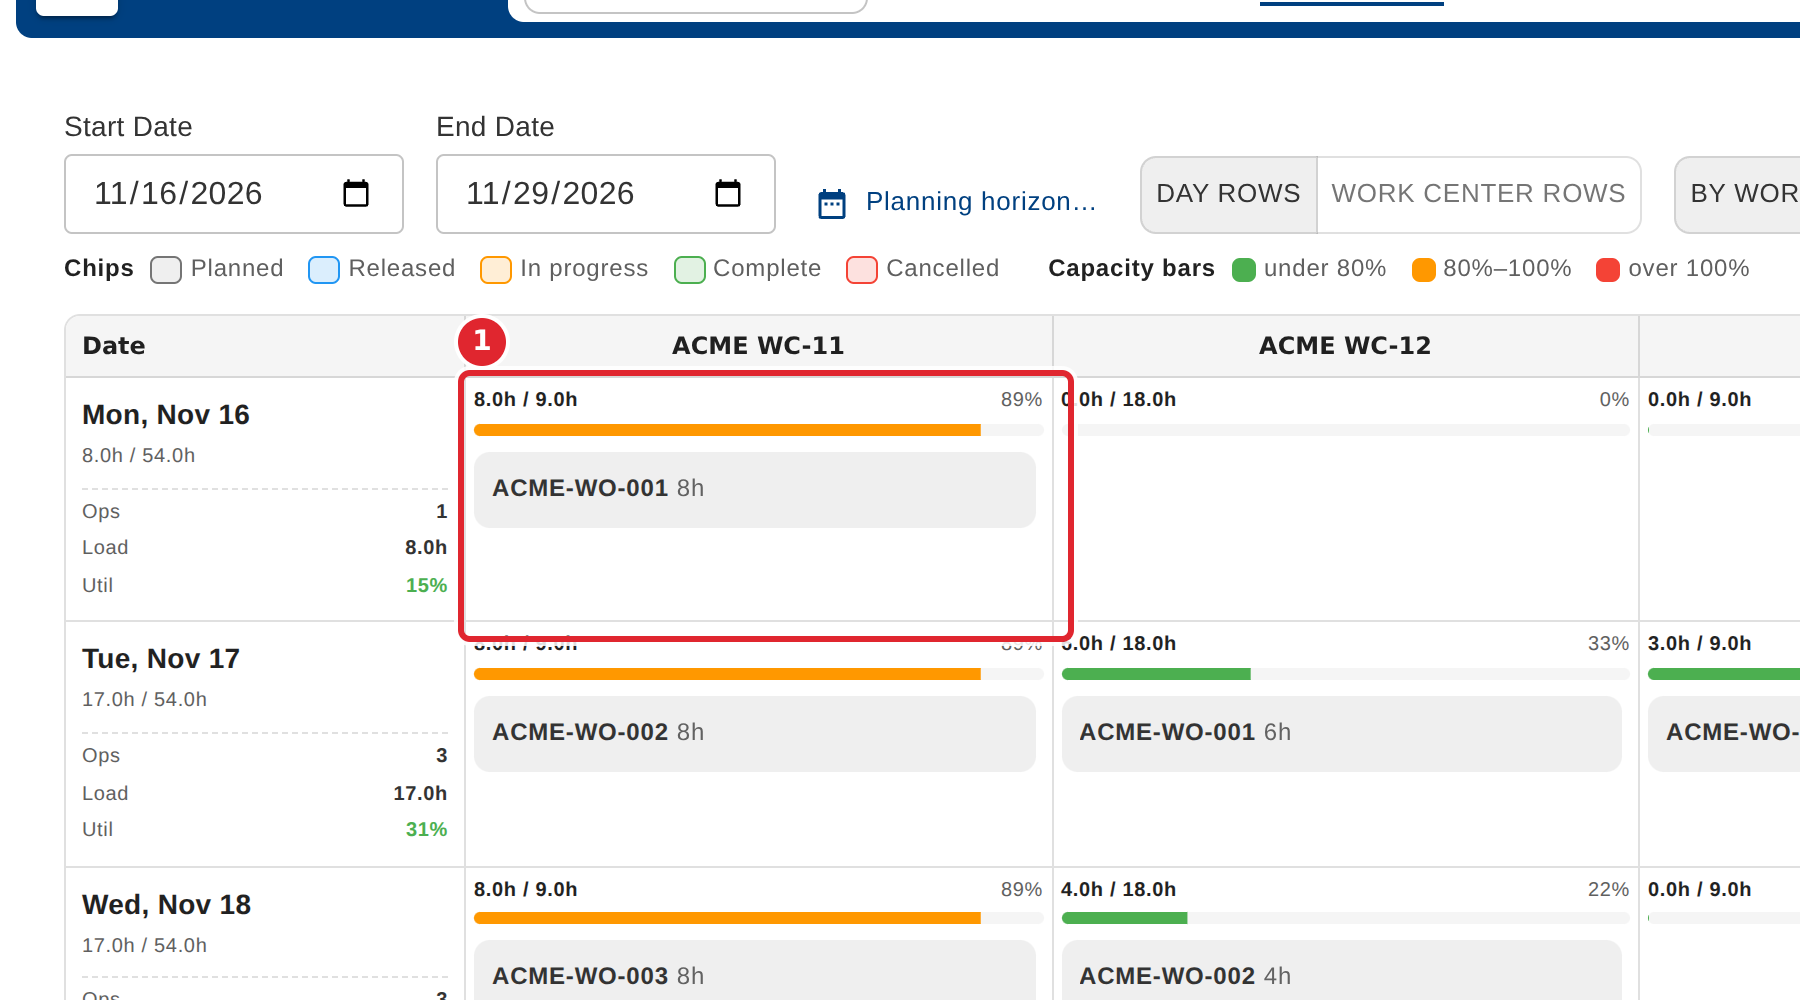
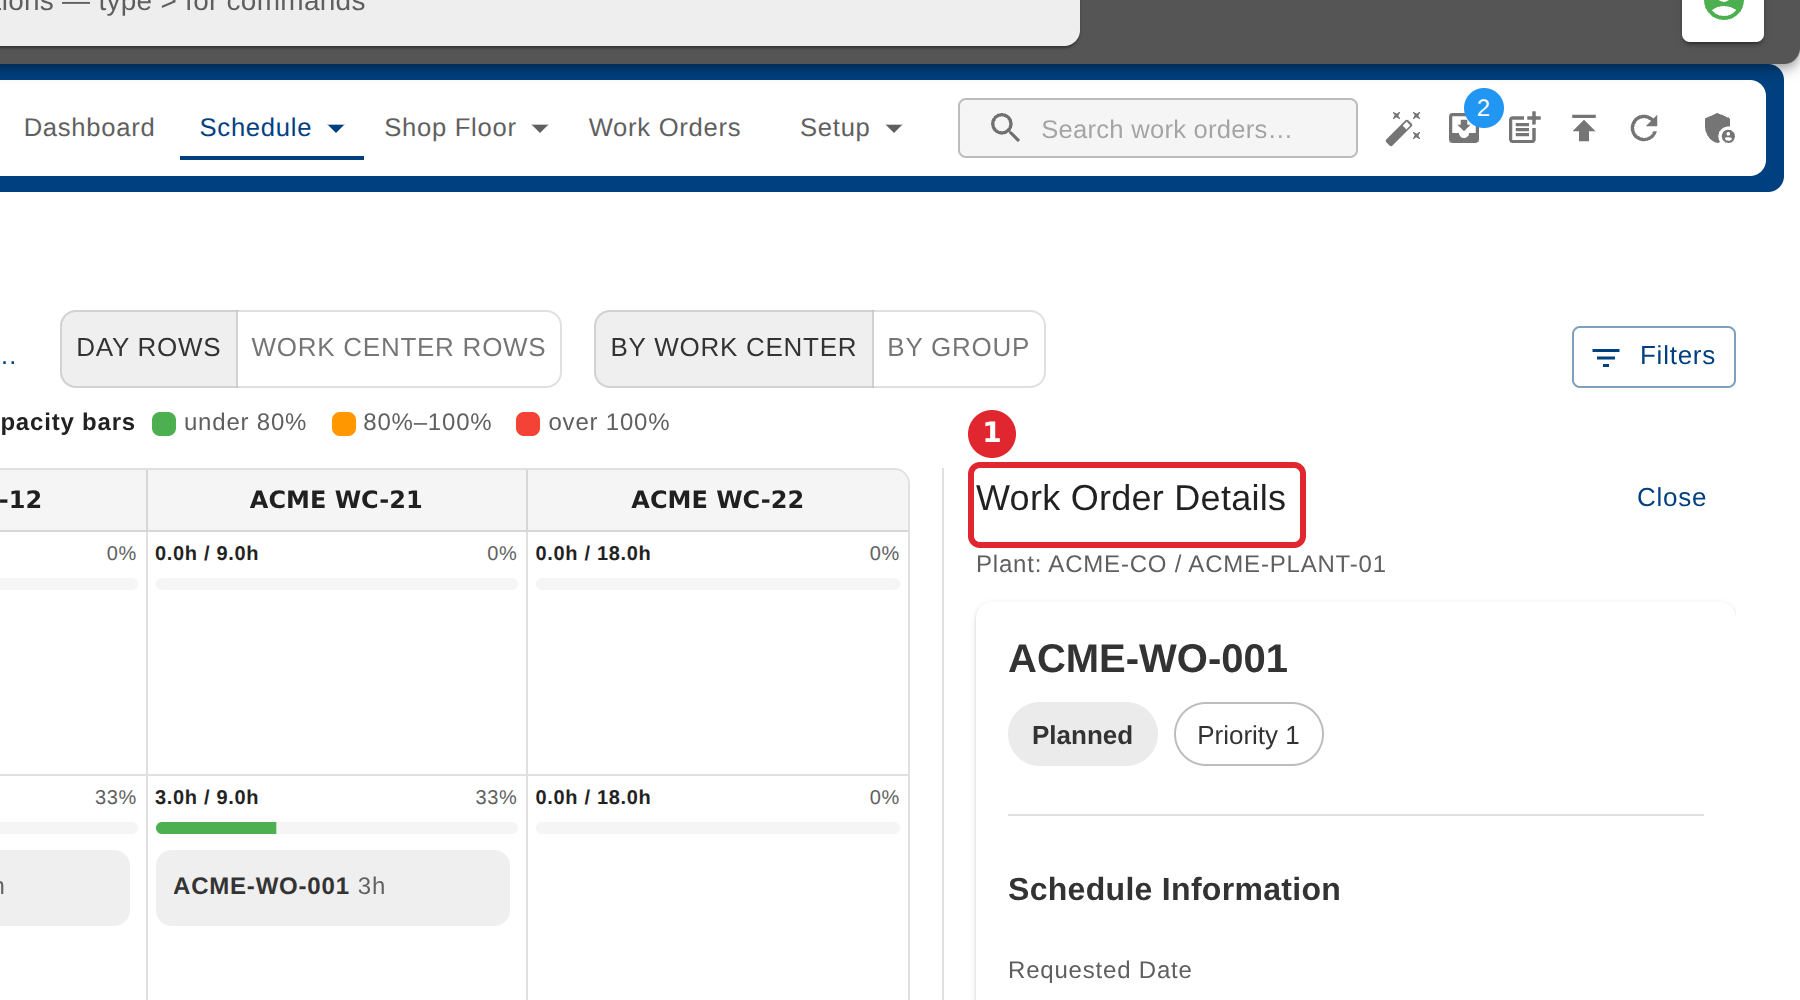
Read each cell: the hours booked against the work center's time, and a chip for each operation, coloured by status.
With Work center rows, each work center is a row and the days run across.
Select an operation chip to open its work order's details.
Tips
- Days are plant days in the plant's own time zone.
- A planned operation whose day has passed shows as Missed.
- The legend above the board shows what each chip colour and capacity-bar colour means.
- You can also move around the board with the arrow keys.