Accounting guide · section 4 of 28
Add a customer
A customer must exist before you can invoice them.
Watch this in the video (2:24)
Steps
In the pictures, a numbered red box marks where to click or type. Where a picture has more than one box, the numbers give the order.
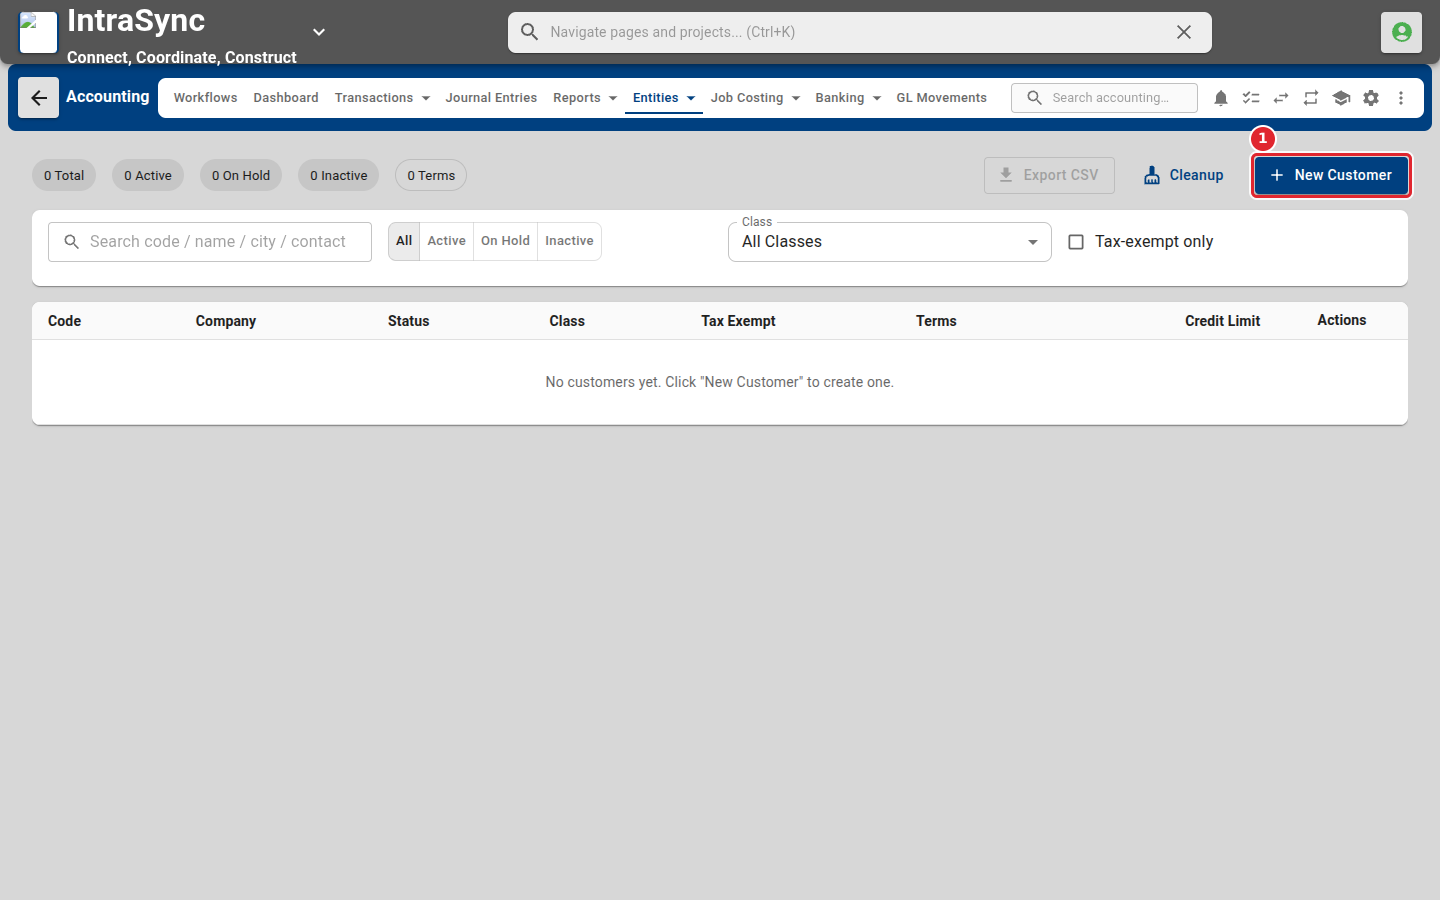
Select Entities > Customers, then select New Customer.
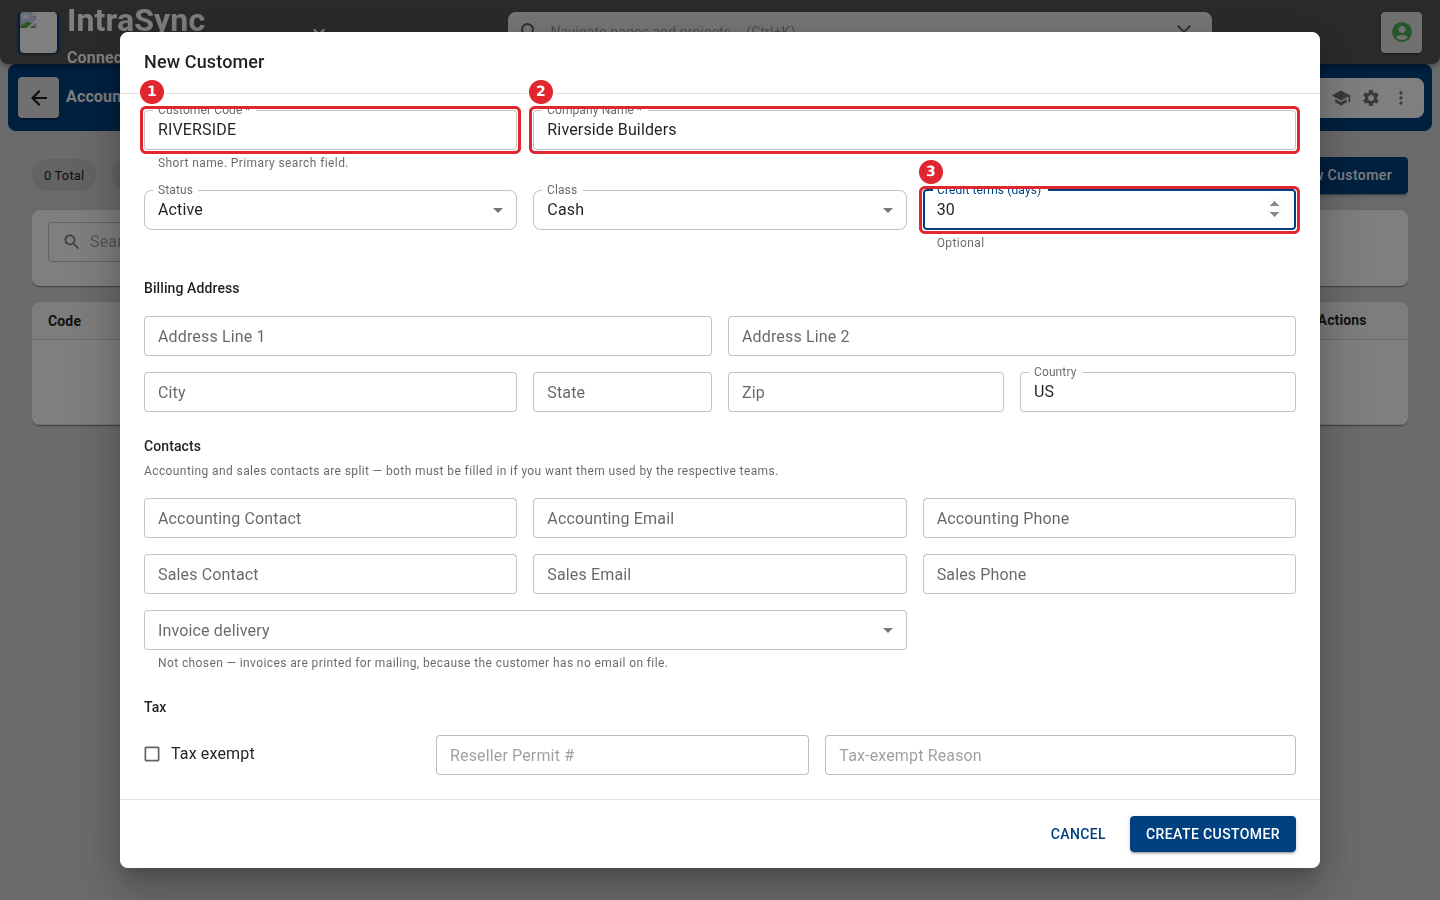
Enter a short customer code and the company name. Choose the status and class, and the credit terms in days.
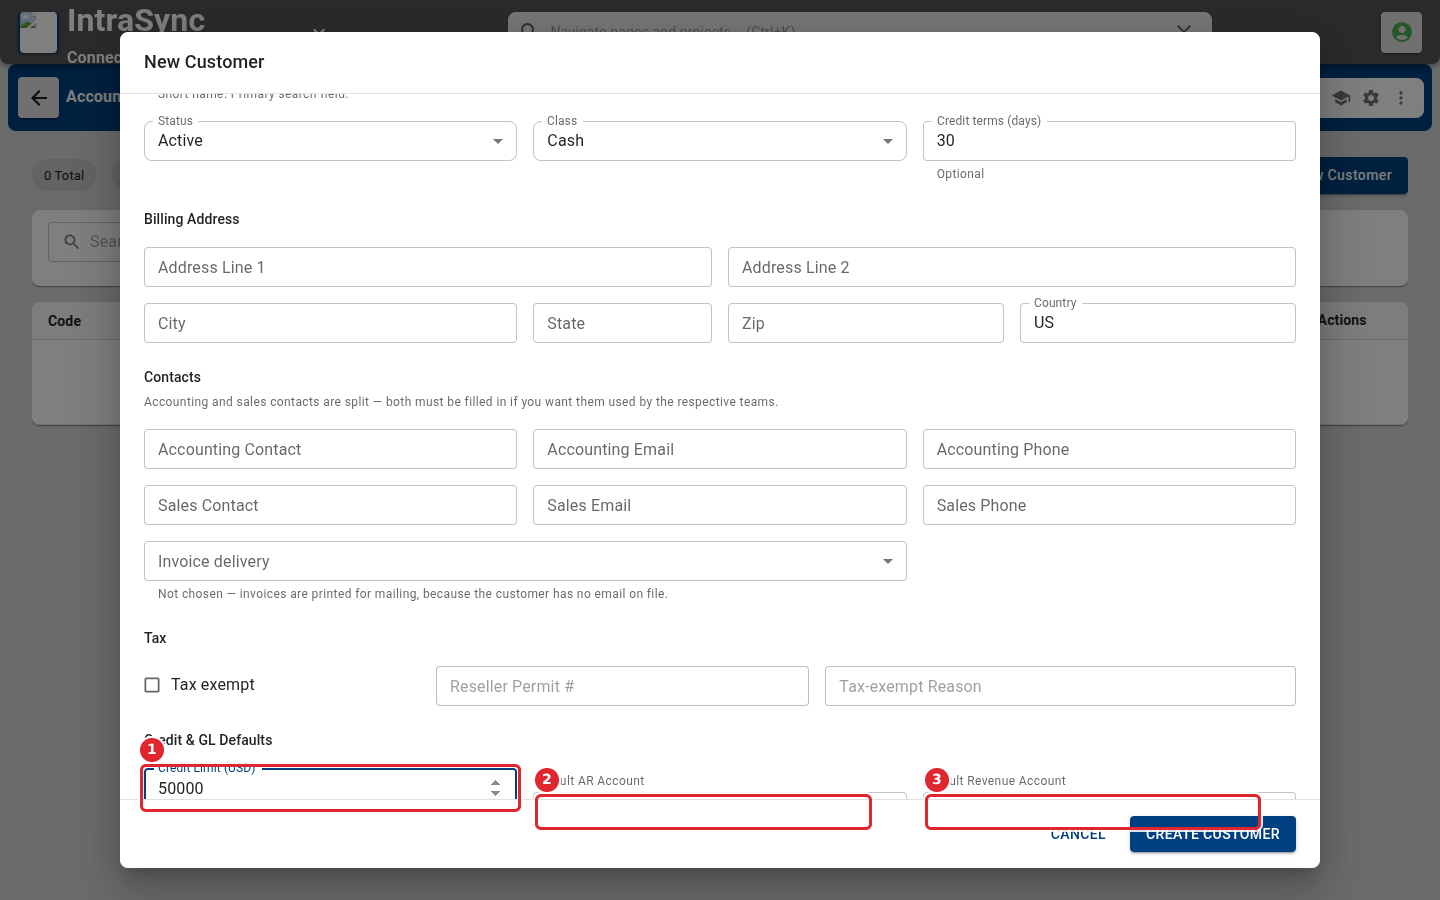
Under Credit & GL Defaults, set the credit limit (1) and, if you want, the default receivables account (2) and revenue account (3) that new invoices propose.
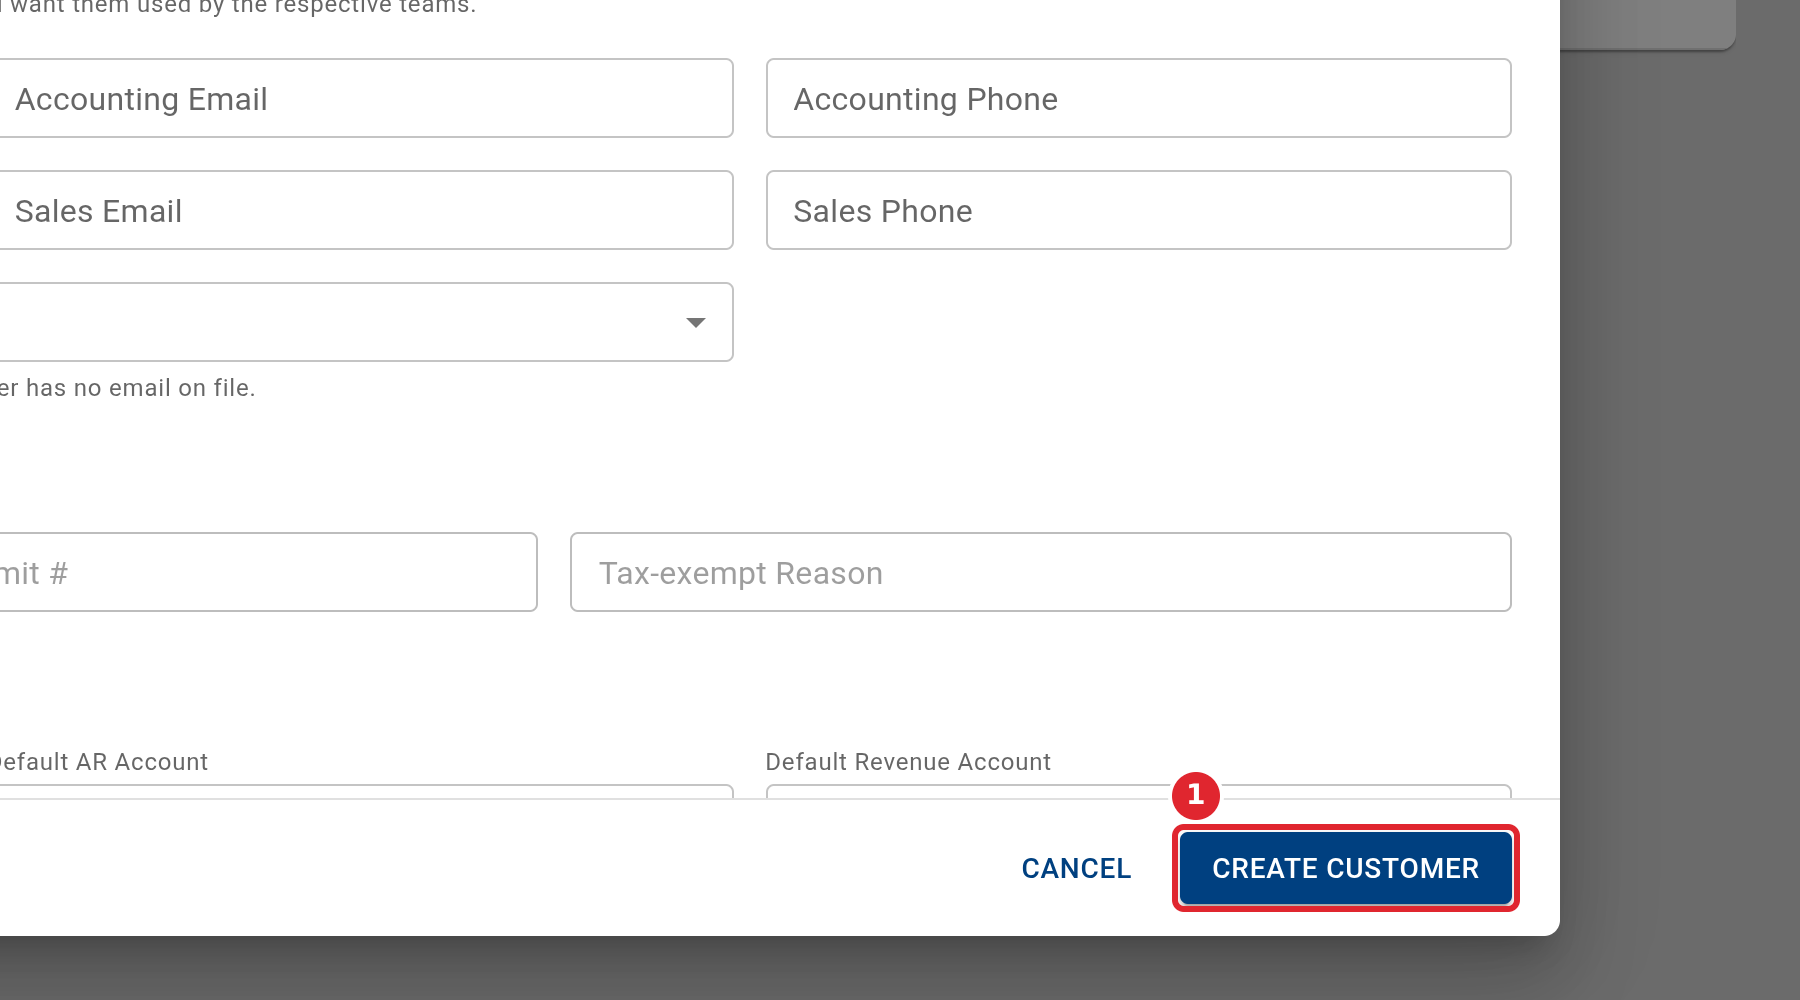
Select Create Customer.
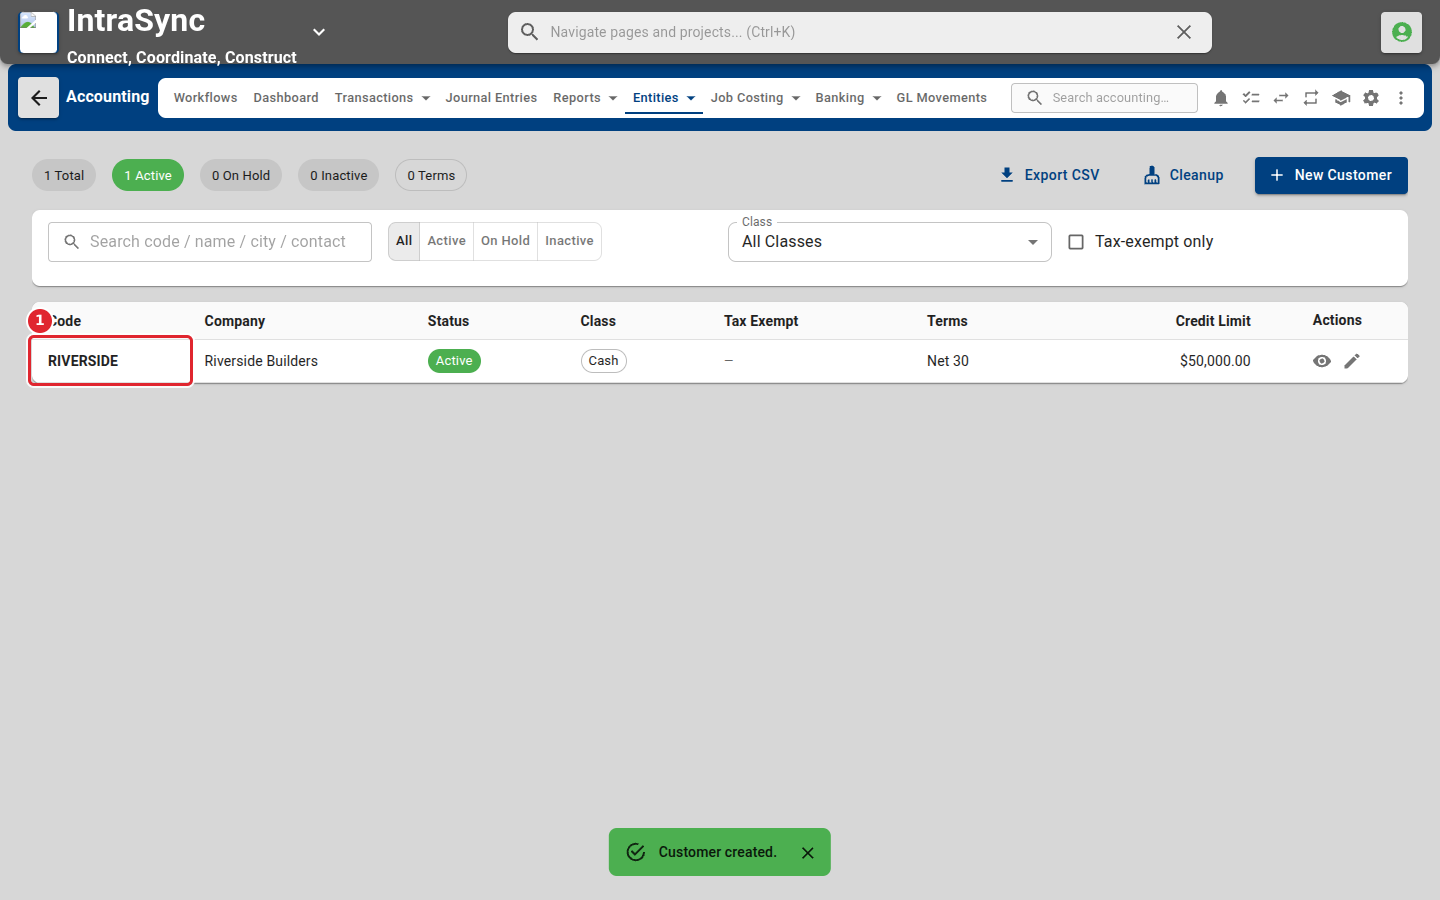
The customer appears in the list. Use the search box and the status filters to find a customer later.
Tips
- The customer code and the company name are both required.
- Accounting and sales contacts are separate. Fill in both if both teams should use them.
- The reseller permit number and the tax-exempt reason can be filled in once Tax exempt is ticked.
- A customer cannot be marked tax exempt without an active exemption certificate on file. Add the certificate, or leave Tax exempt off, before saving.