Accounting guide · section 23 of 28
Add a GL account
Add an account to the chart of accounts, and look into any account's history.
Watch this in the video (1:51)
Steps
In the pictures, a numbered red box marks where to click or type. Where a picture has more than one box, the numbers give the order.
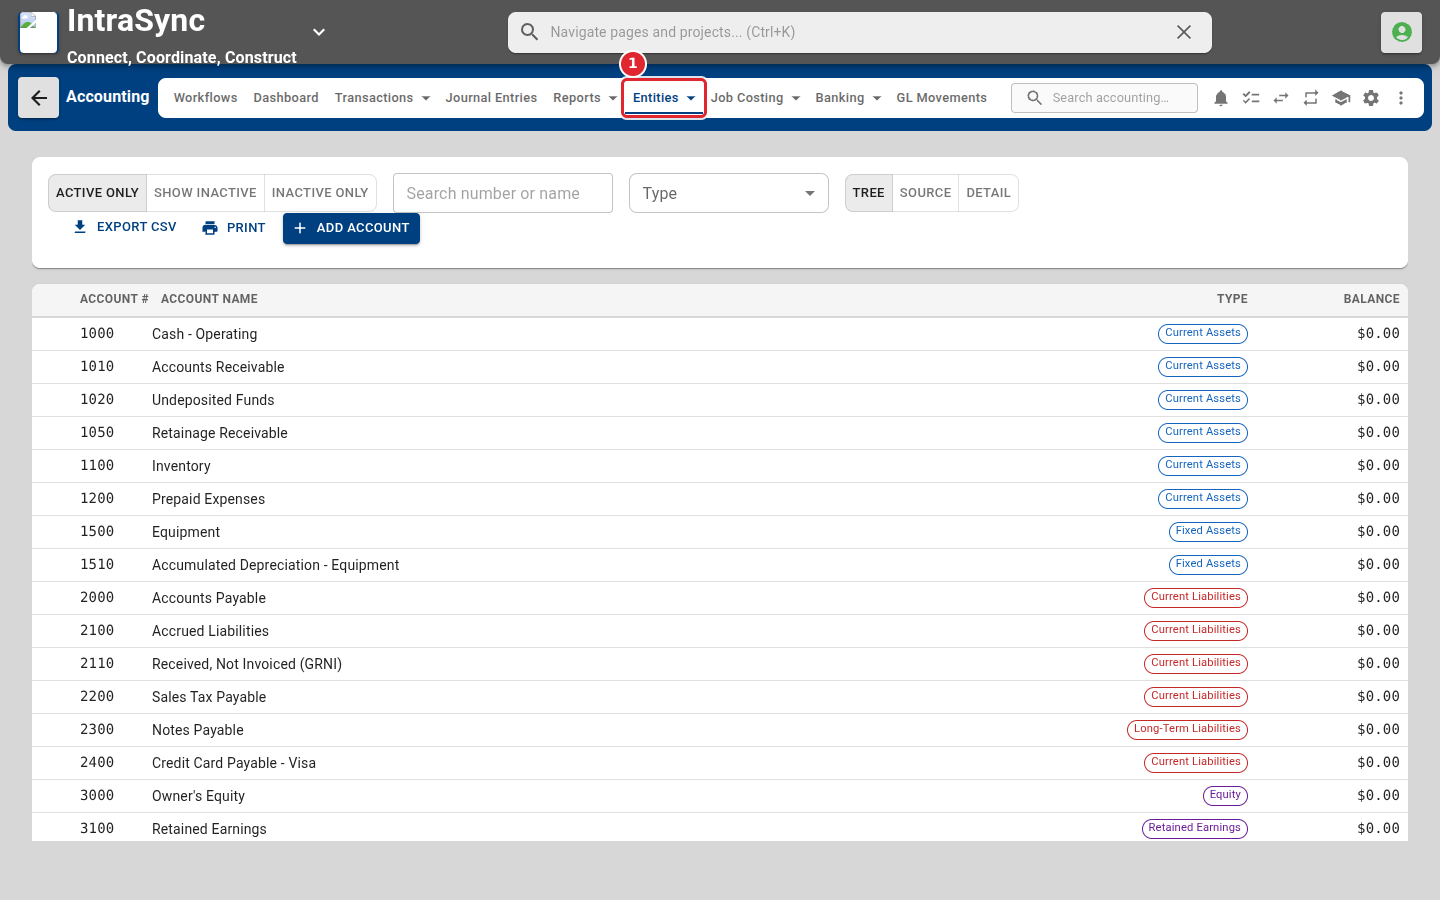
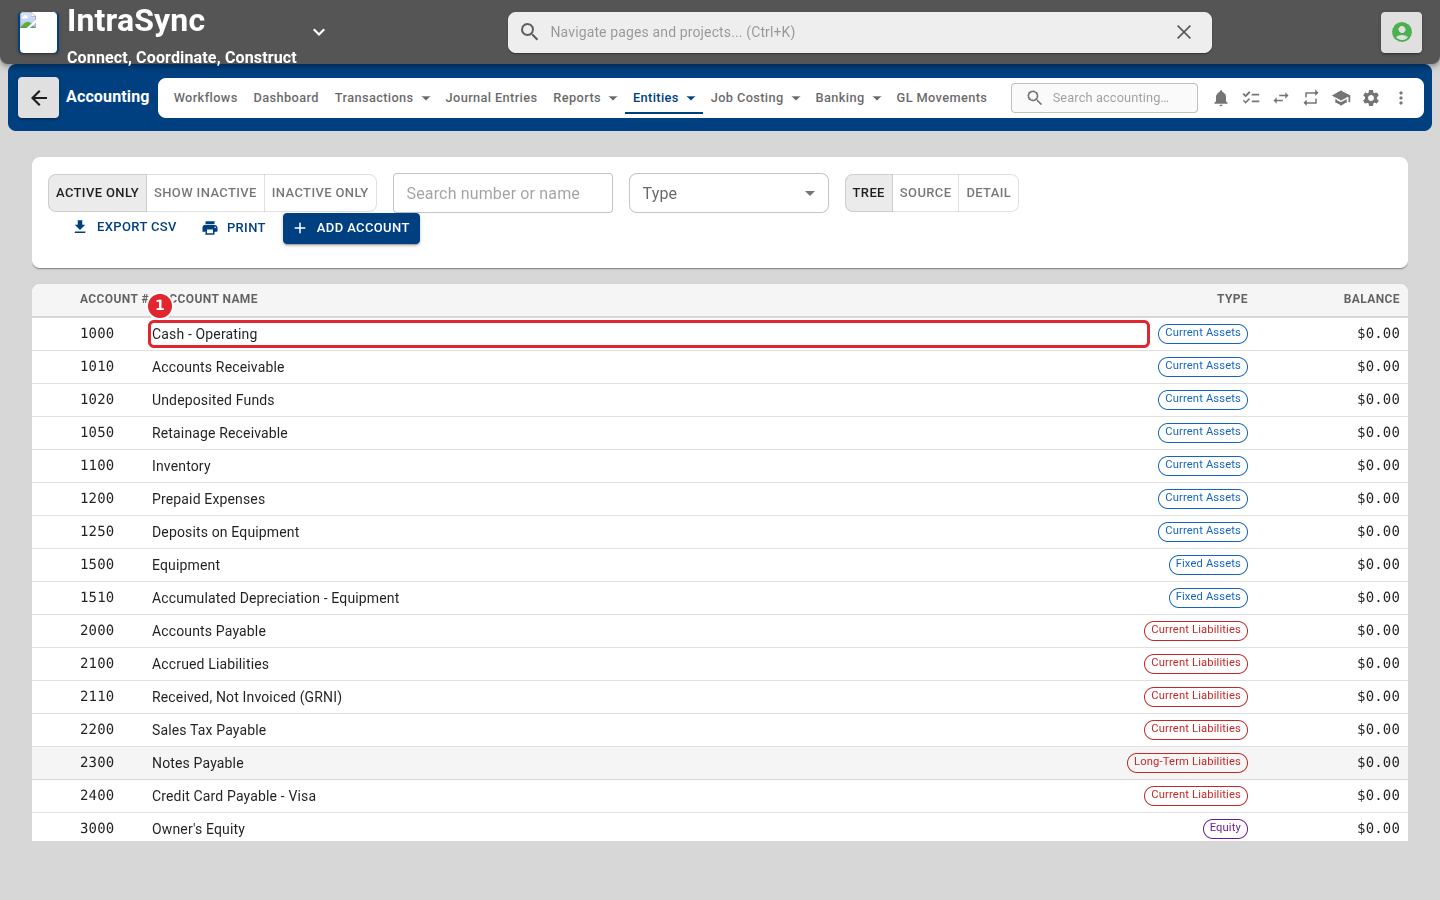
Select Entities > Chart of Accounts. Every account is listed with its type and balance.
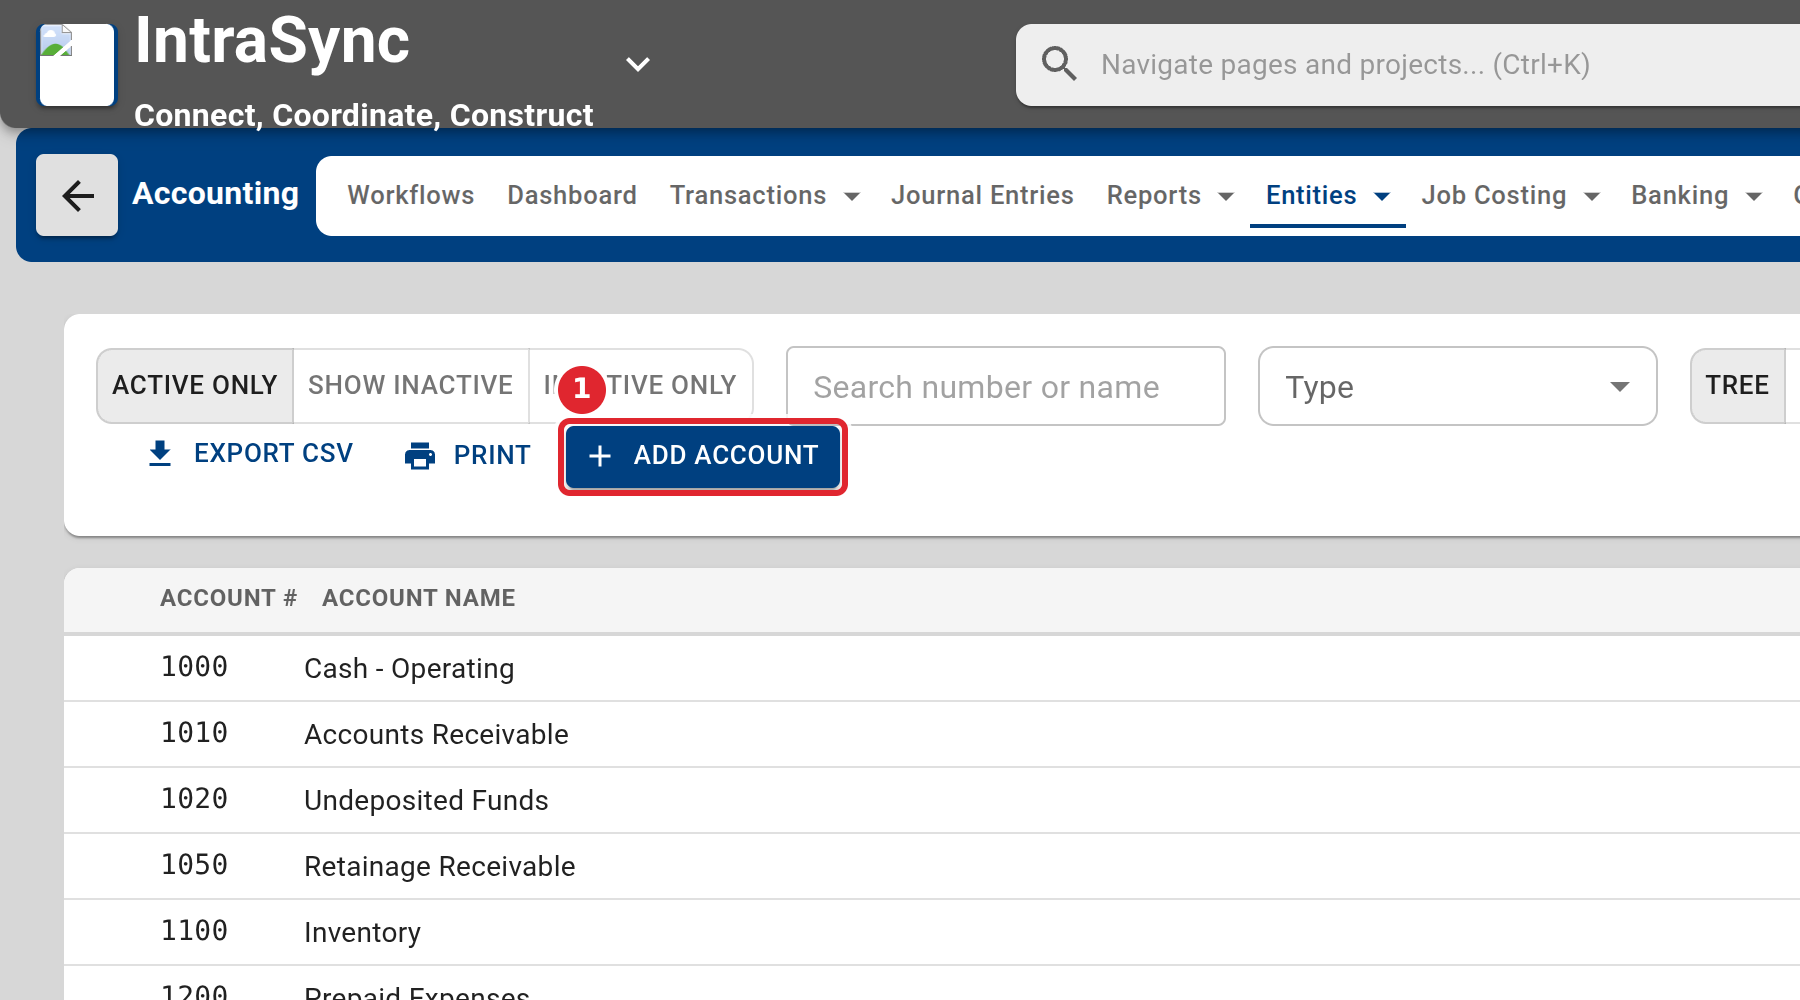
Select Add account.
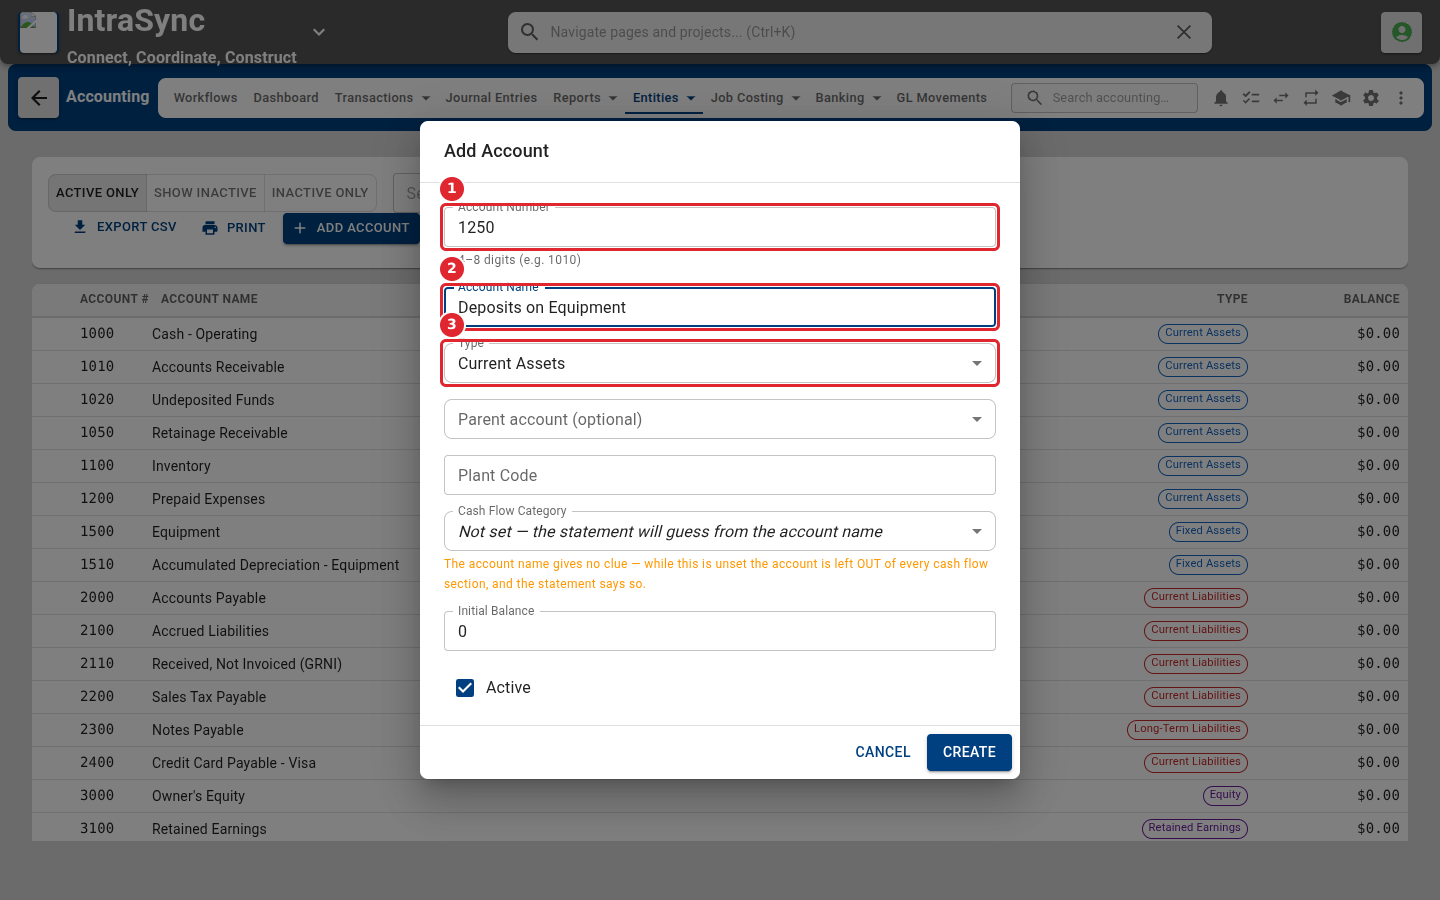
Enter the account number and name, then choose its type. Set a cash flow category so the cash flow statement places it.
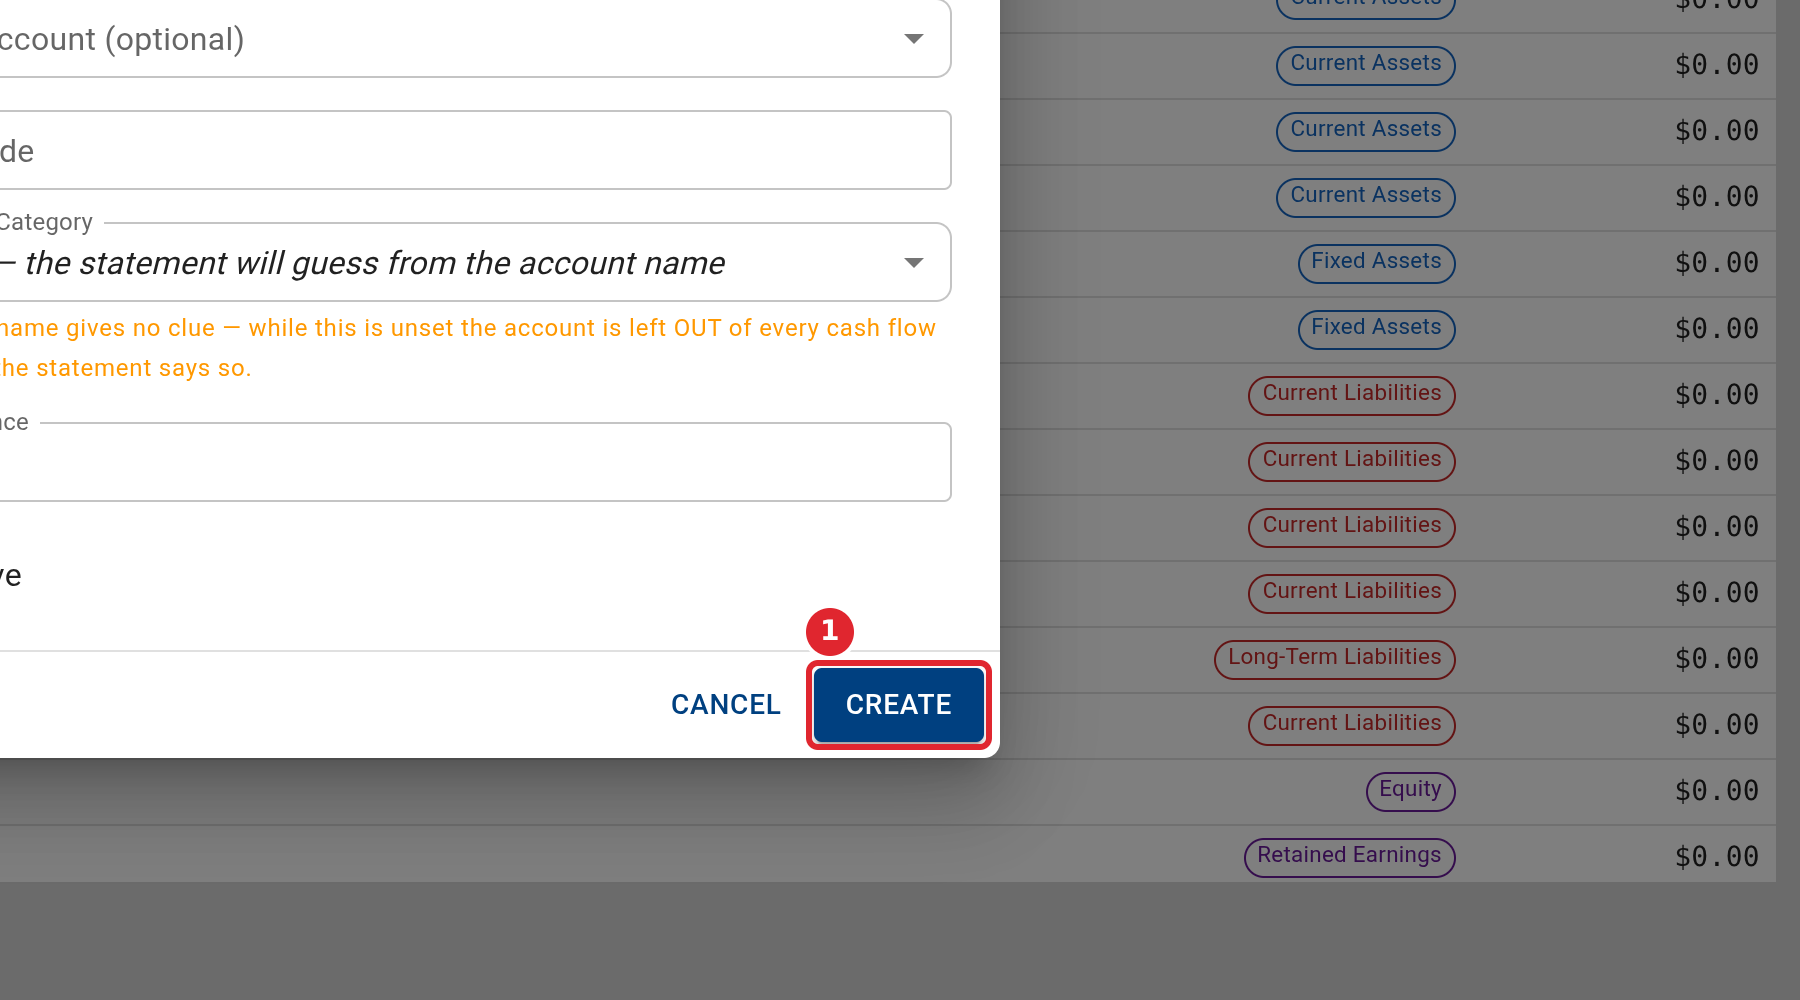
Select Create.
Select an account to open it.
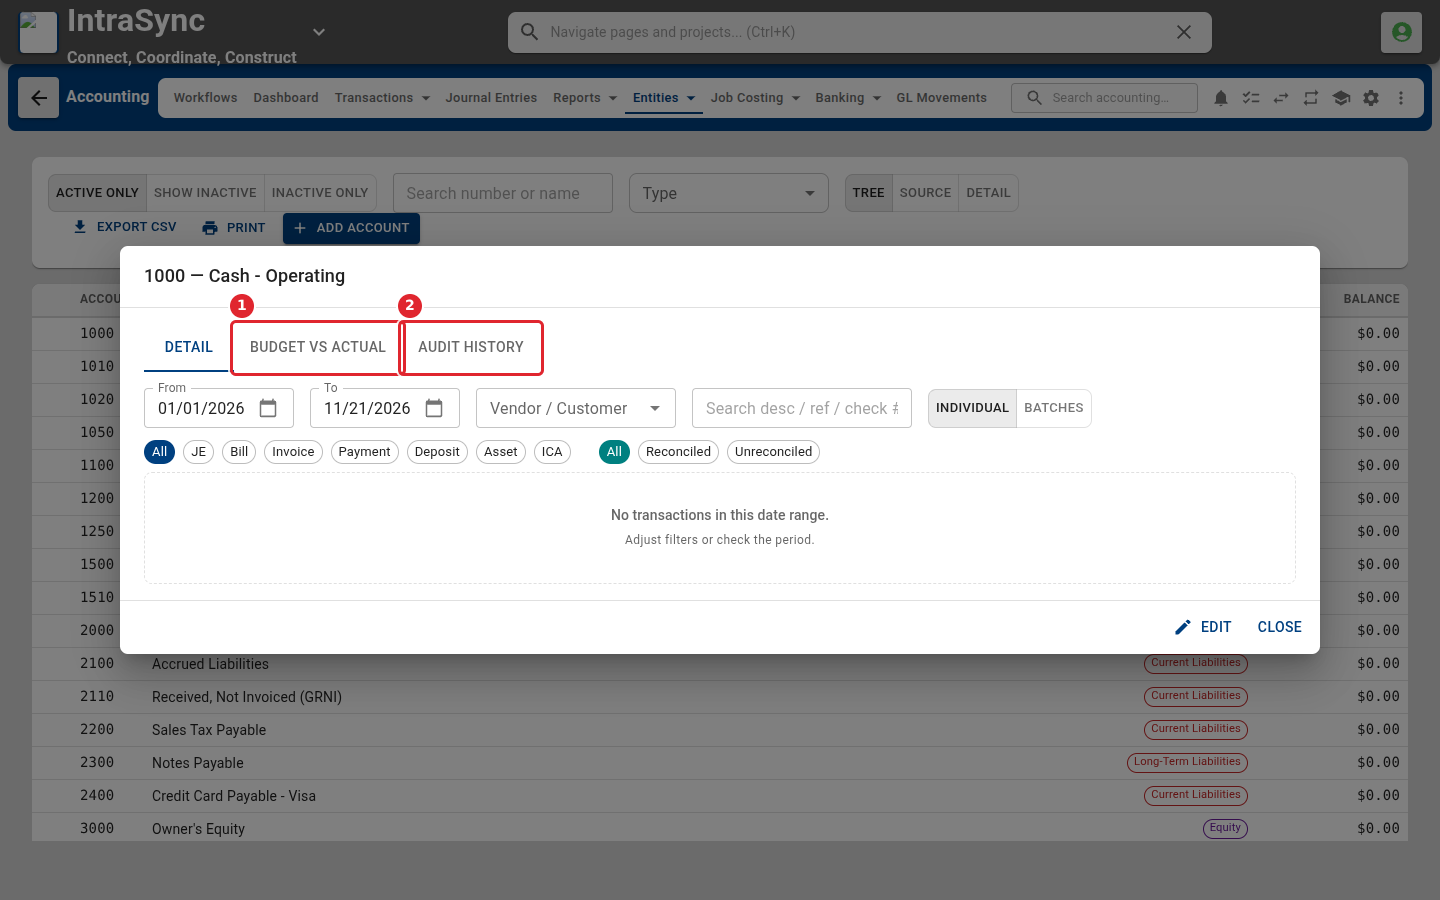
The account opens on its detail. Budget vs Actual and Audit history are beside it.
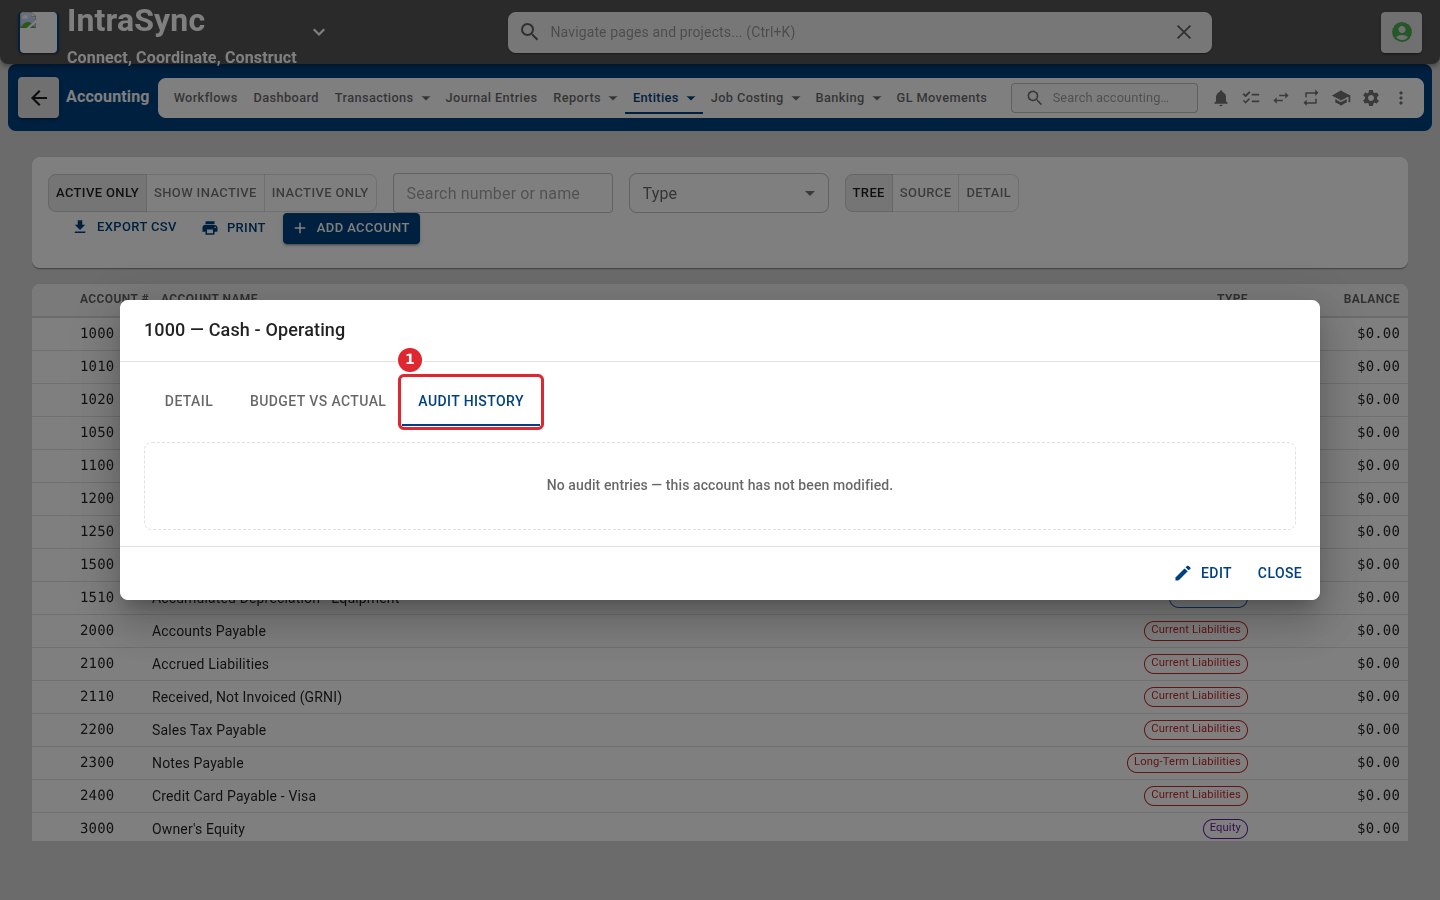
Audit history lists every change made to the account, by whom and when.
Tips
- The account name is required.
- The account number is four to eight digits.
- Set a cash flow category, or the account is left out of every cash flow section.