Accounting guide · section 6 of 28
Raise a purchase order
Order goods from a vendor and track what is still open against the order.
Watch this in the video (0:12)
Before you start
- The vendor exists (see Add a vendor).
Steps
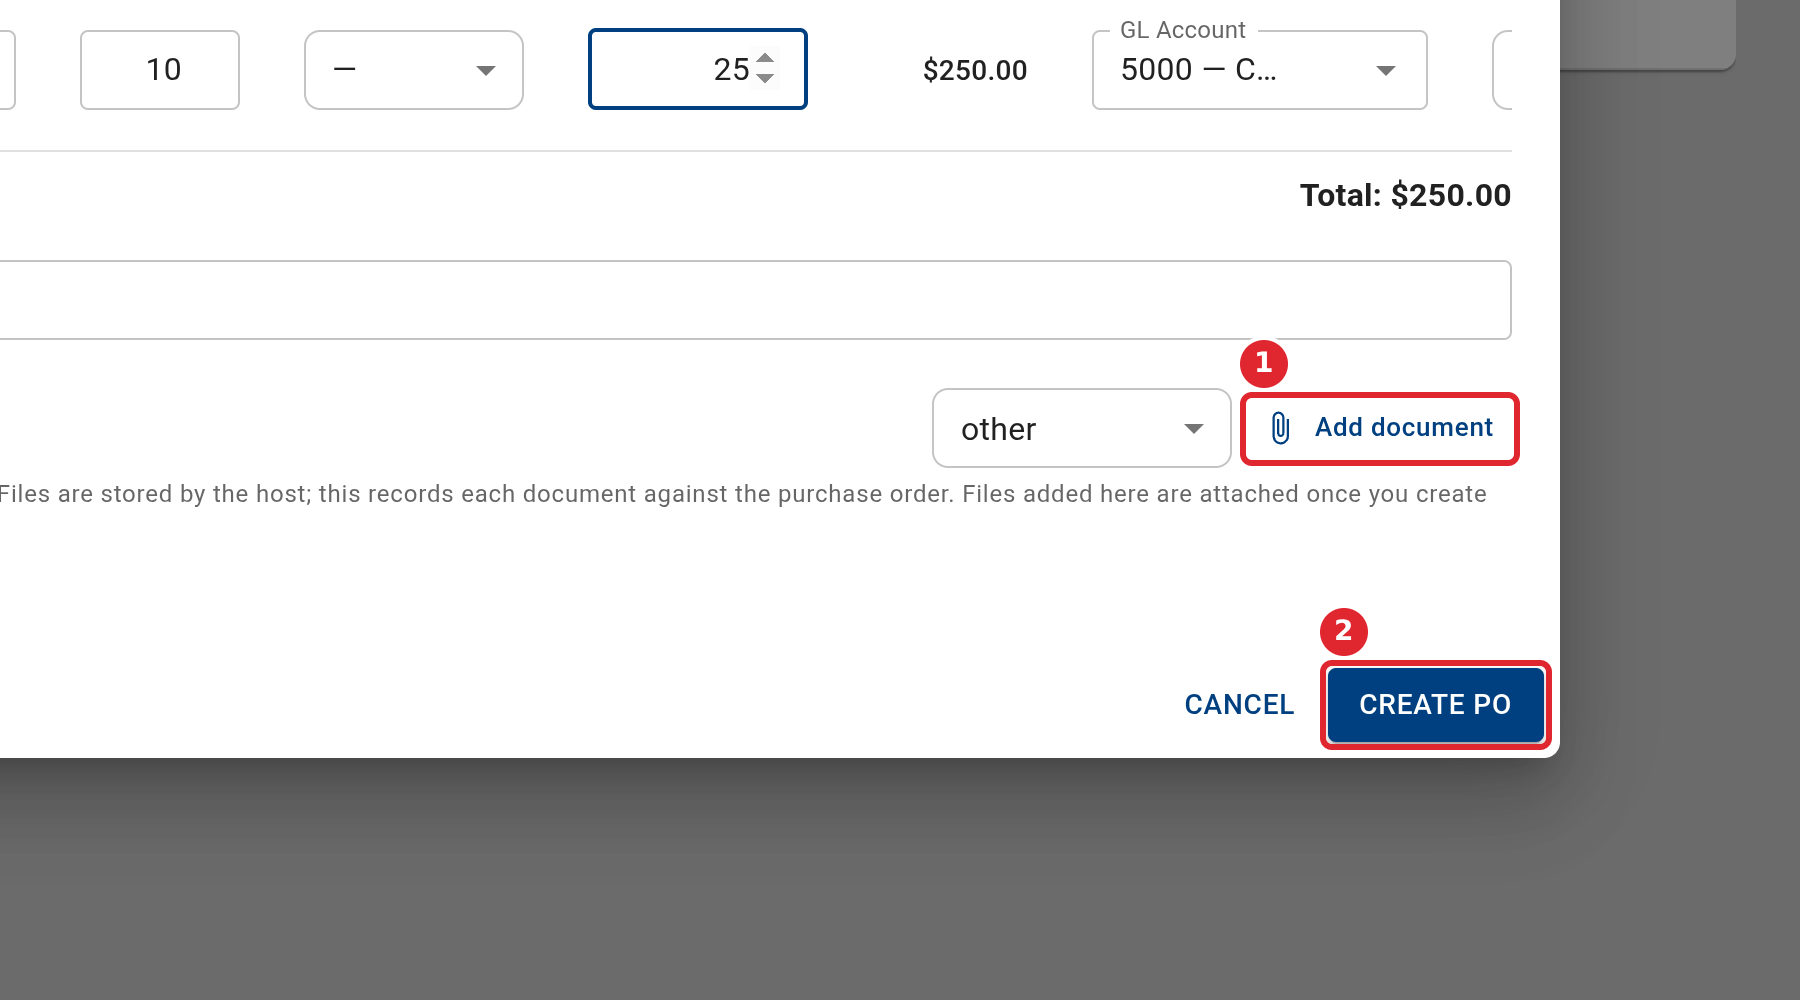
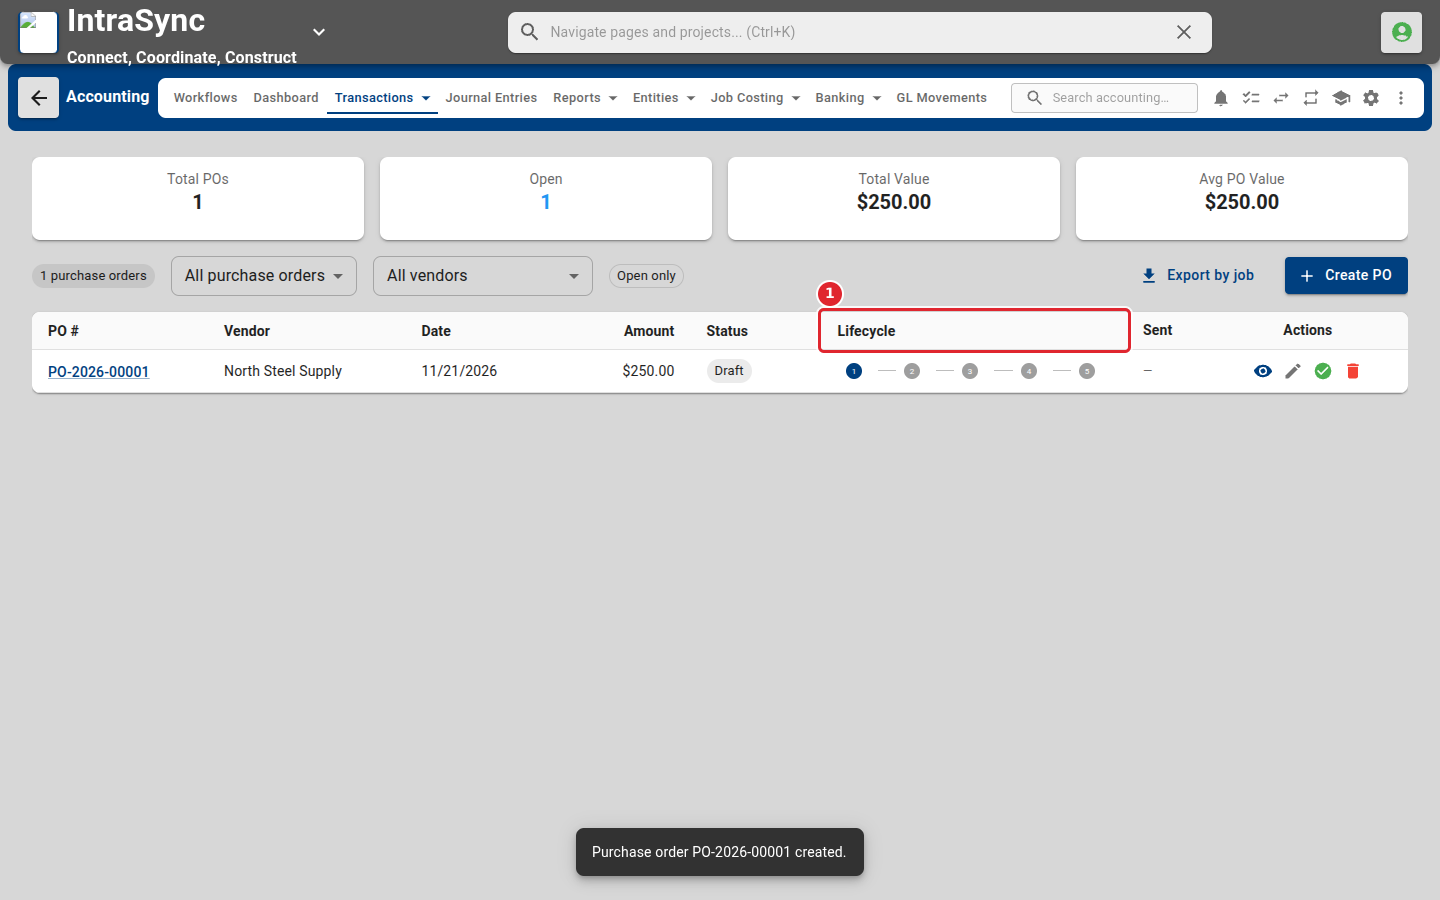
In the pictures, a numbered red box marks where to click or type. Where a picture has more than one box, the numbers give the order.
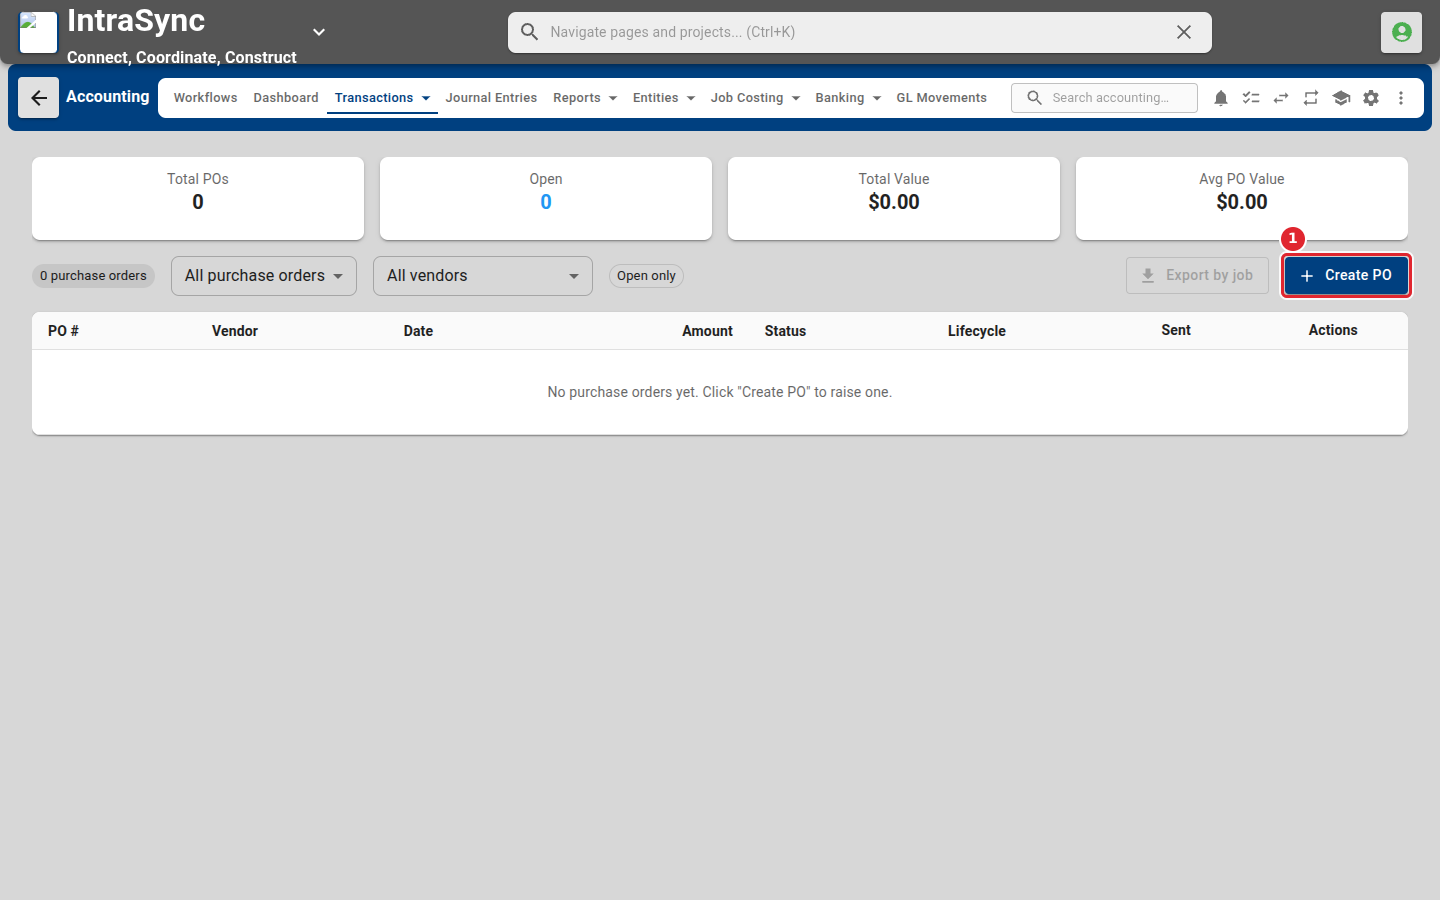
Select Transactions > Purchases > Purchase Orders, then select Create PO.
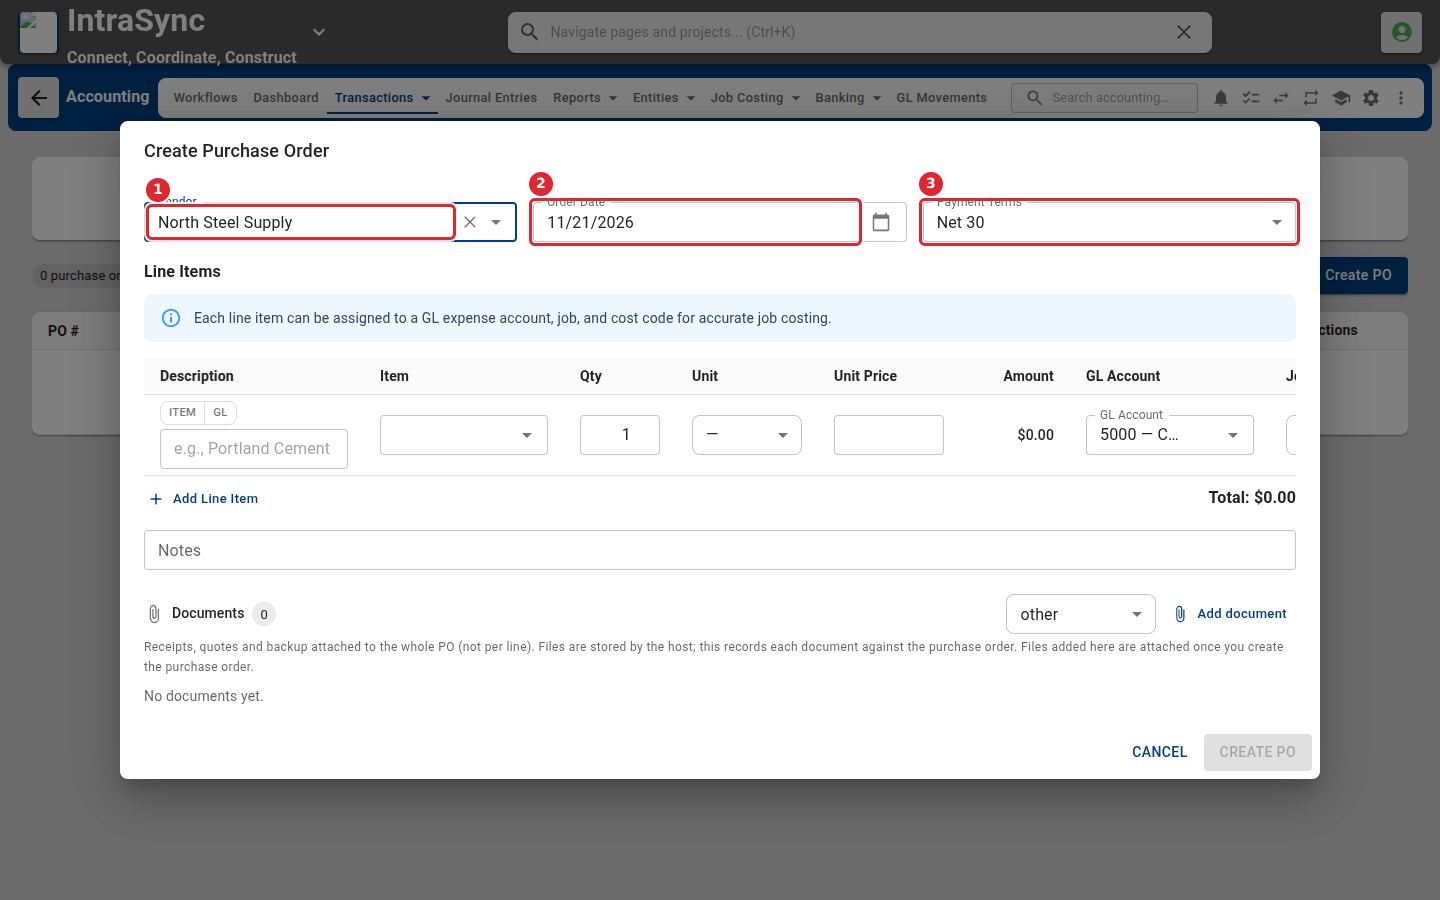
Choose the vendor, then check the order date and payment terms.
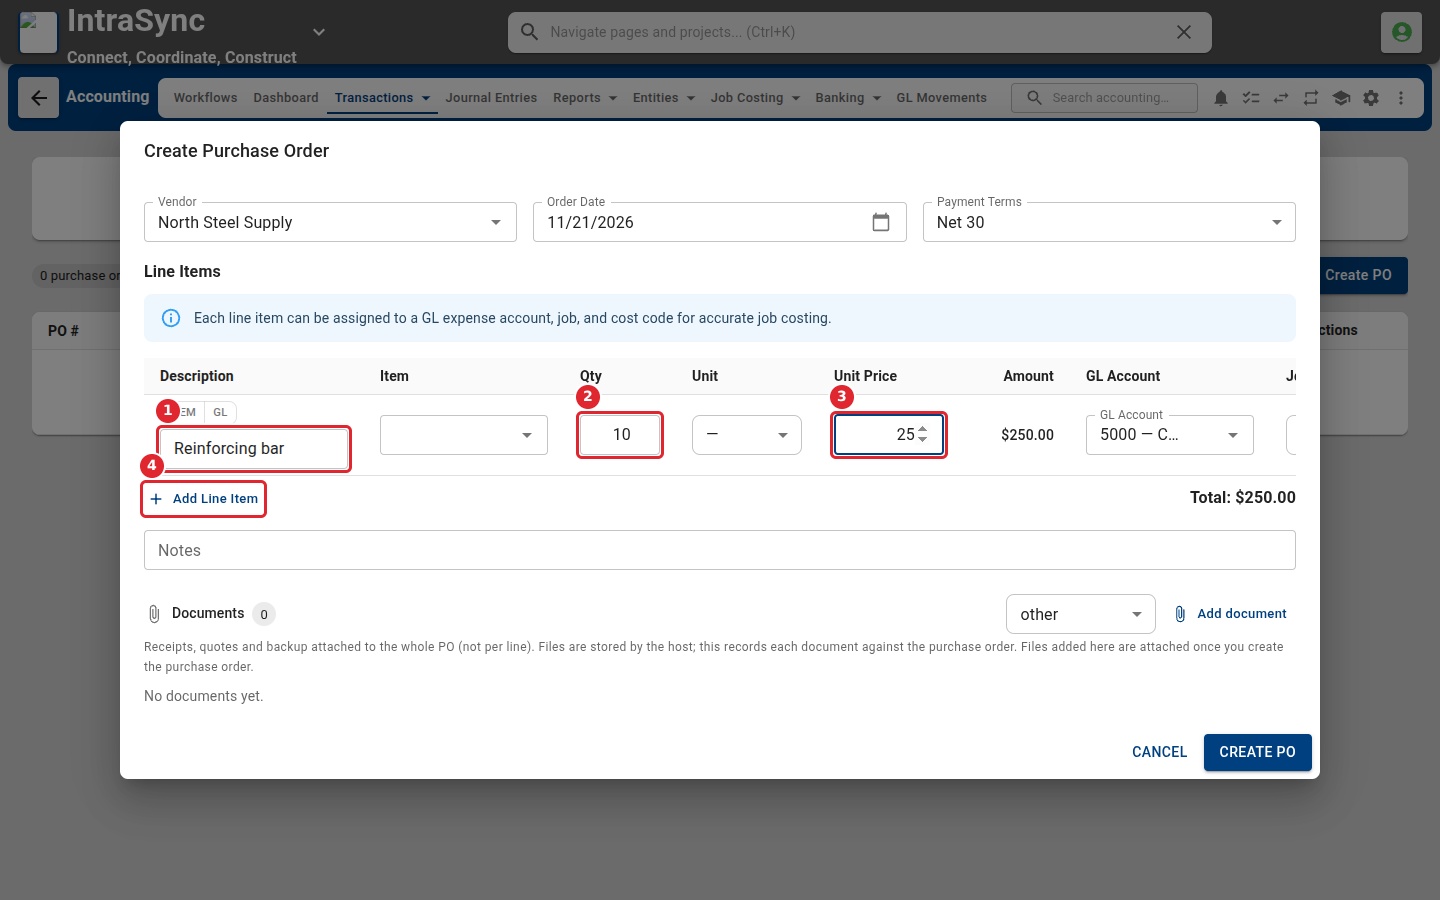
For each line, enter a description, the quantity and the unit price. Add Line Item adds another line.
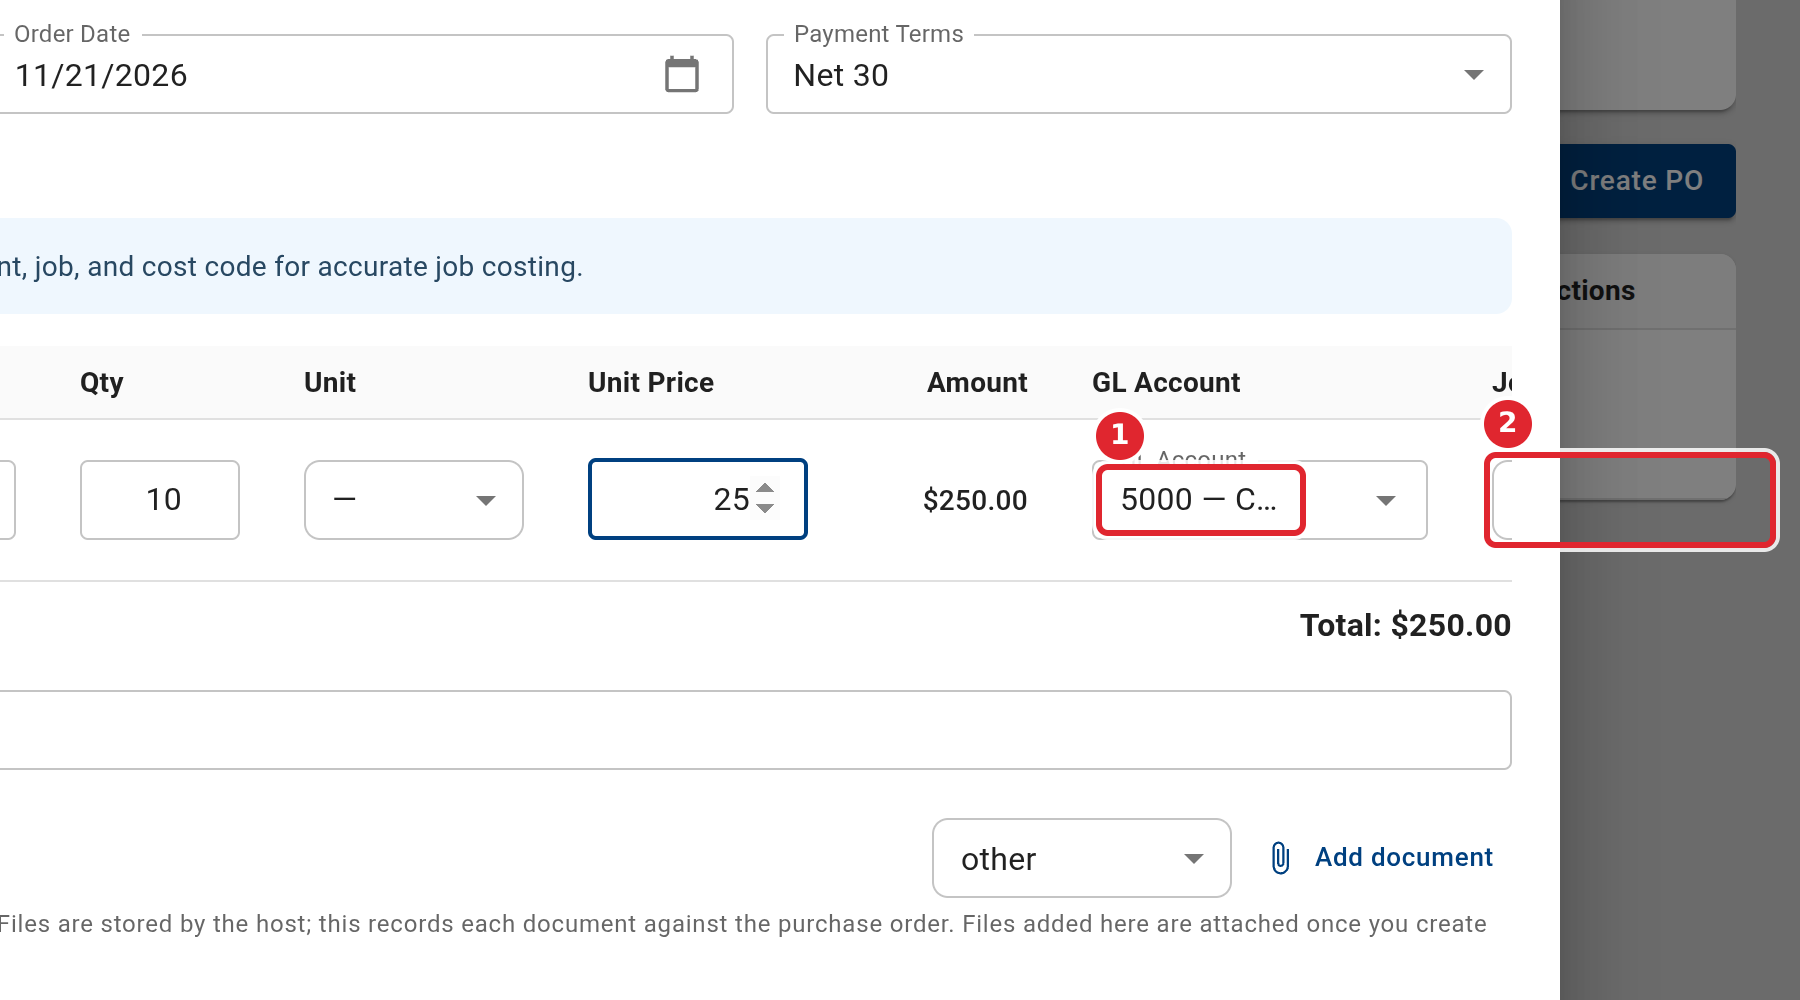
Assign each line a GL account, and a job and cost code when the purchase is for a job.
Attach quotes or backup under Documents if you have them, then select Create PO.
The new order appears in the list with its status and lifecycle.
Tips
- Create PO stays unavailable until the order's required fields are filled in.
- Assign a job and cost code on each line so the cost lands in job costing.
- Goods received against an order appear under Transactions > Purchases > Inventory Receipts until they are billed.