Add a person
Give a new member of staff their own sign-in, with the roles that decide what they can reach.
Watch this in the video (0:19)
Before you start
- You are an administrator.
Steps
In the pictures, a numbered red box marks where to click or type. Where a picture has more than one box, the numbers give the order.
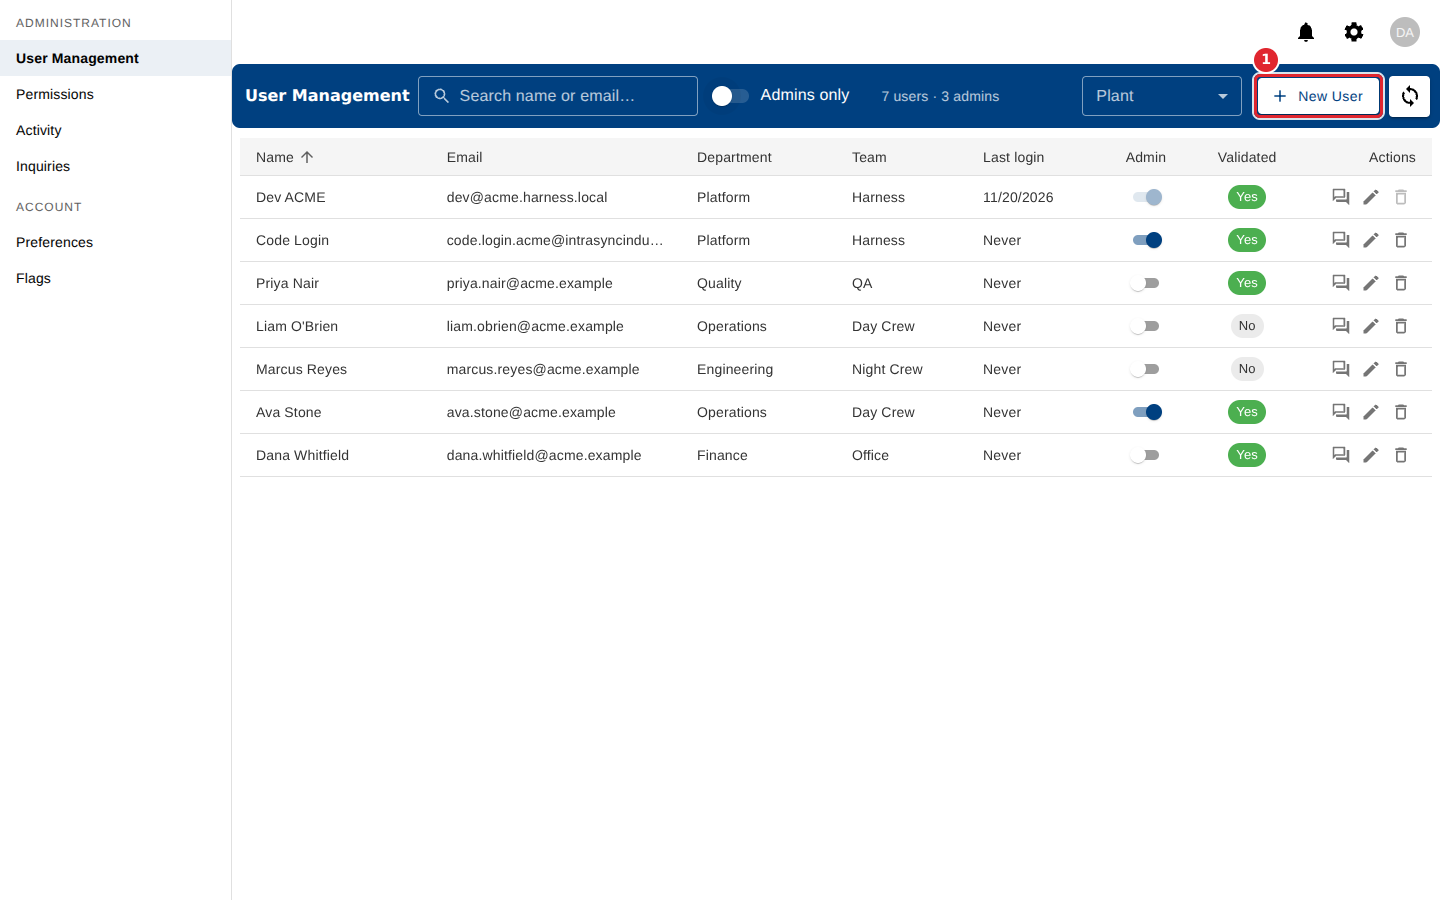
On User Management, select New User.
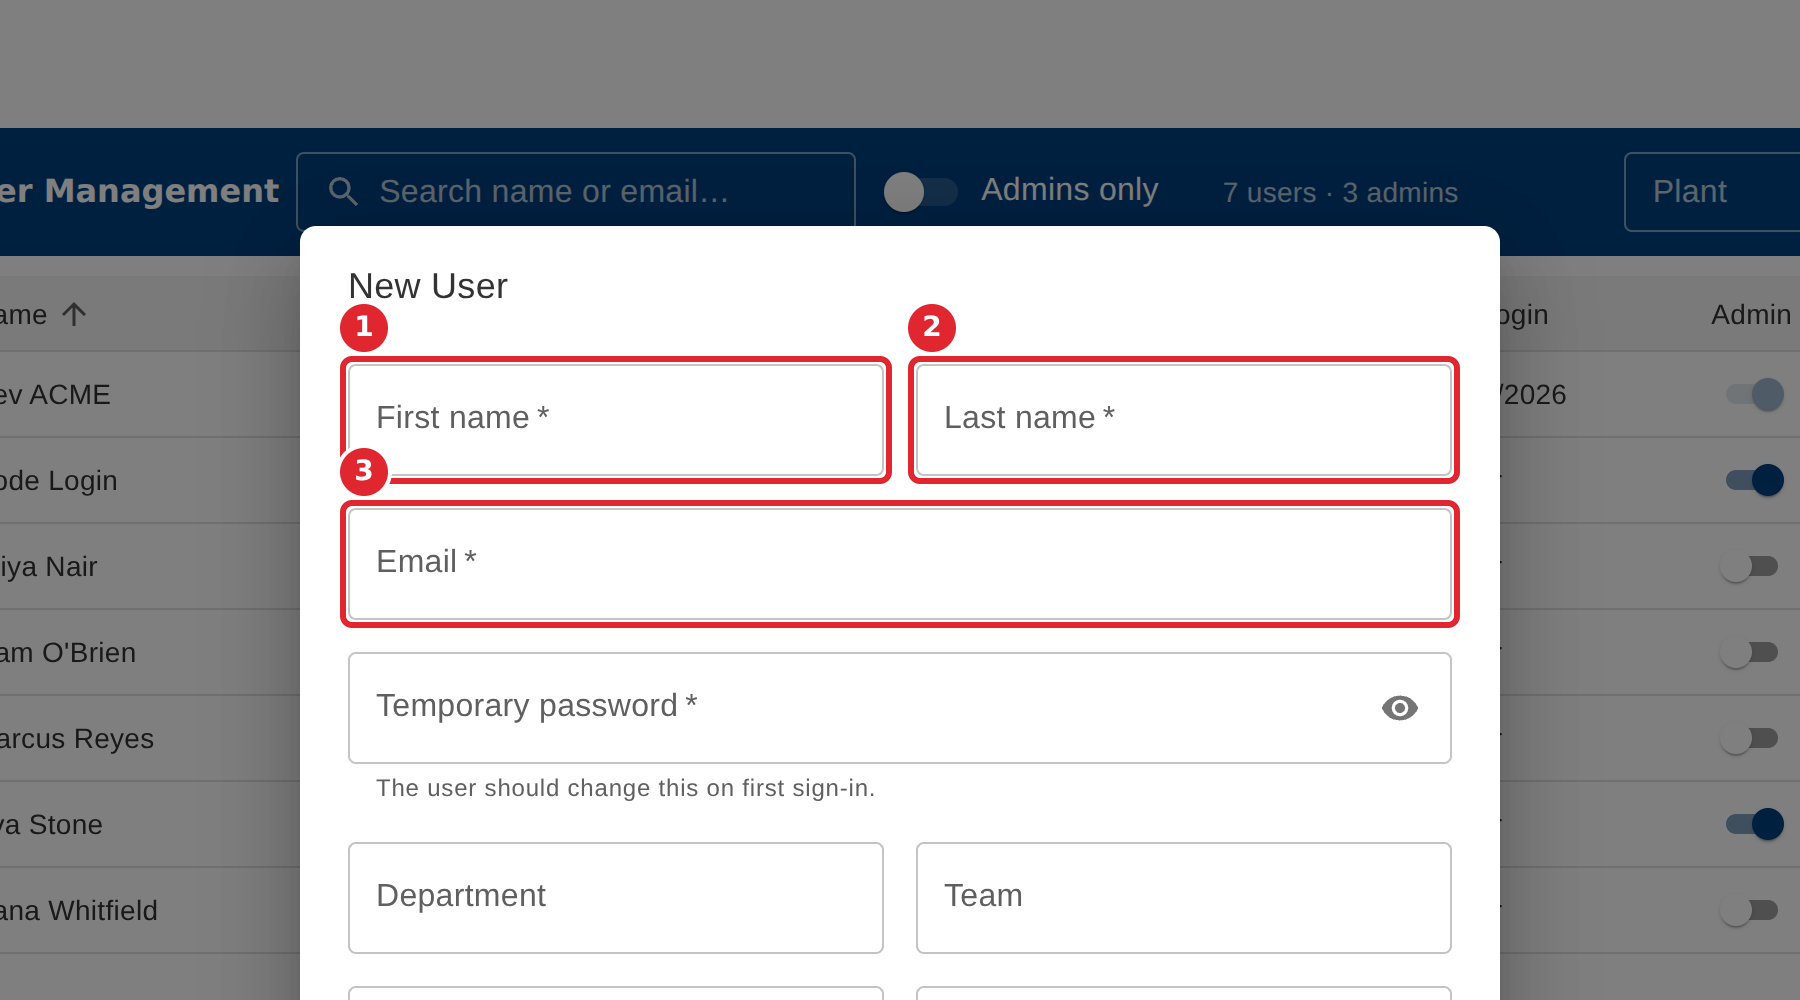
Fill in First name, Last name and Email. All three are required.
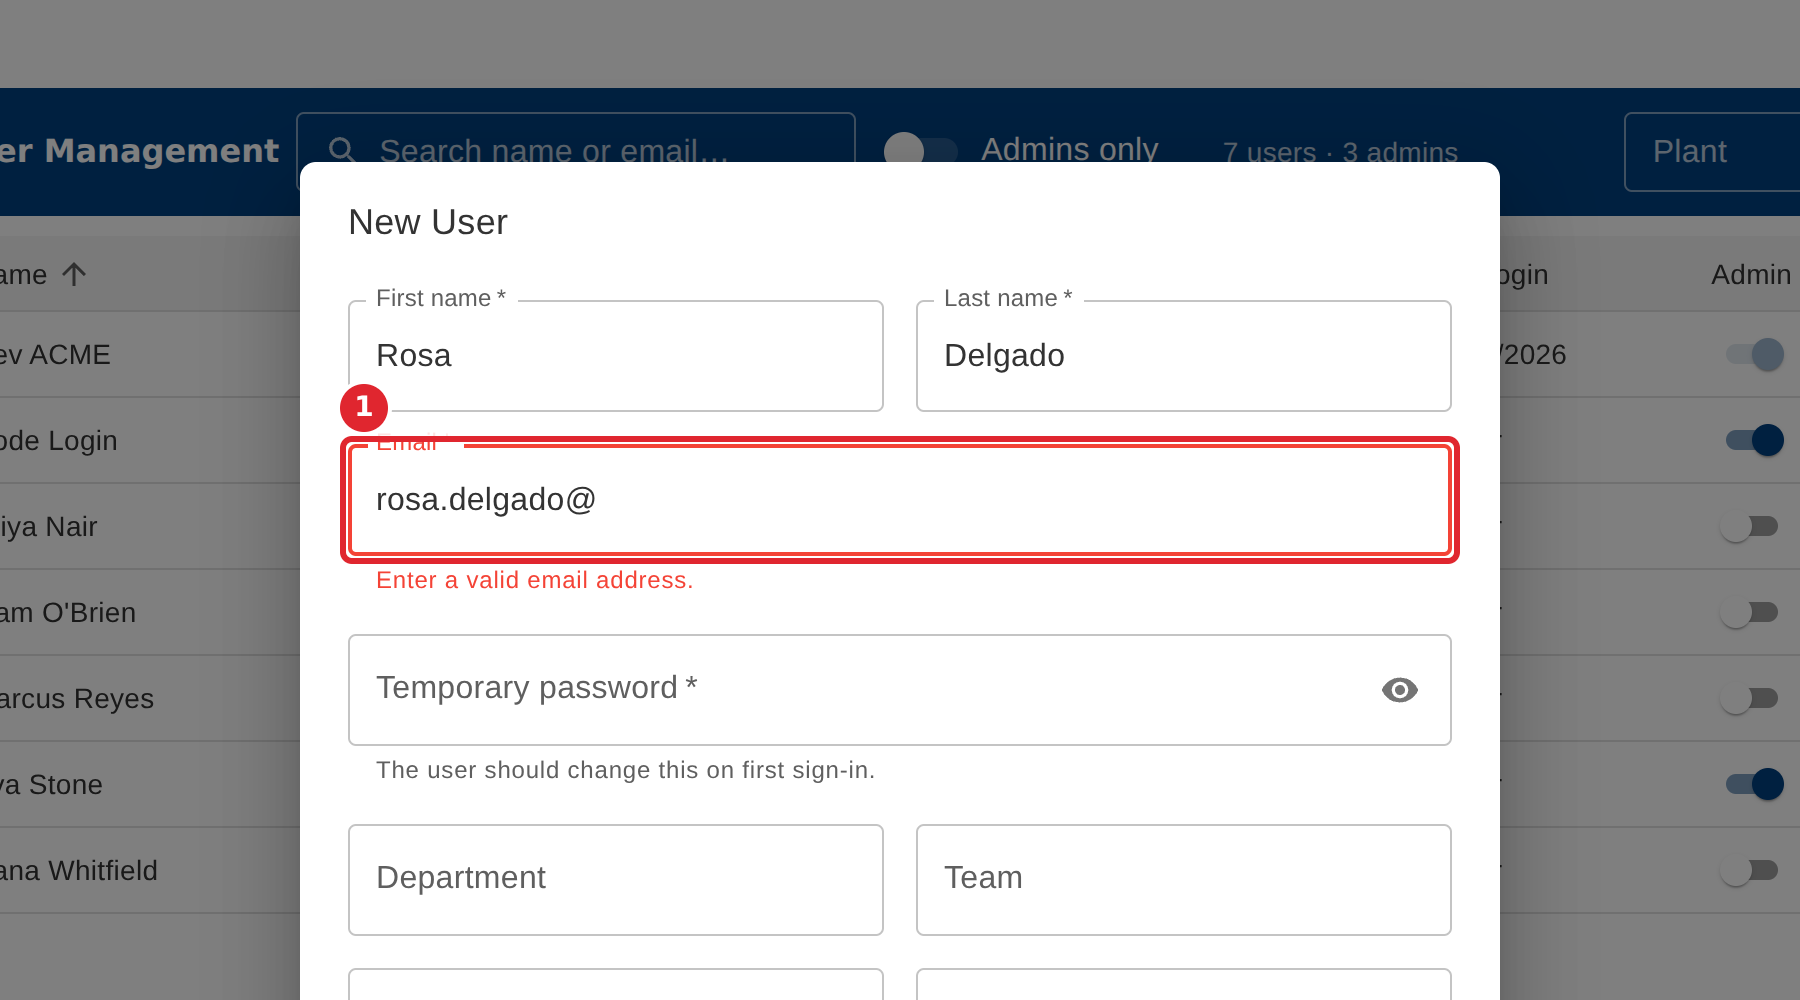
If the email is not complete, the form says so and Save stays unavailable.
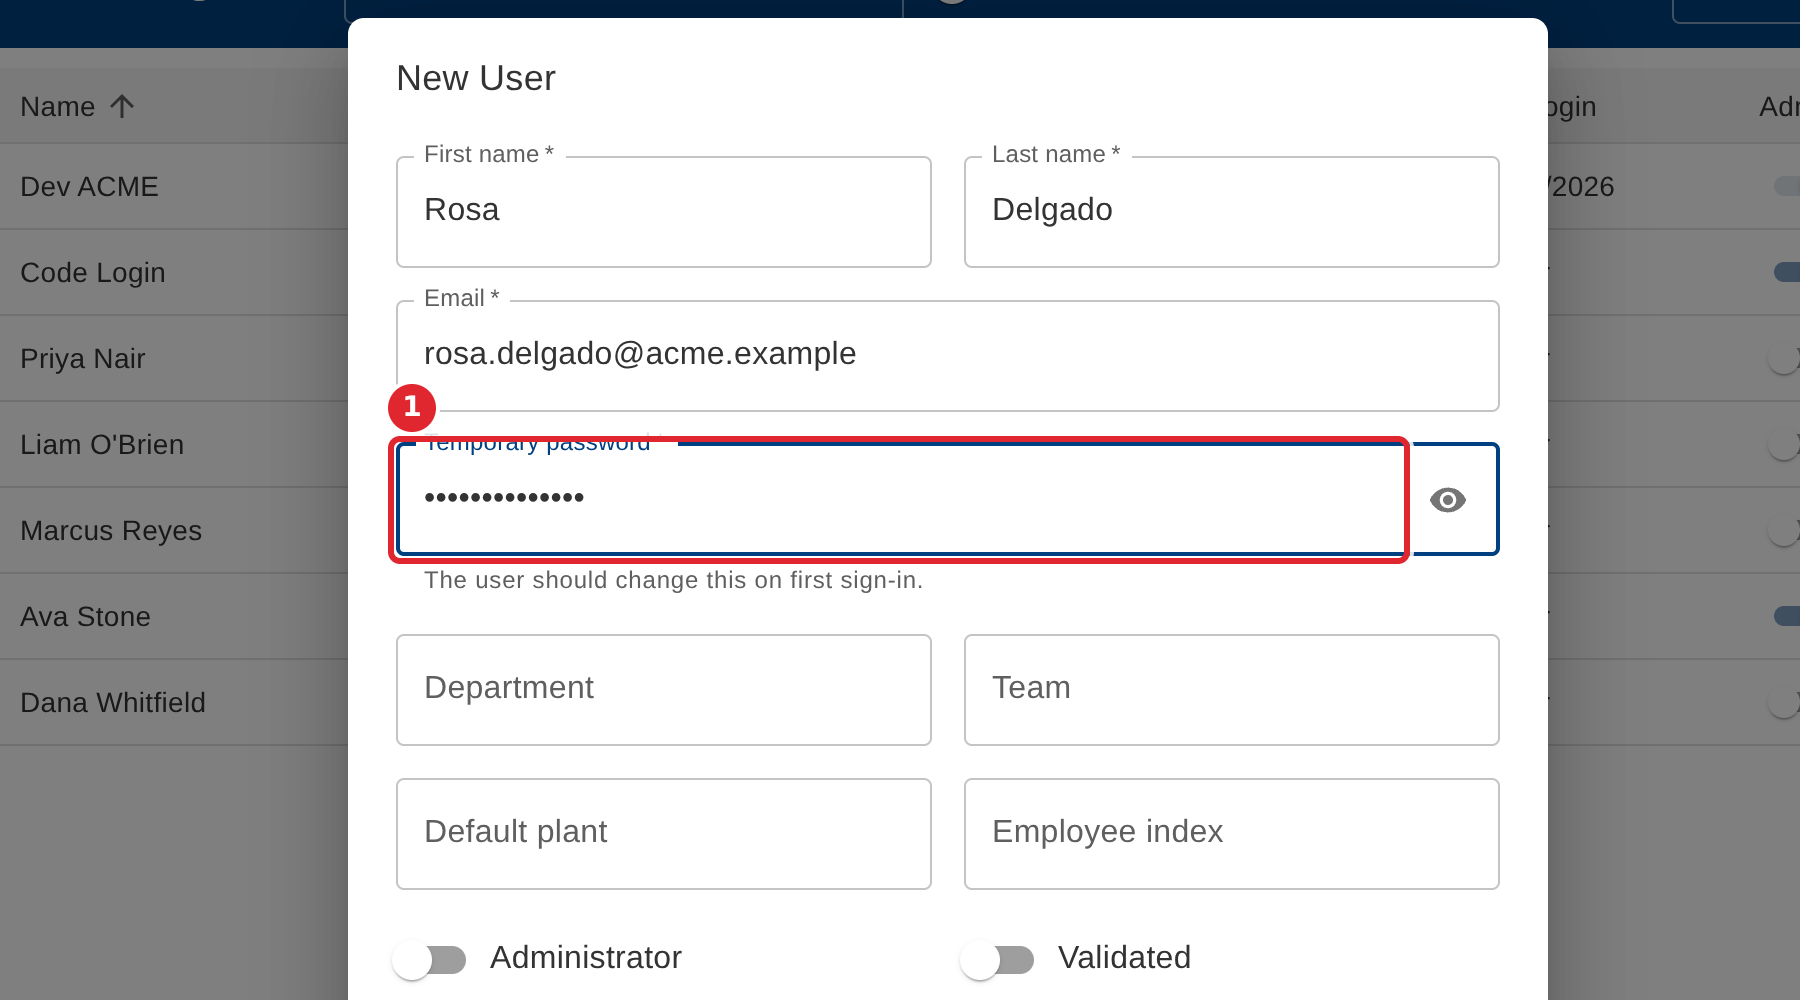
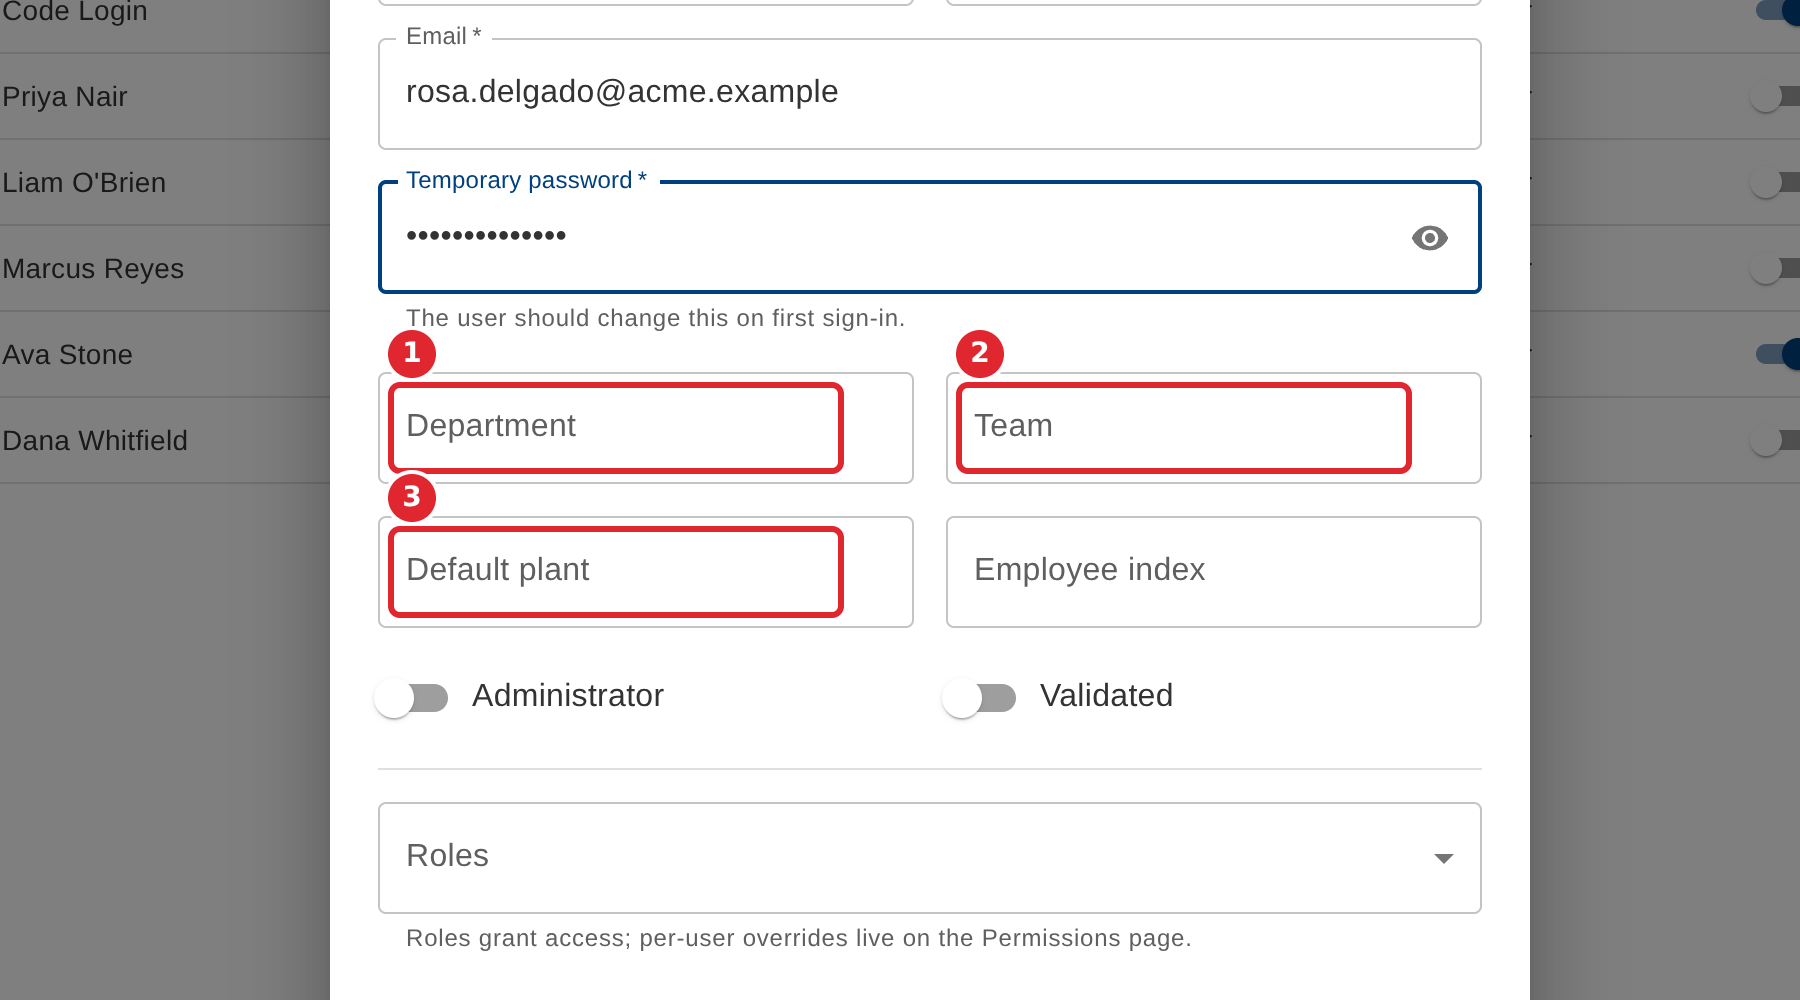
Enter a temporary password. The person should change it the first time they sign in.
Optionally fill in Department, Team, Default plant and Employee index, and turn on Administrator or Validated.
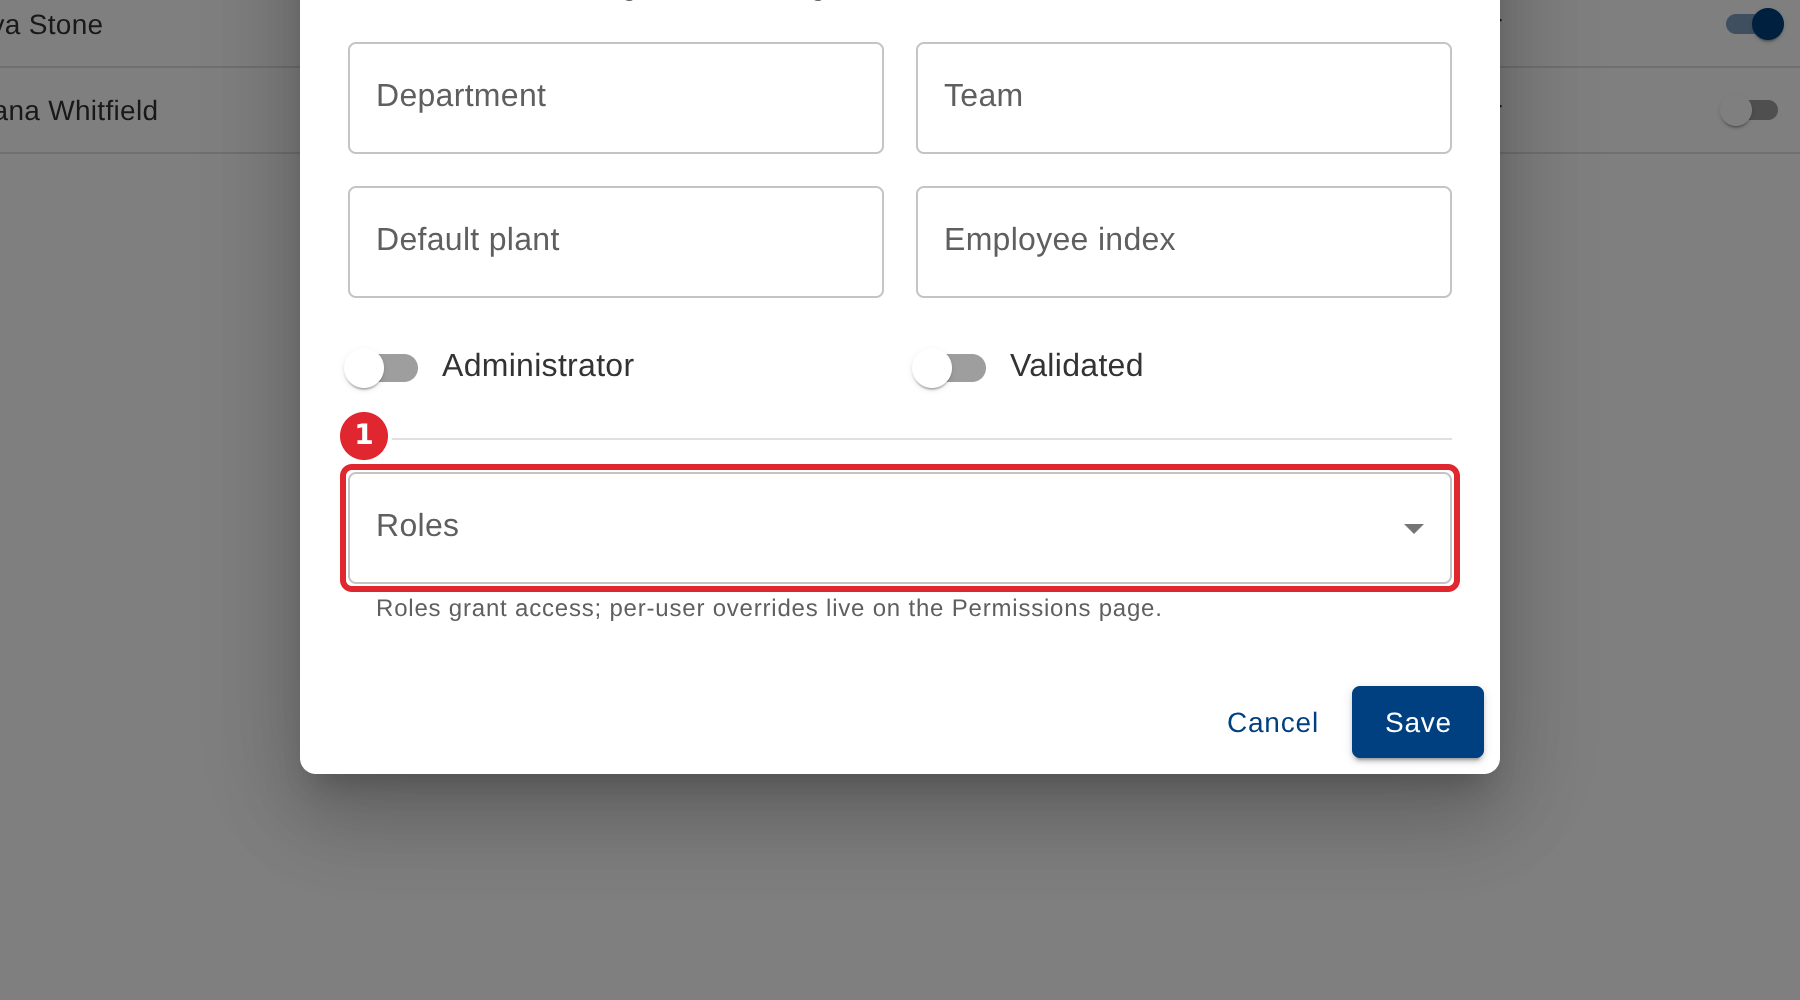
Choose one or more Roles. Roles decide what the person can reach.
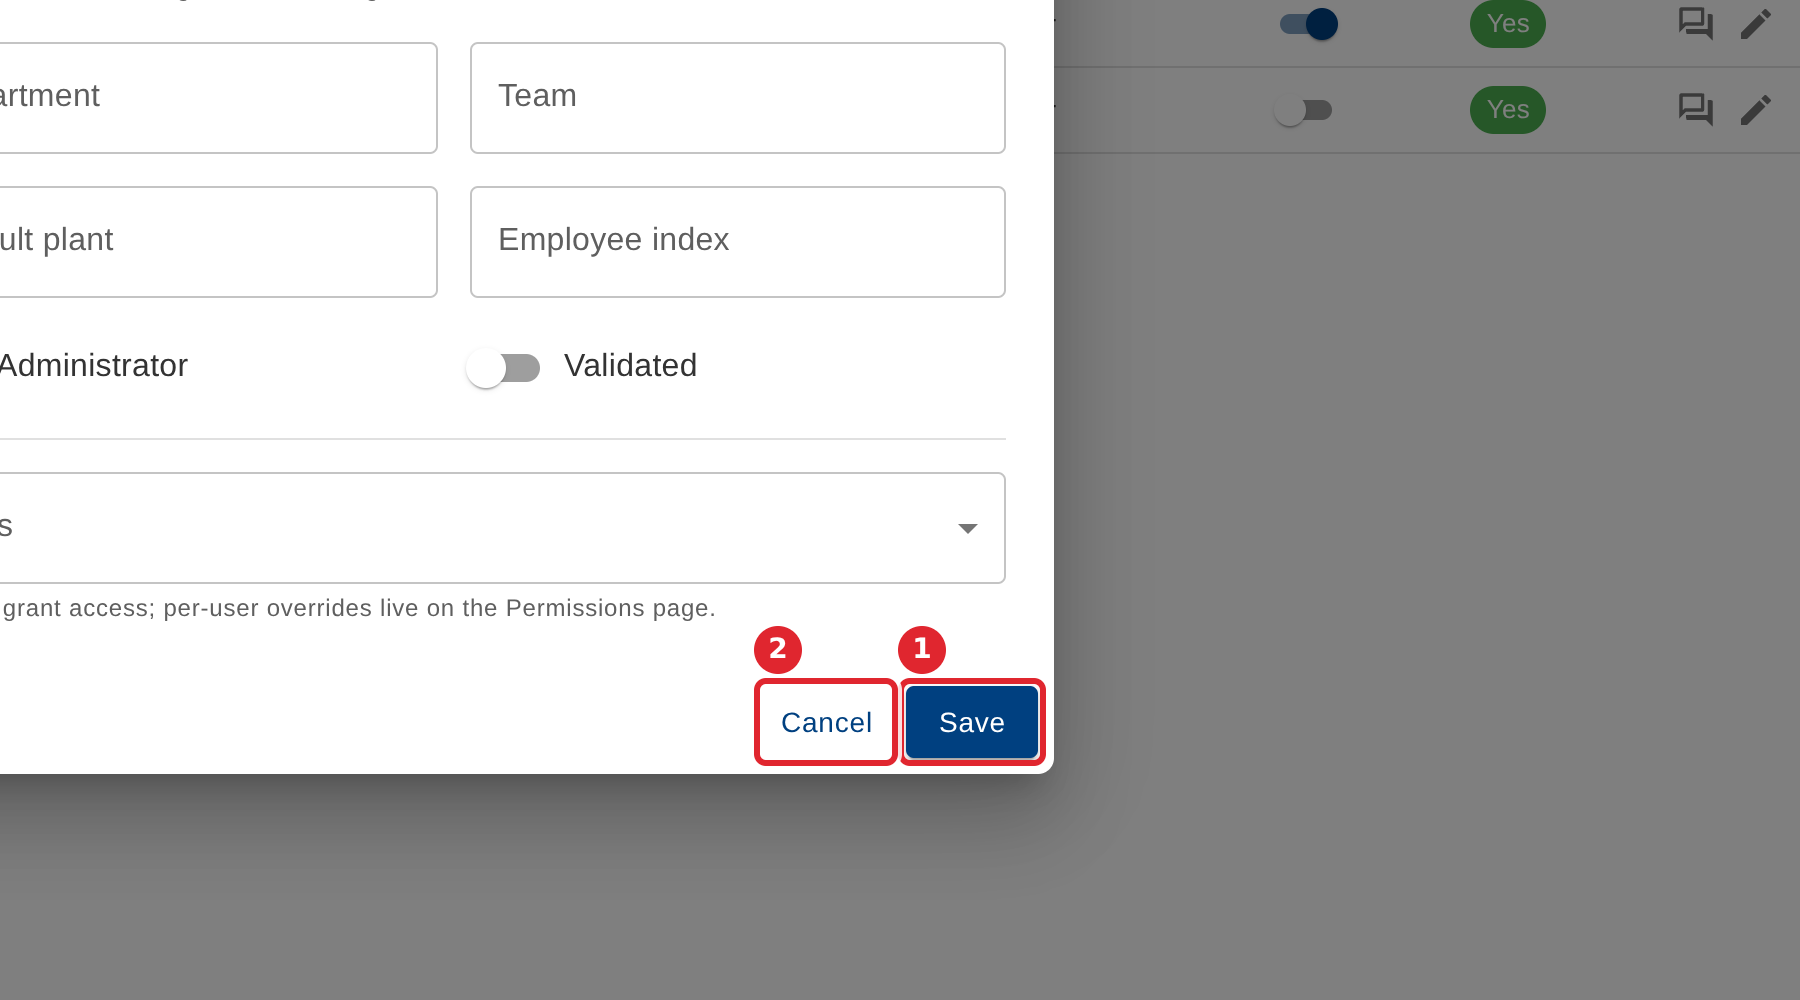
Select Save. Select Cancel to close without adding the person.
Tips
- Save stays unavailable until First name, Last name, a valid email and a temporary password are filled in.
- If the form says Enter a valid email address, the email is incomplete or mistyped.
- A short password is accepted, but eight characters or more is recommended.
- Department and Team suggest your company's own lists. Text that matches no entry is saved as text only and is not linked to a department or team.
- If you close the form after typing in it, you are asked whether to discard your changes or keep editing.