Core guide · section 8 of 21
Create a role
Describe a job once, with the access it needs, and give it to everyone who does that job.
Watch this in the video (0:48)
Before you start
- You are an administrator.
Steps
In the pictures, a numbered red box marks where to click or type. Where a picture has more than one box, the numbers give the order.
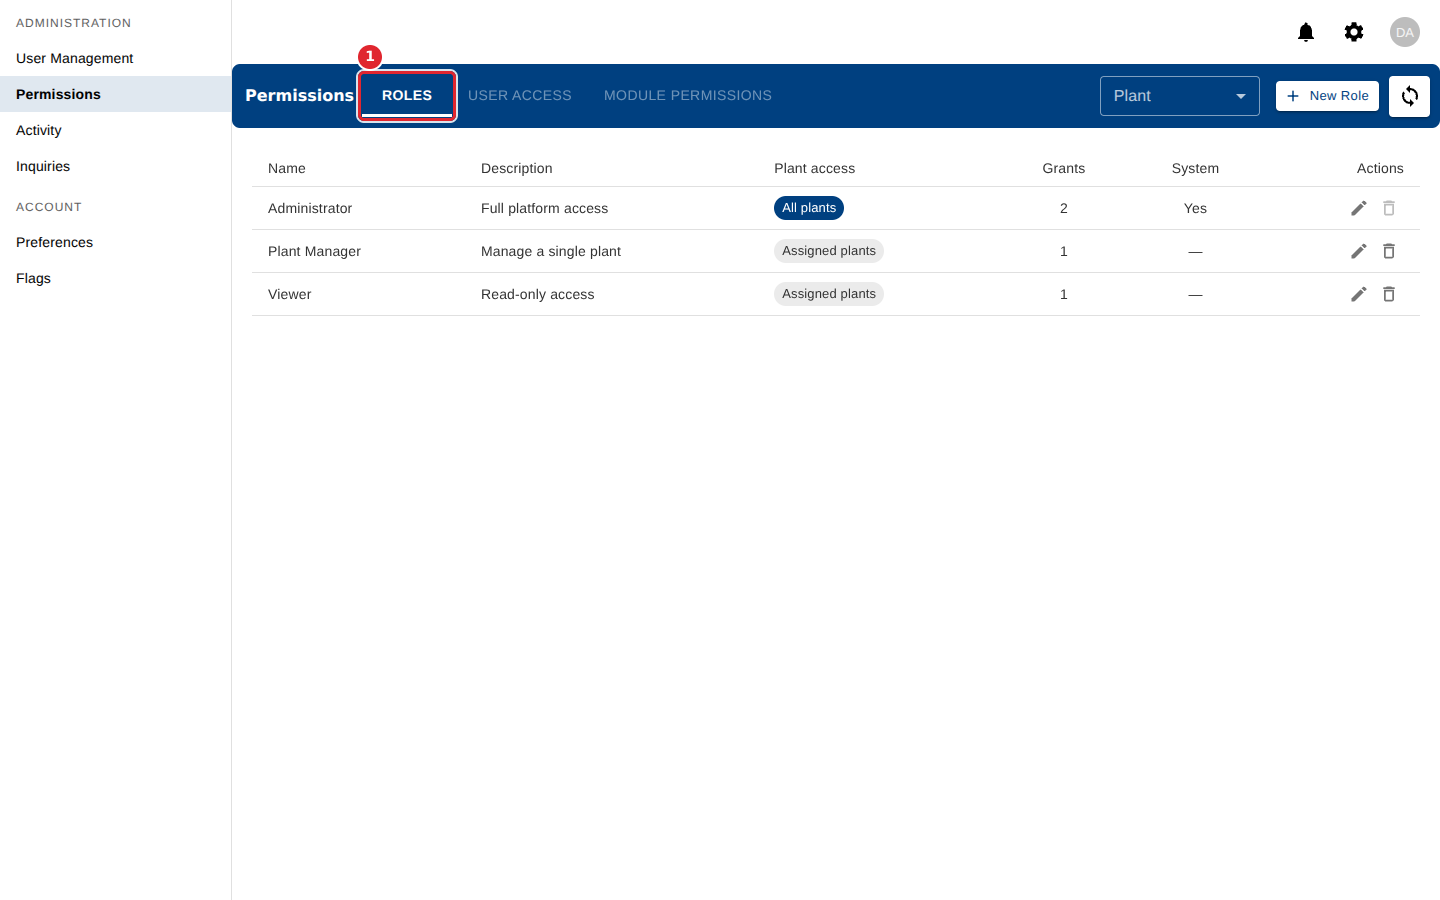
Open Permissions. The Roles tab lists your company's roles and what each one grants.
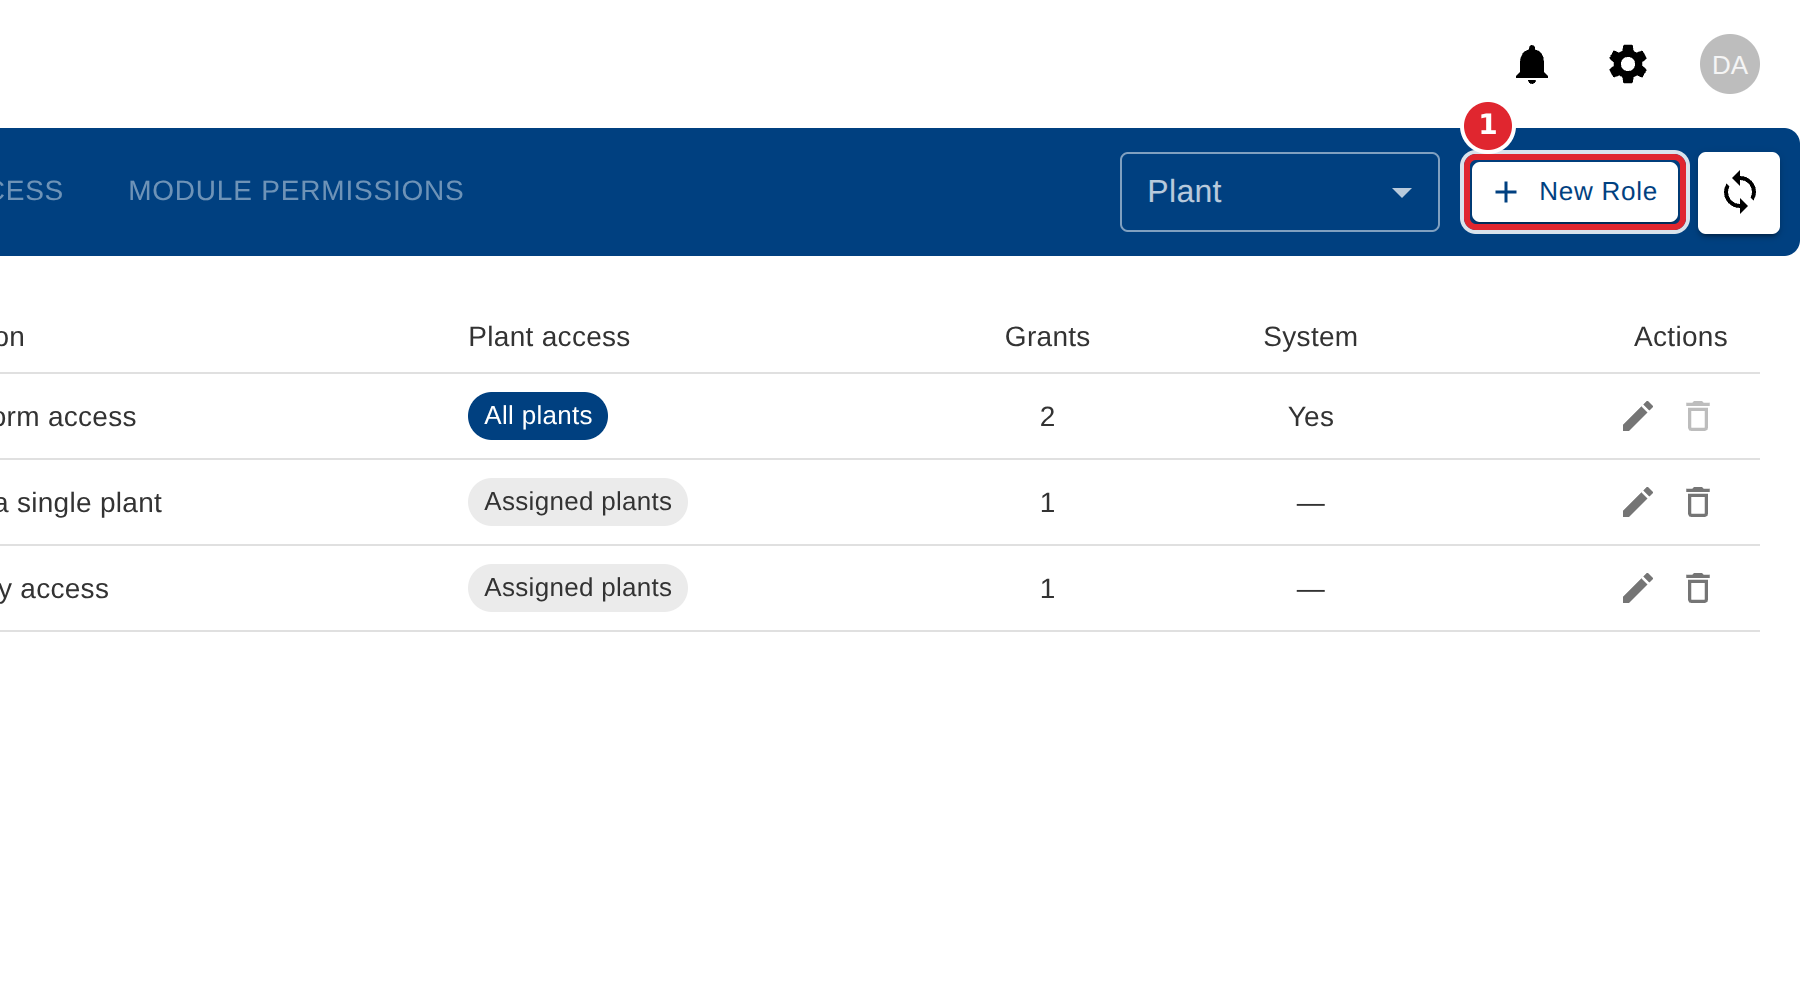
Select New Role.
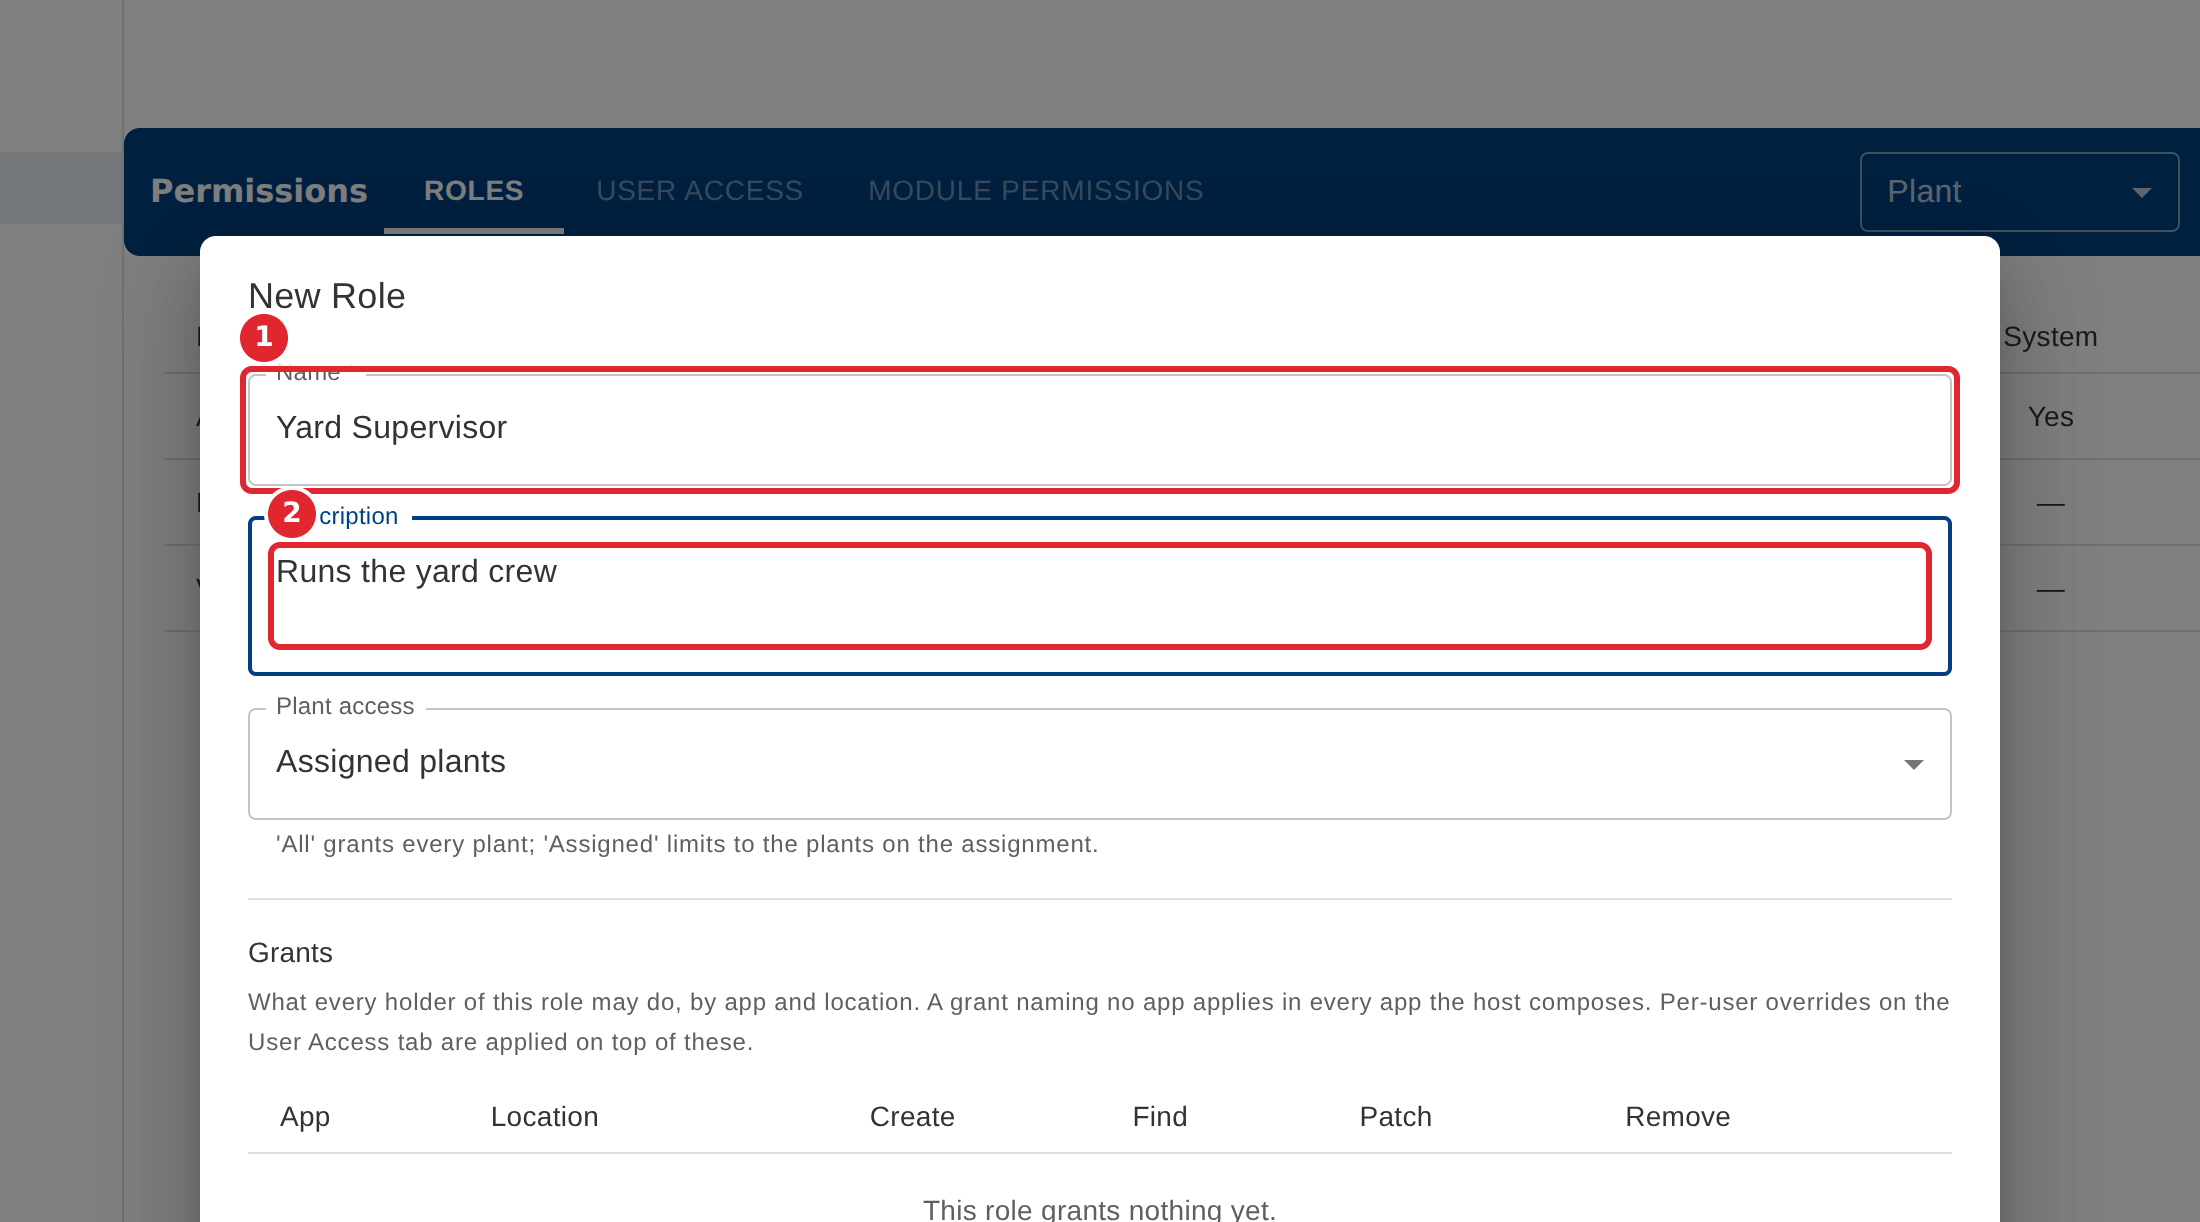
Give the role a Name (required) and a Description.
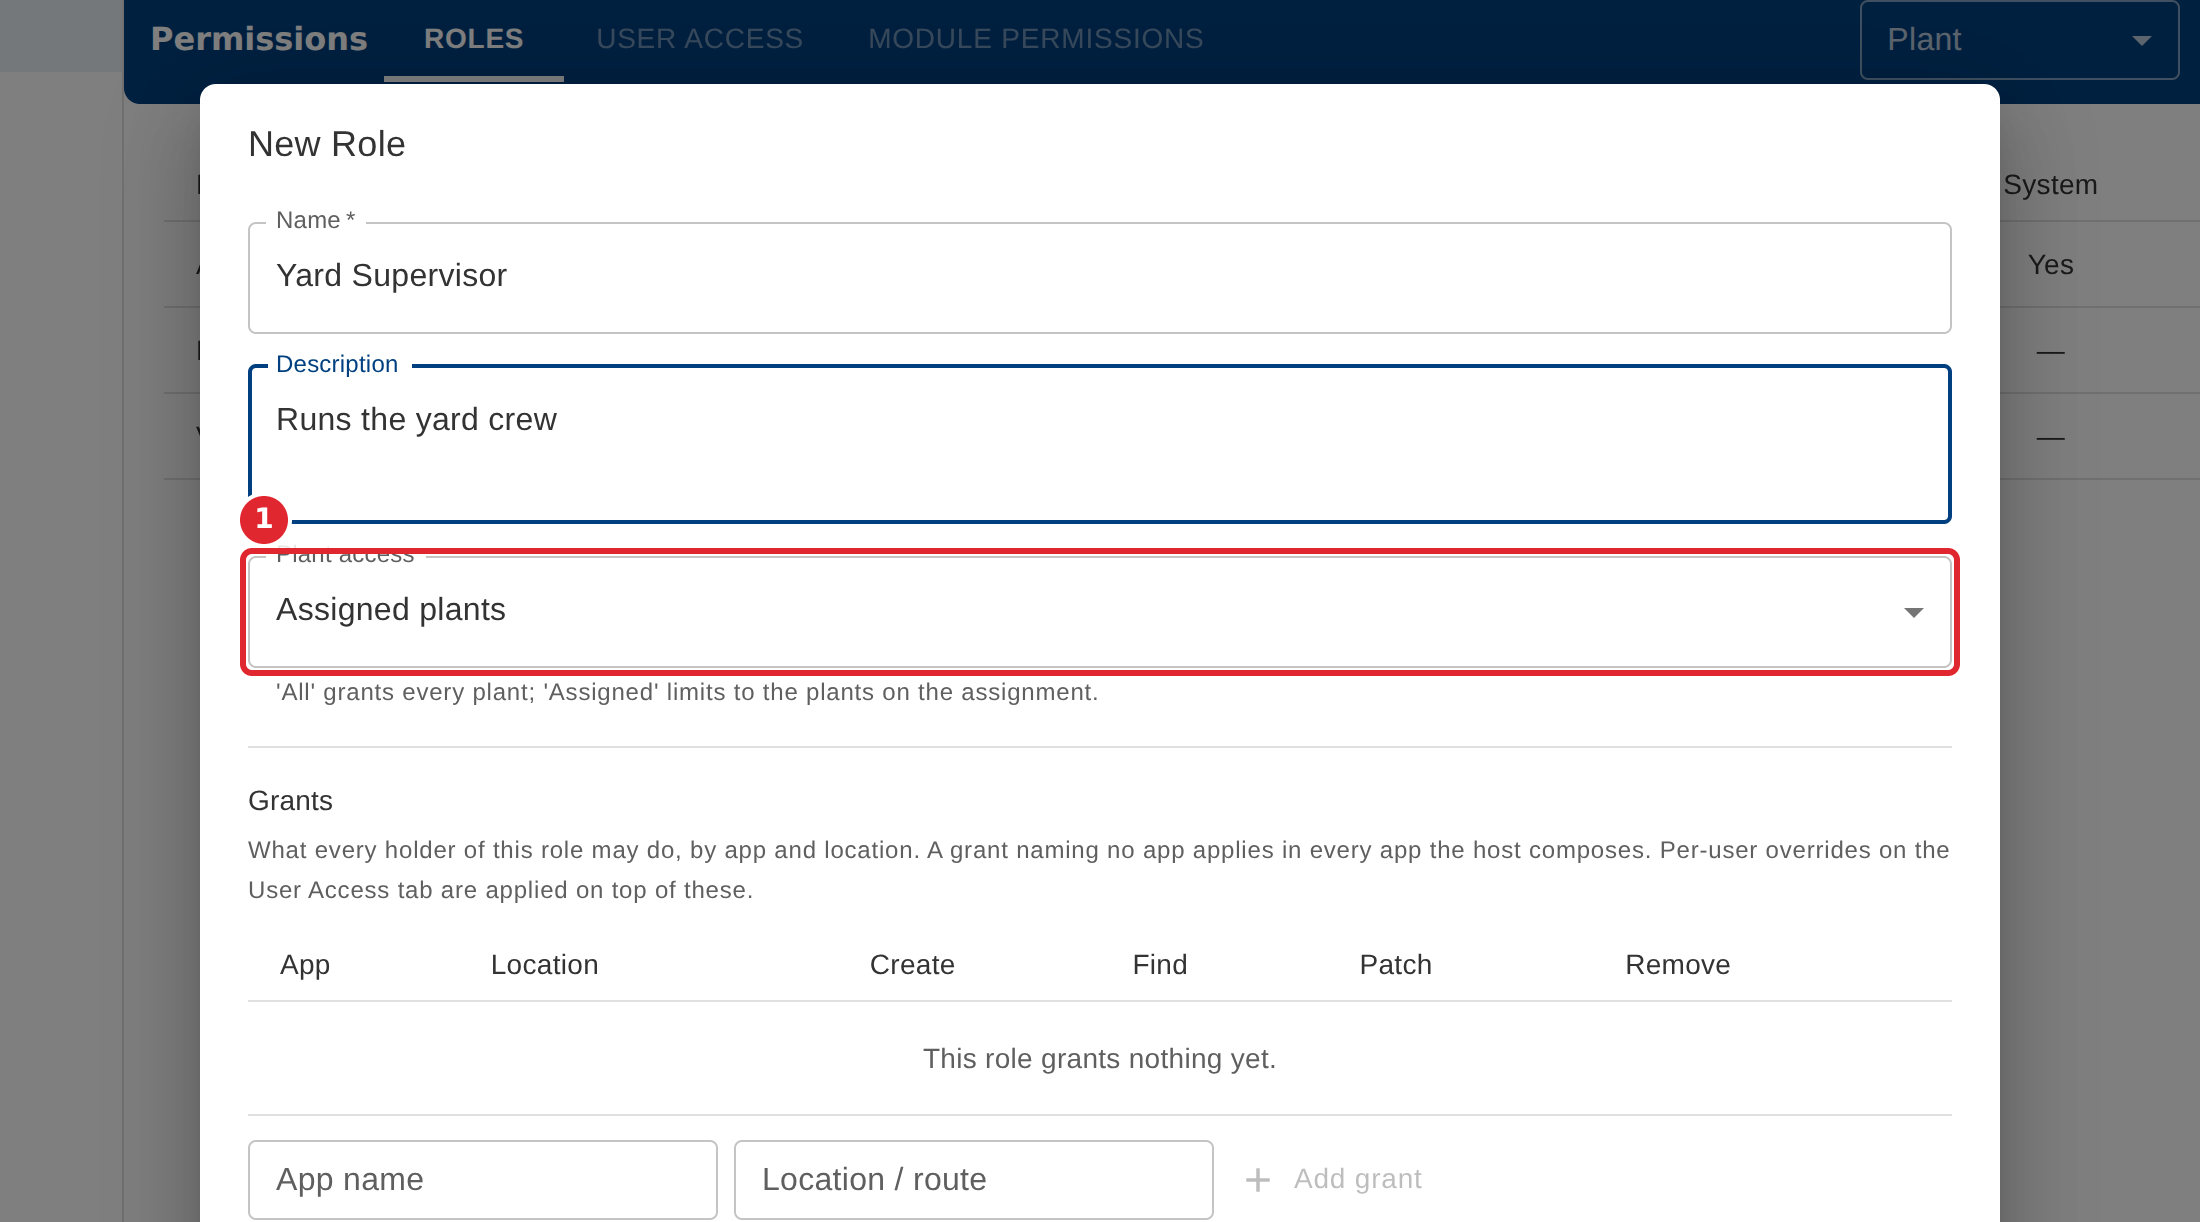
Choose Plant access: All plants, or only the plants on each person's assignment.
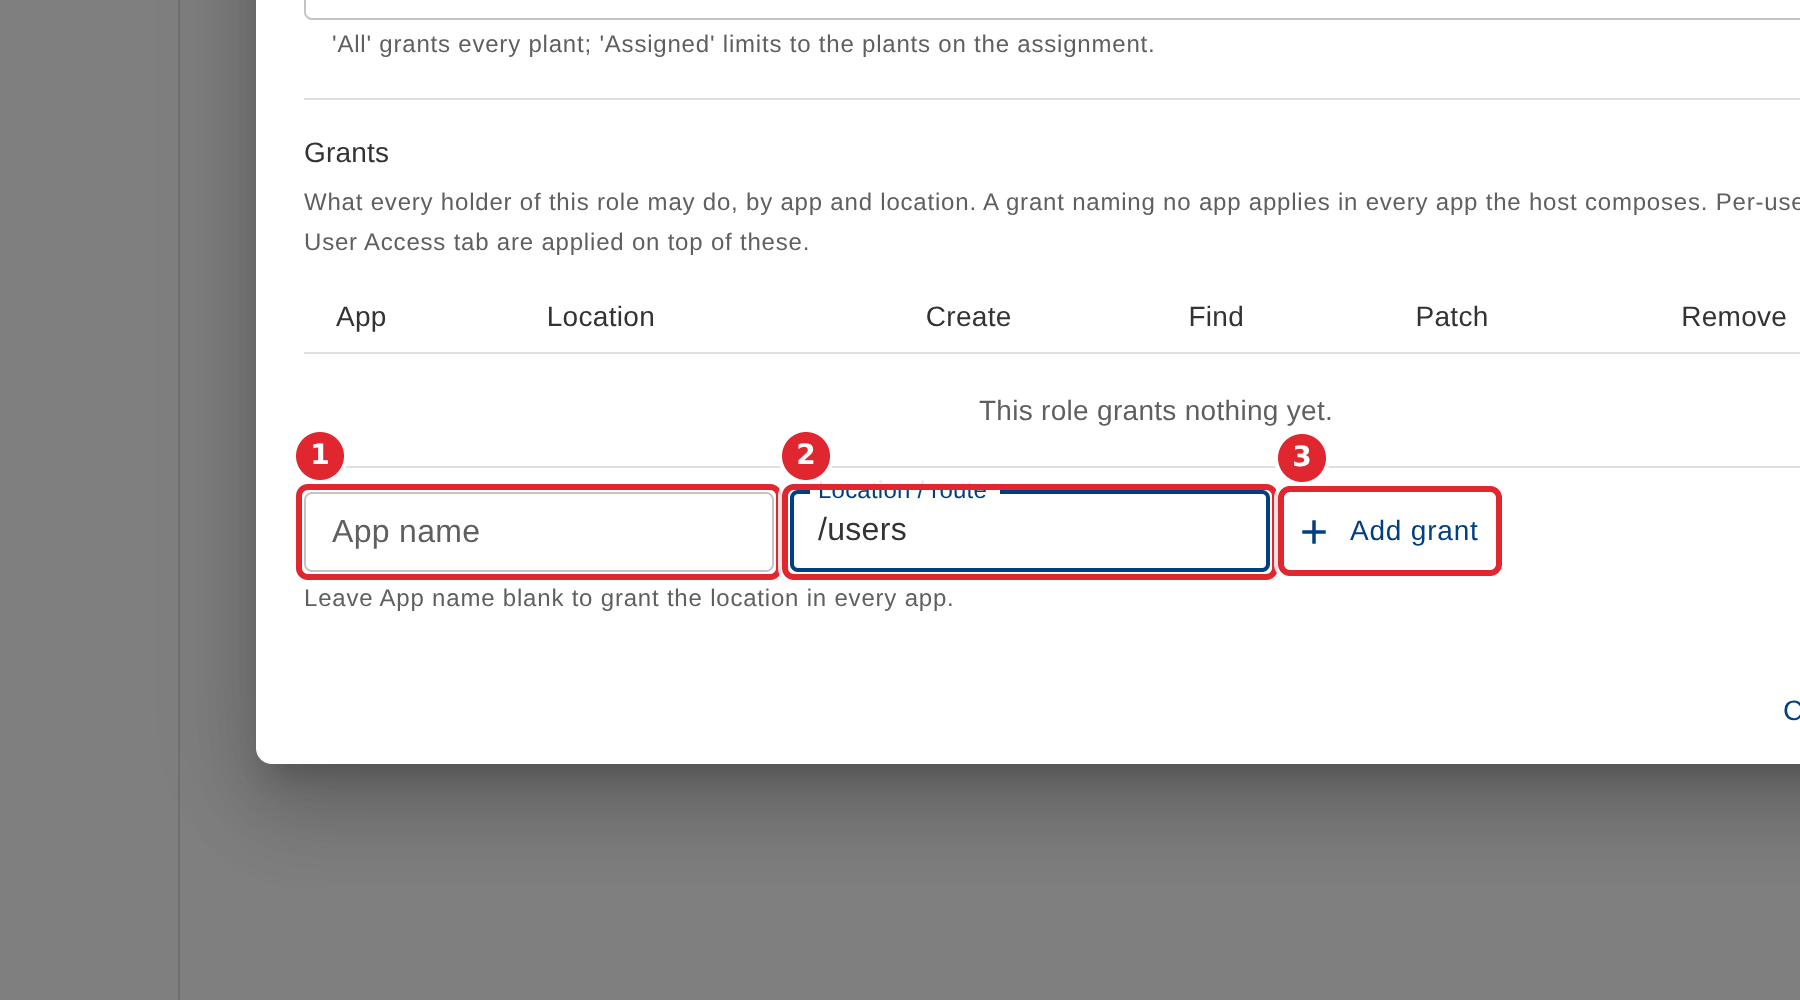
Add a grant: type the location, leave App name blank to grant it in every app, then select Add grant.
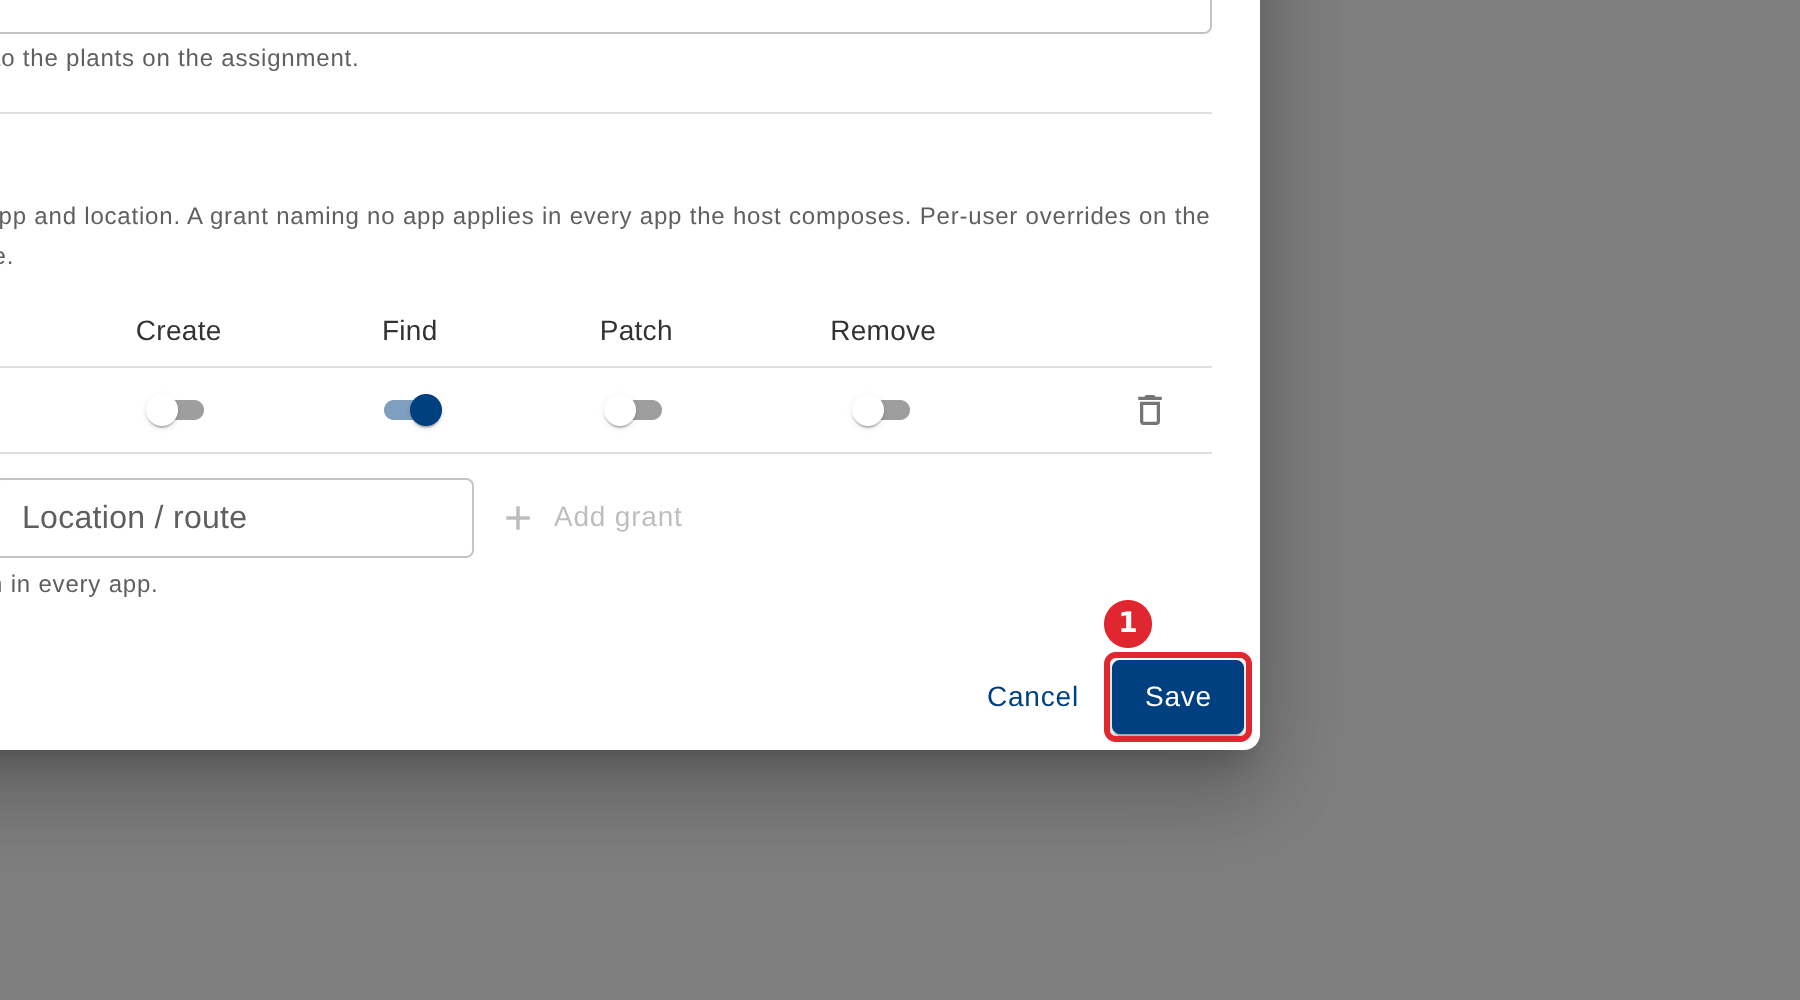
Turn on Create, Find, Patch or Remove for the grant, then select Save.
Tips
- Save stays unavailable until the role has a Name.
- A location is the page or area the grant covers, such as the address of a page in the app.
- If the role already grants that location, the form says so: change the existing row instead of adding a second one.
- Changes to a role reach each person the next time they sign in.