Put pieces on a load and place them
The Load Builder shows exactly what goes on the trailer and where, so the load can be checked before it leaves the yard.
Watch this in the video (0:58)
Before you start
- Pieces can be added, moved and removed only while the load is in Draft or Planned. From Approved onward, the drawing is read-only.
Steps
In the pictures, a numbered red box marks where to click or type. Where a picture has more than one box, the numbers give the order.
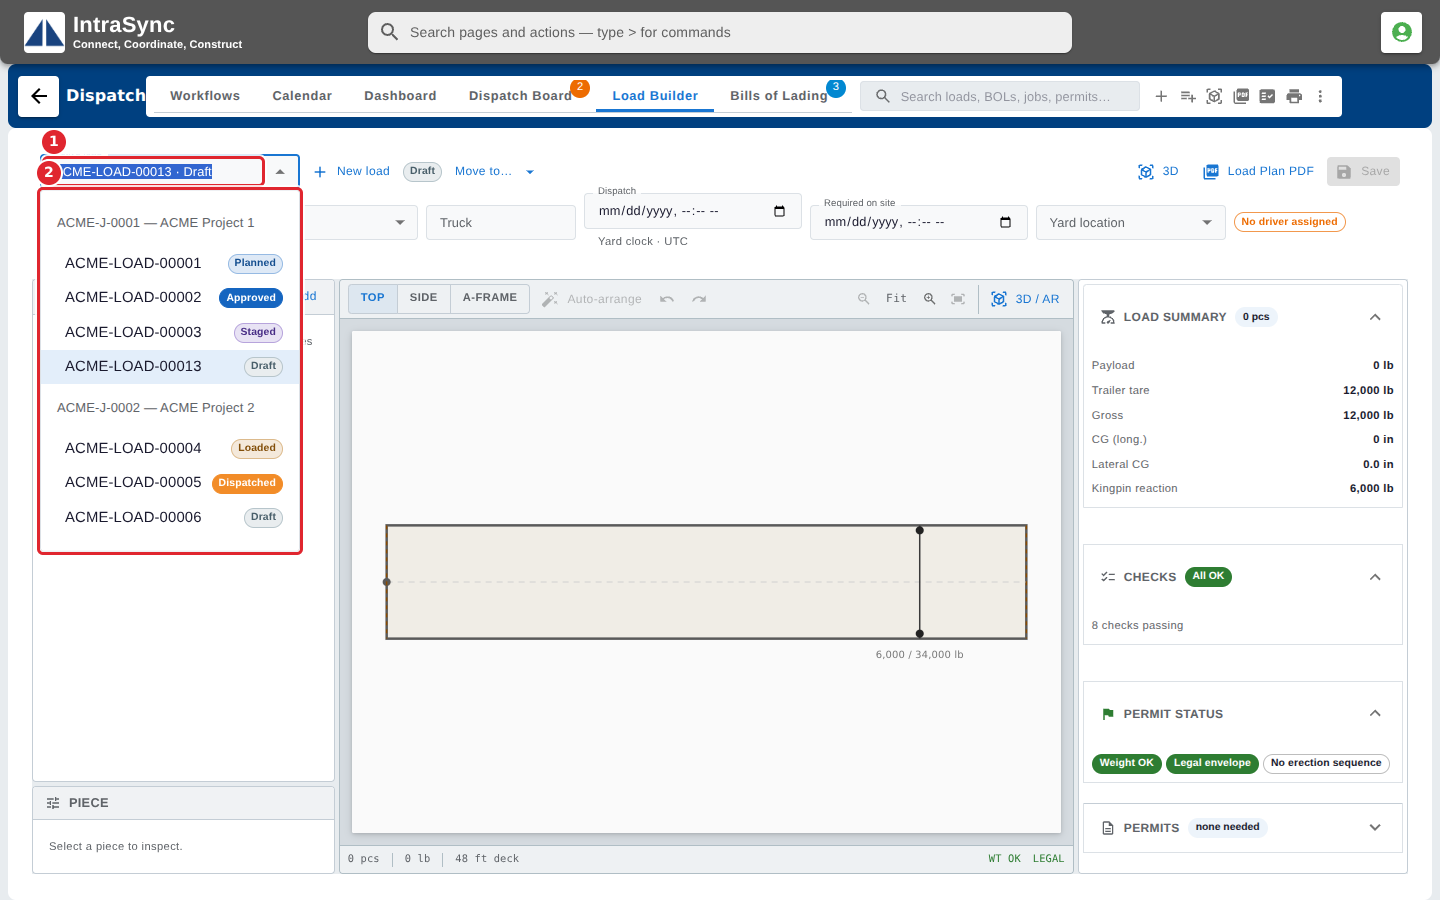
Select the Load Builder tab, then open Active load and choose the load. Loads are grouped under their job, and you can type to search.
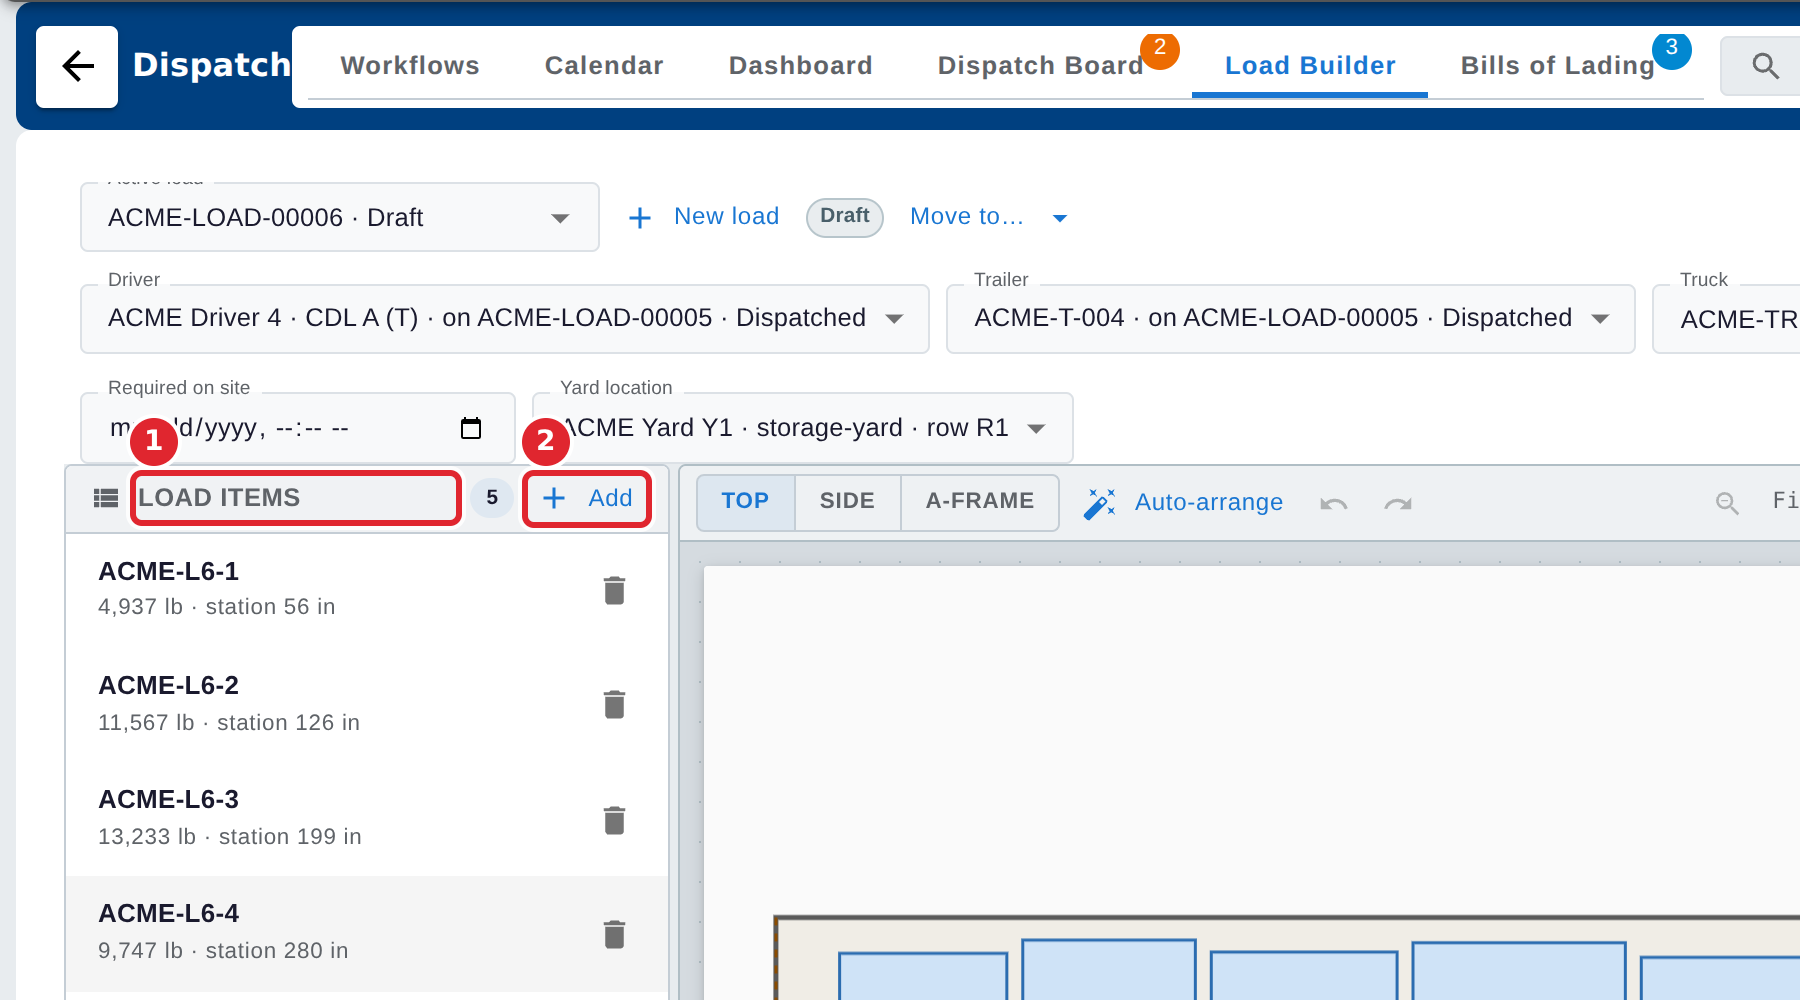
Load Items lists the pieces on the load, each with its weight and its station along the deck. Select Add to put more pieces on the load.
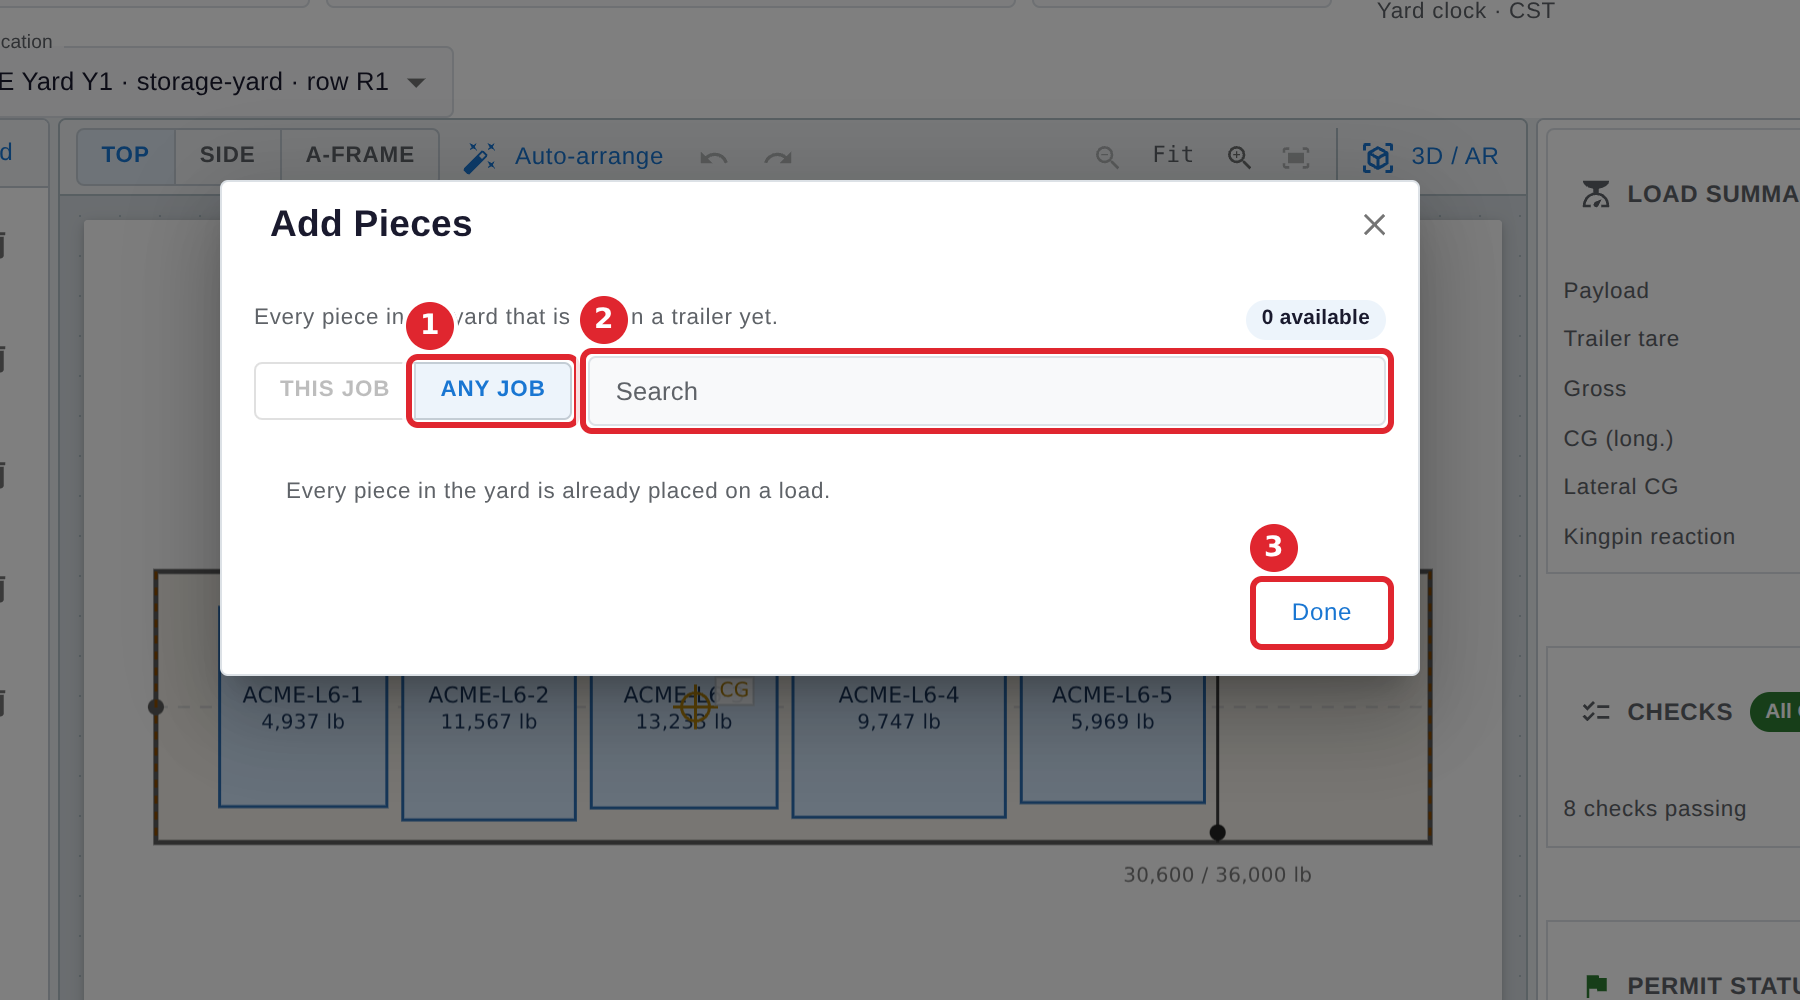
In Add Pieces, choose This job or Any job, search by mark, control number or type, and select the pieces to add. Select Done when you have finished.
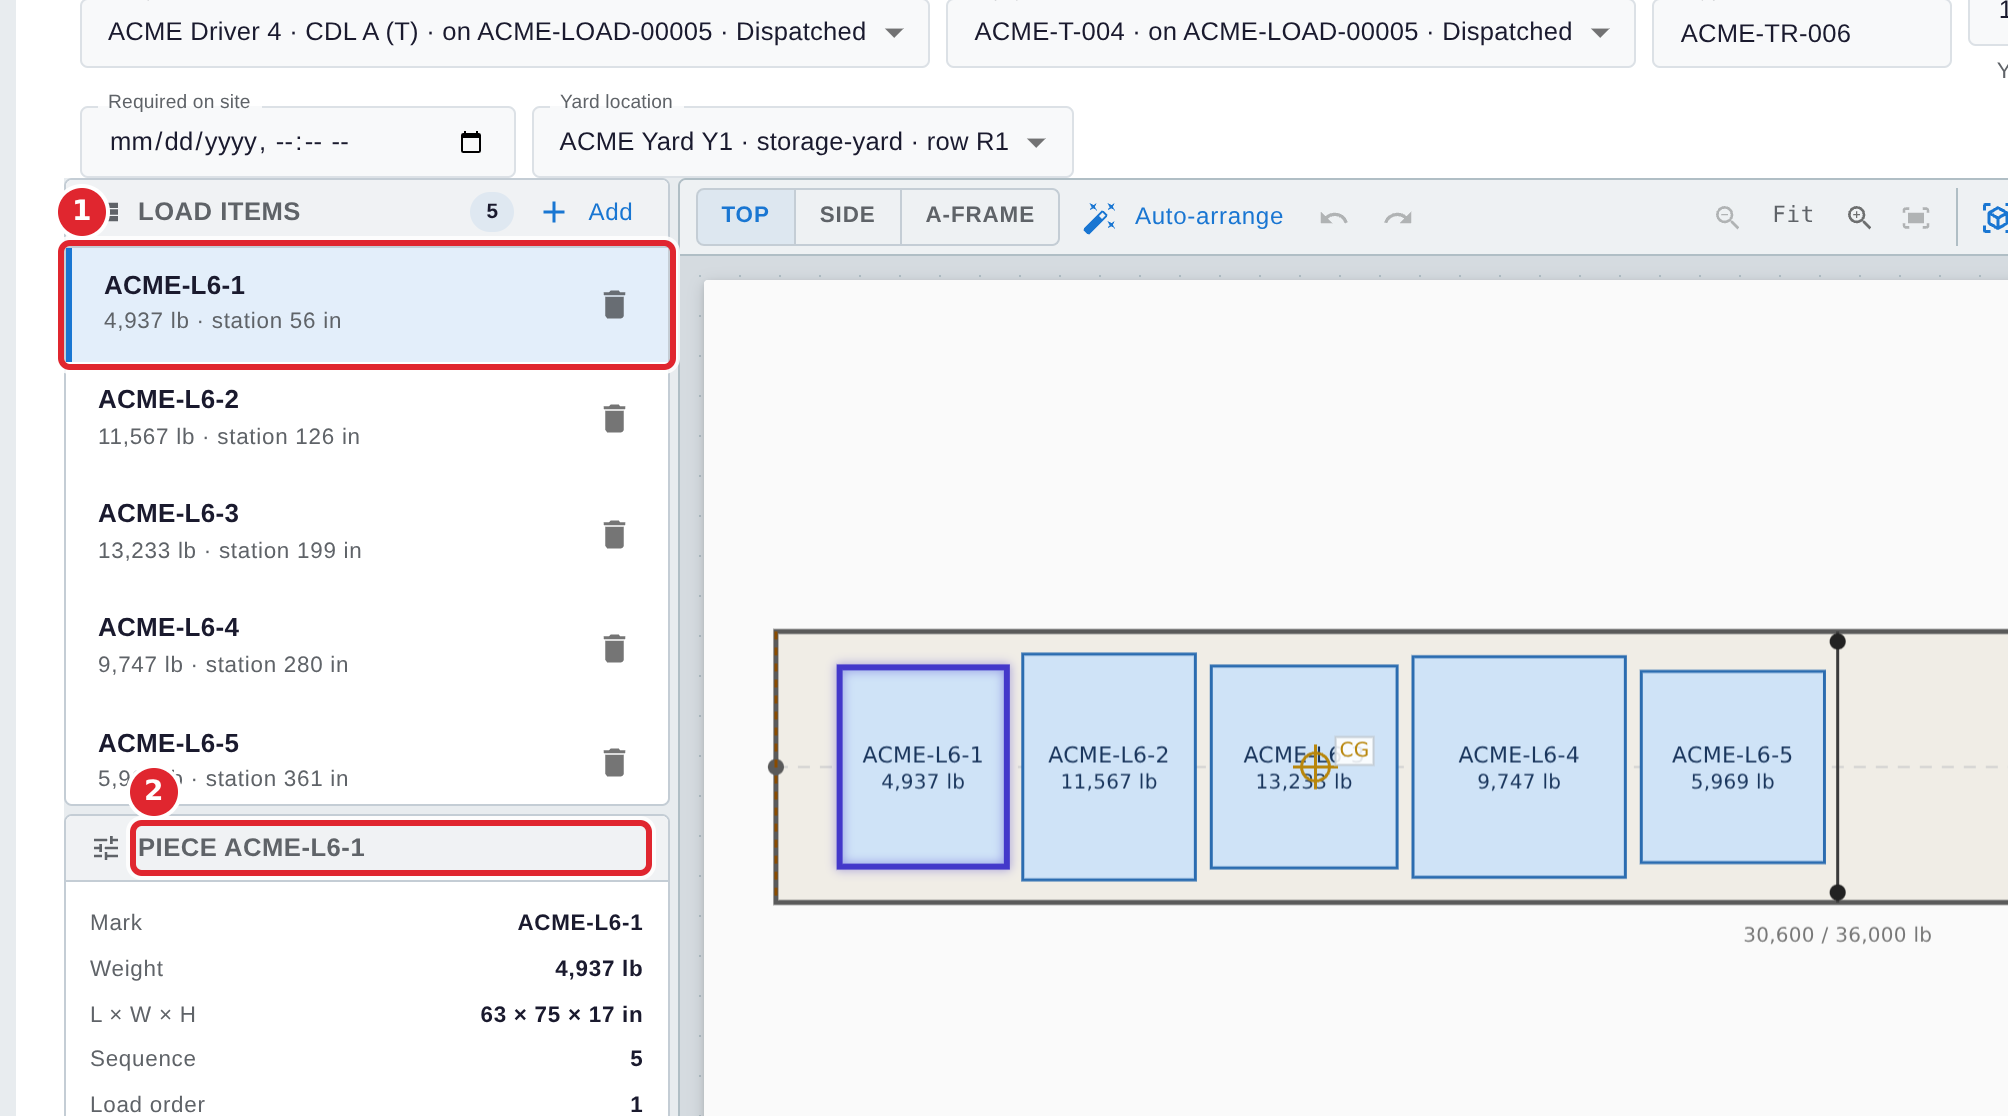
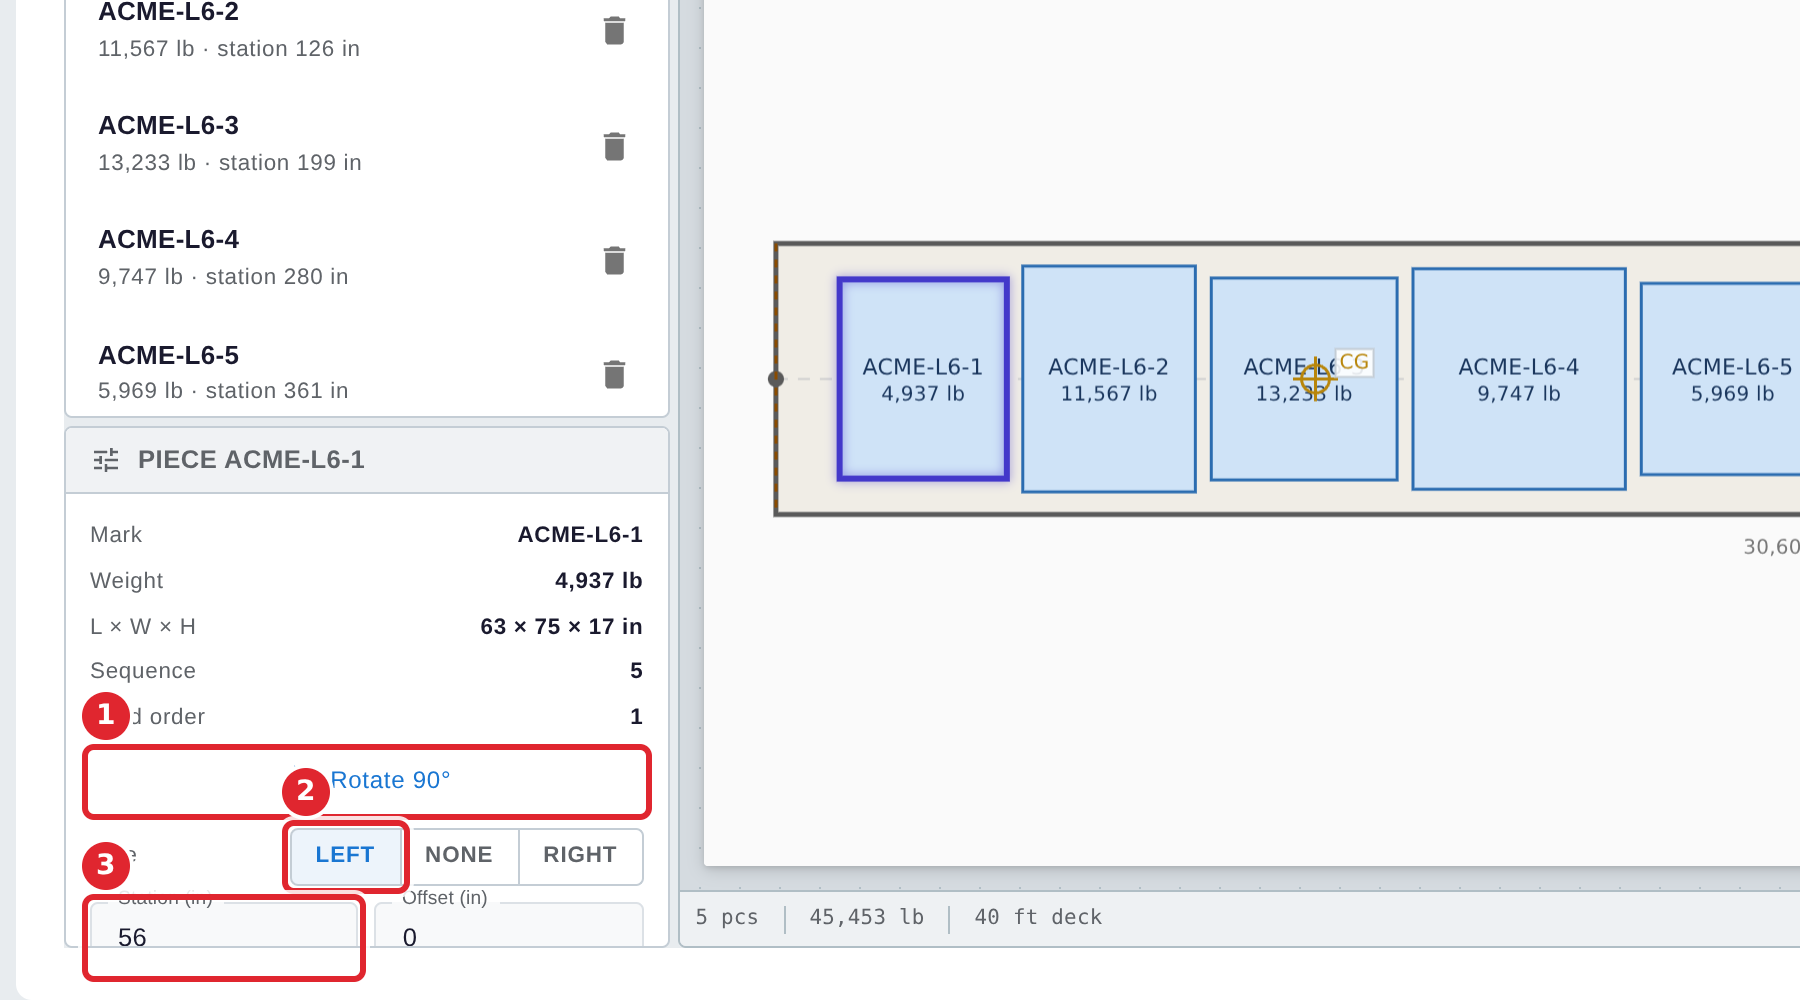
Select a piece in Load Items. The Piece panel below shows its mark, weight, size, sequence and load order.
Change where the piece sits: Rotate 90°, choose its rack side on an A-frame or inloader trailer (Left, None or Right), or type its station and offset in inches.
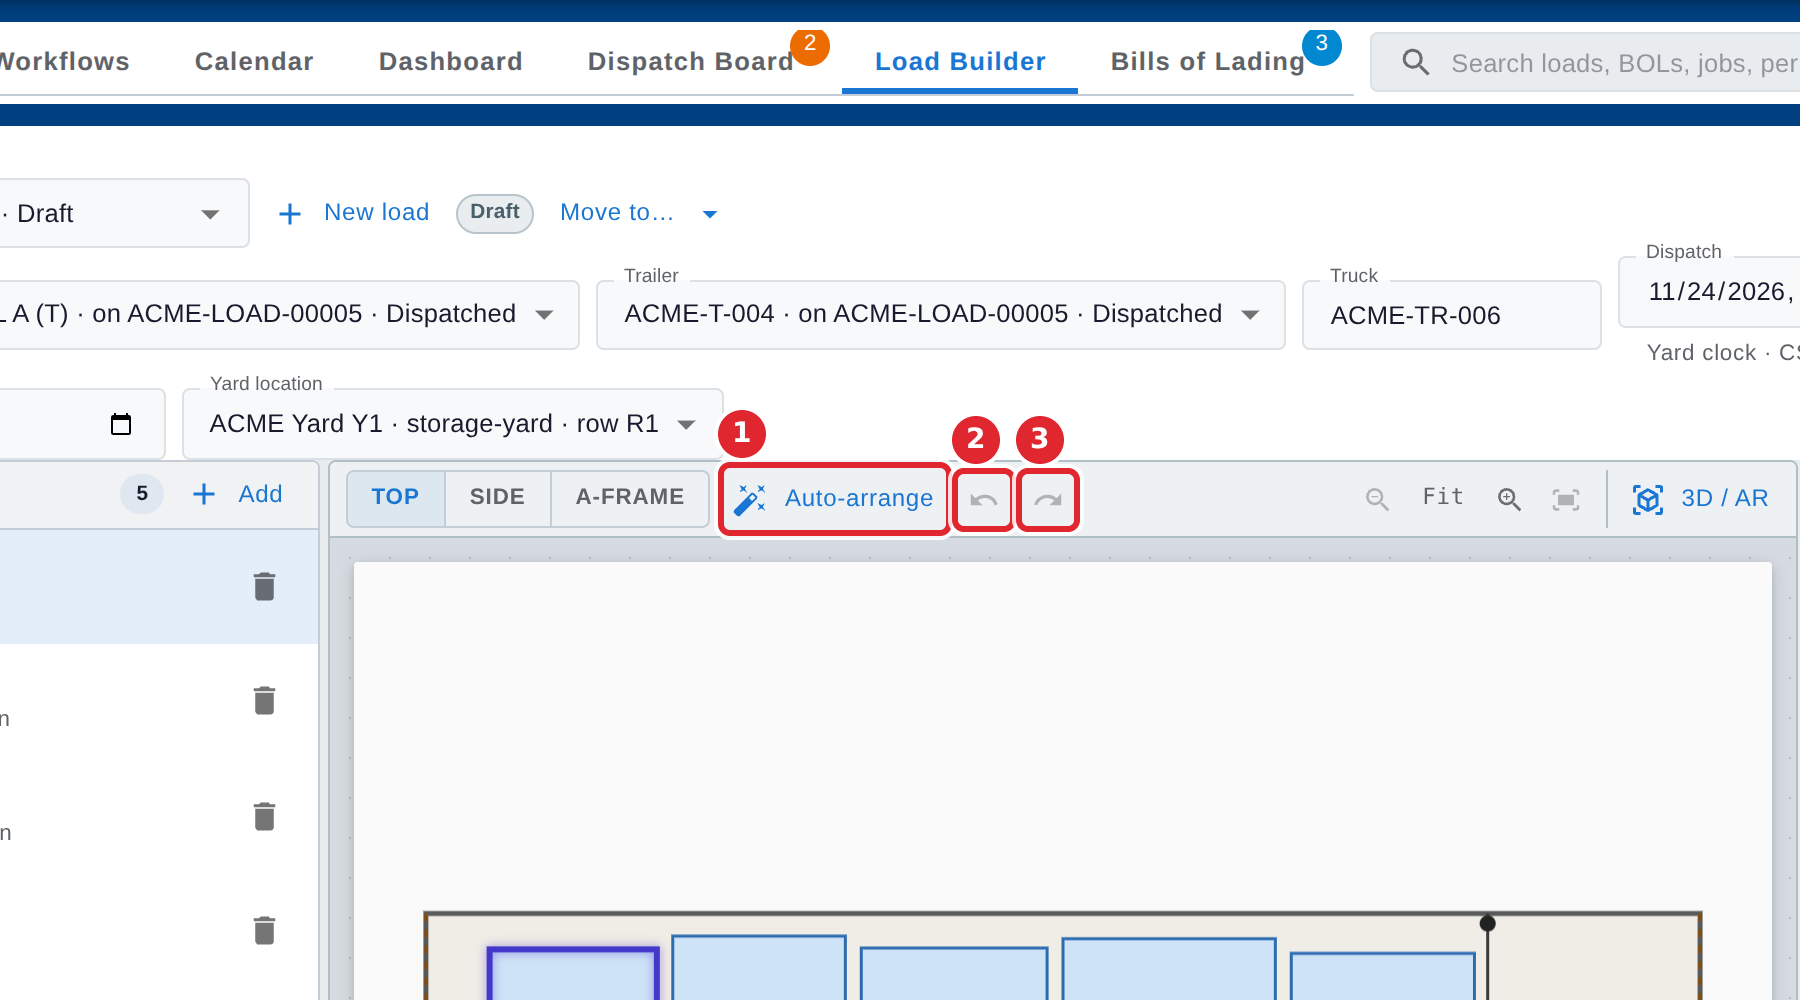
In the Top view, drag a piece on the drawing to place it. Select Auto-arrange to let Dispatch place every piece, and Undo or Redo to step back or forward.
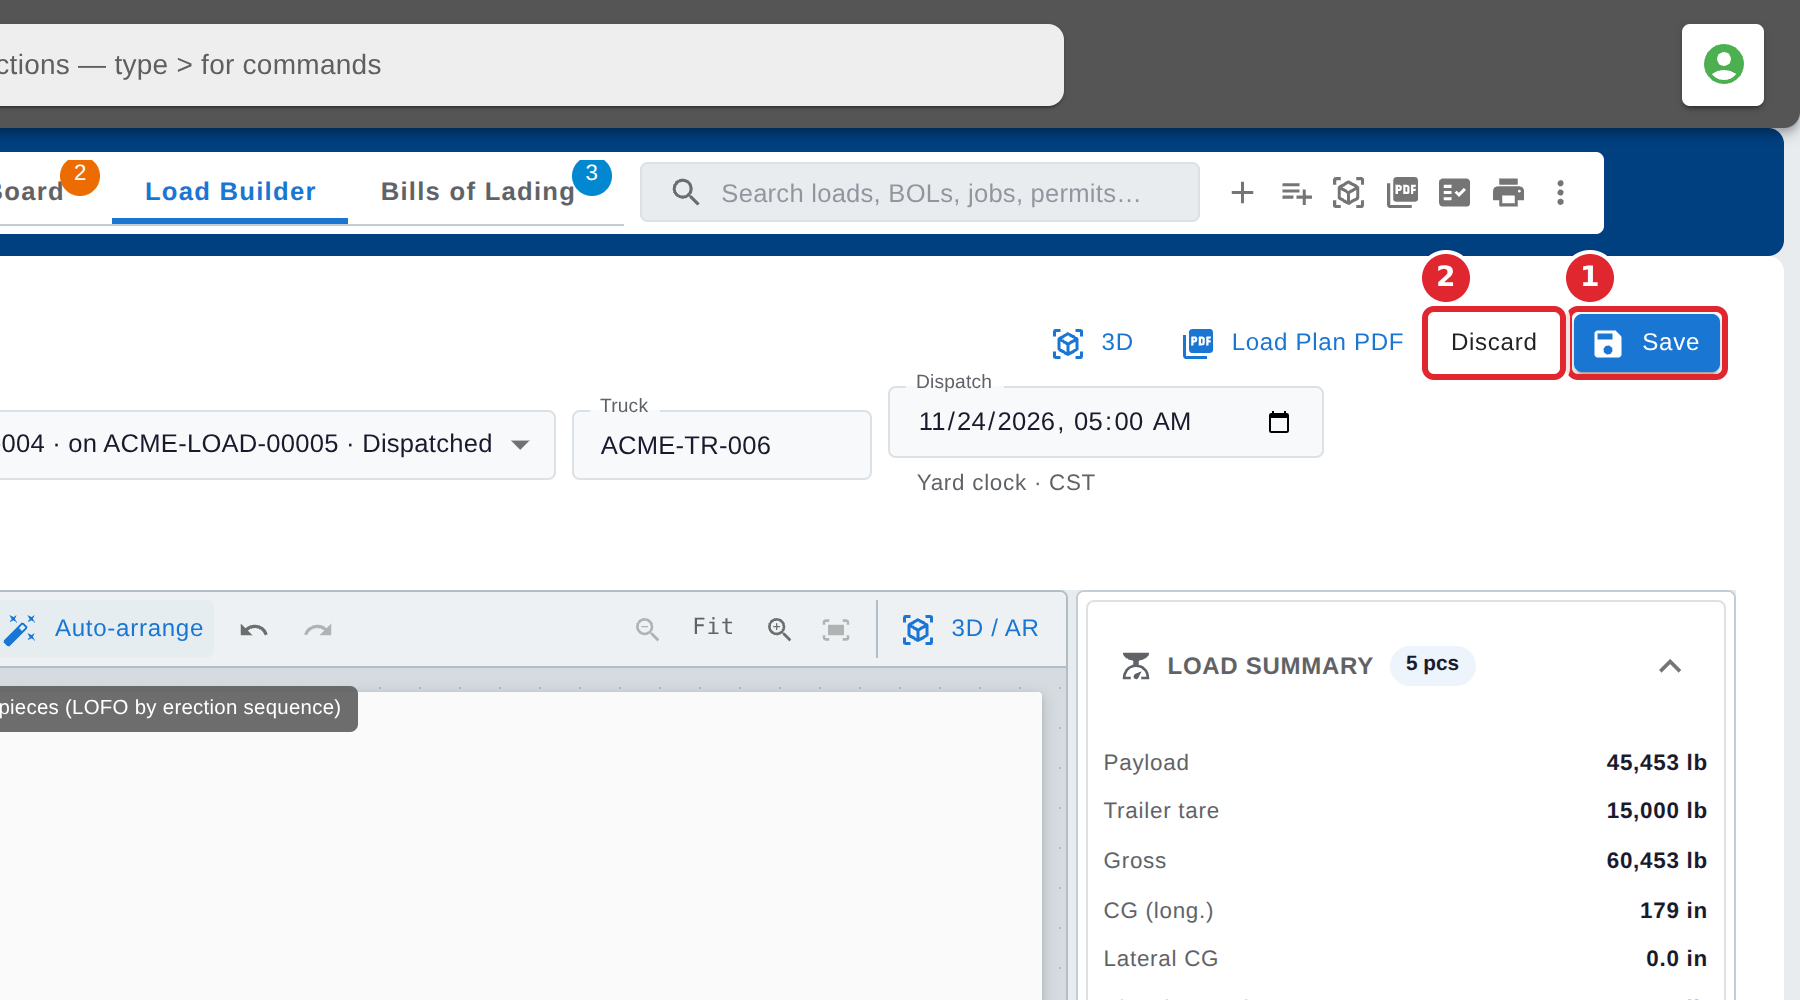
Select Save to keep your changes, or Discard to drop them. Move to… is not available while there are unsaved changes.
Tips
- If Add Pieces says every piece in the yard is already placed on a load, there is nothing left to add. Choose Any job to look beyond this load's job.
- To take a piece off the load, select the bin beside it in Load Items. Dispatch offers Undo straight away.
- If you switch to another load with unsaved changes, Dispatch asks whether to discard them first.