Dispatch guide · section 5 of 20
Start a new trailer load
Every delivery starts as a trailer load: a load number, the job it is for and the type of trailer that will carry it.
Watch this in the video (2:23)
Steps
In the pictures, a numbered red box marks where to click or type. Where a picture has more than one box, the numbers give the order.
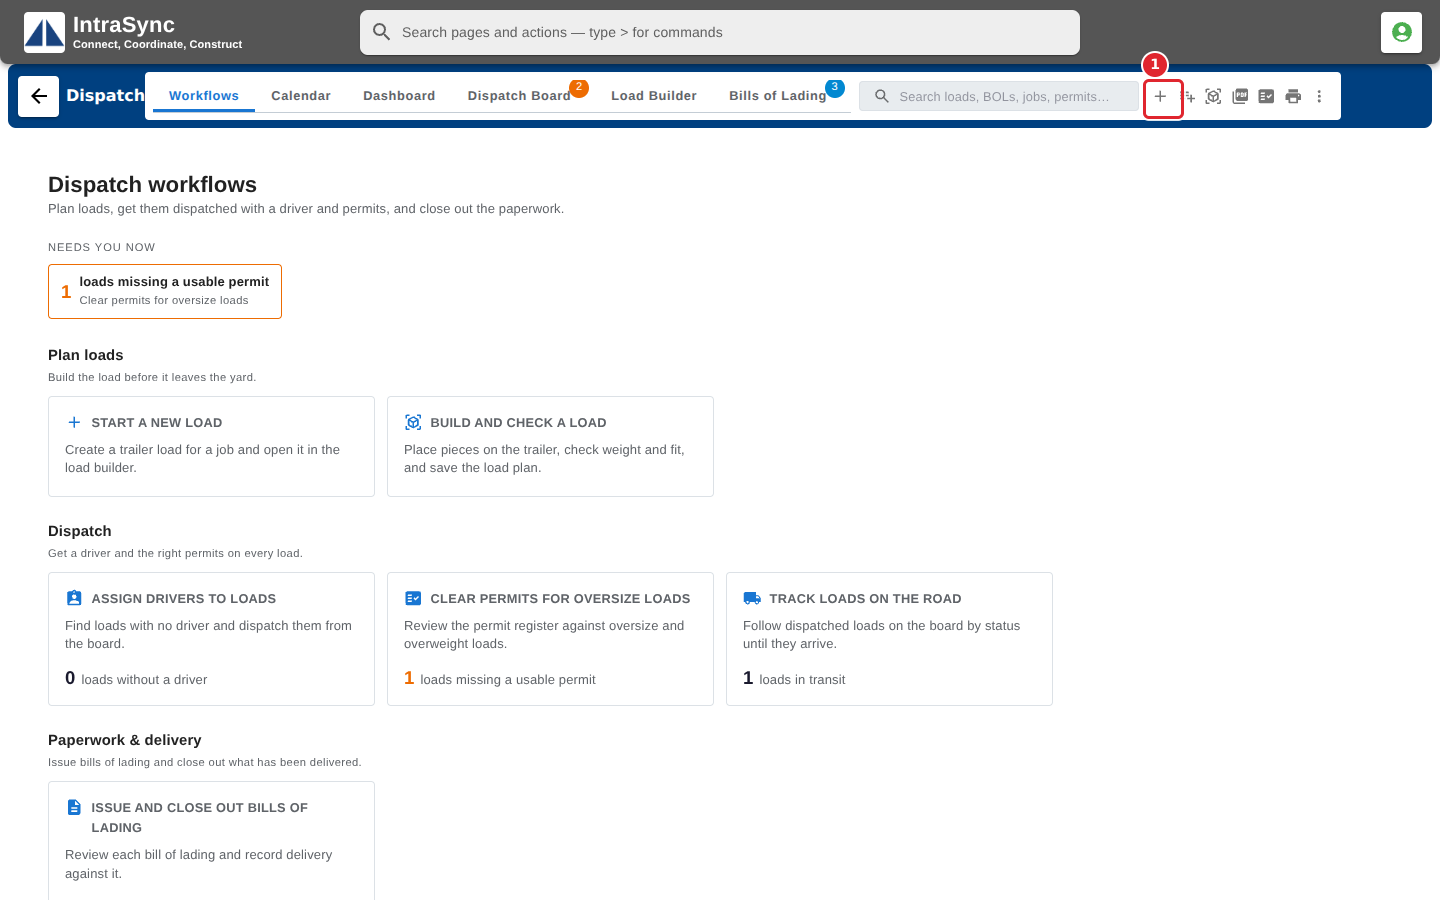
Select New load, the first button beside the search.
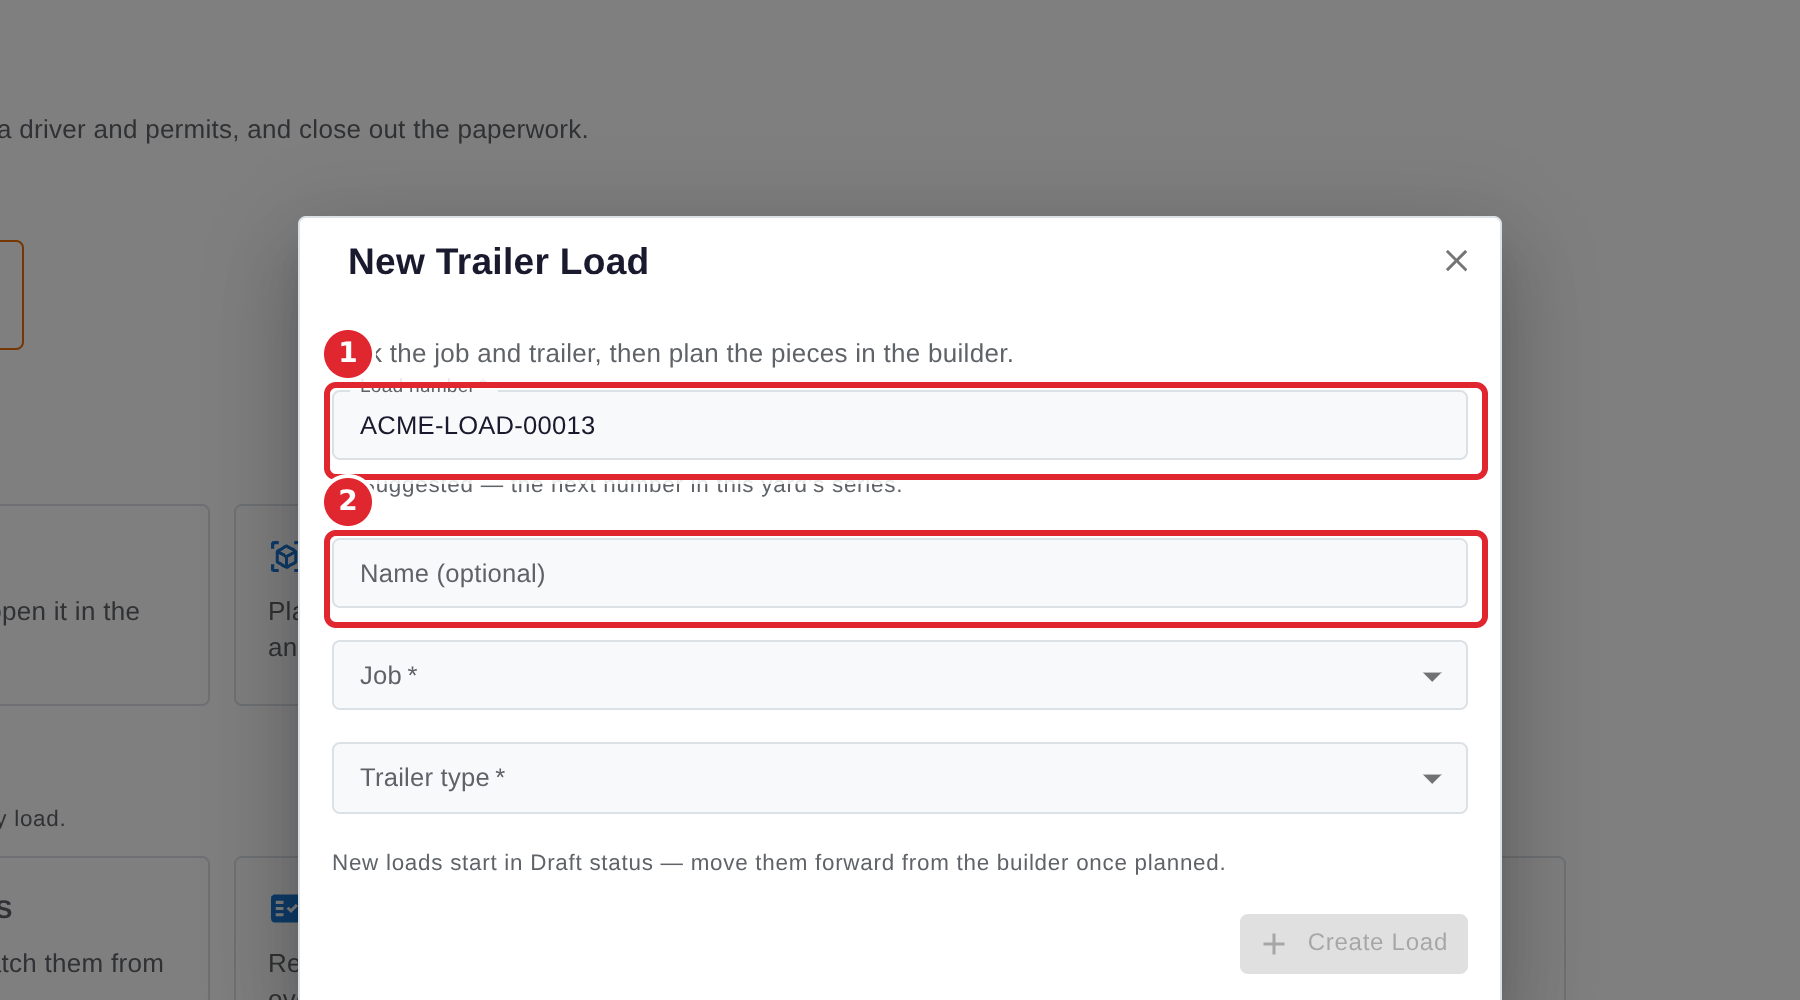
The load number is filled in with the next number in your yard's series. Change it if you need to, and give the load a name if you want one.
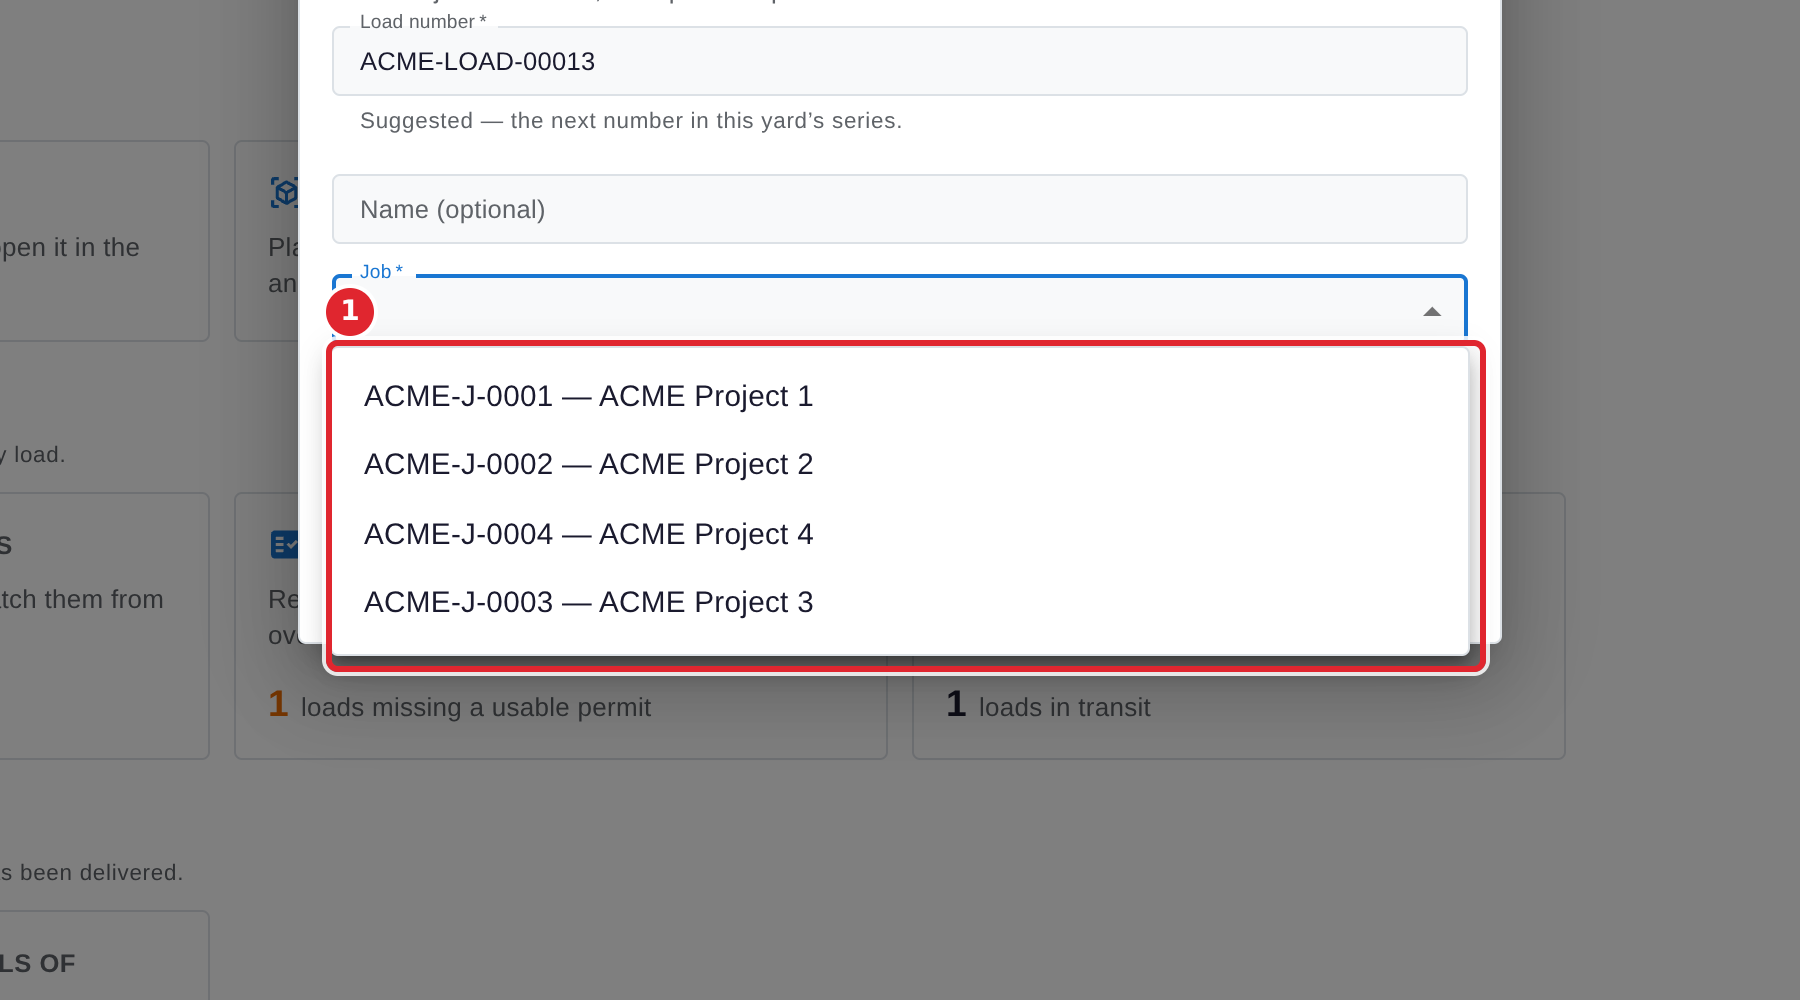
Choose the Job the load is for.
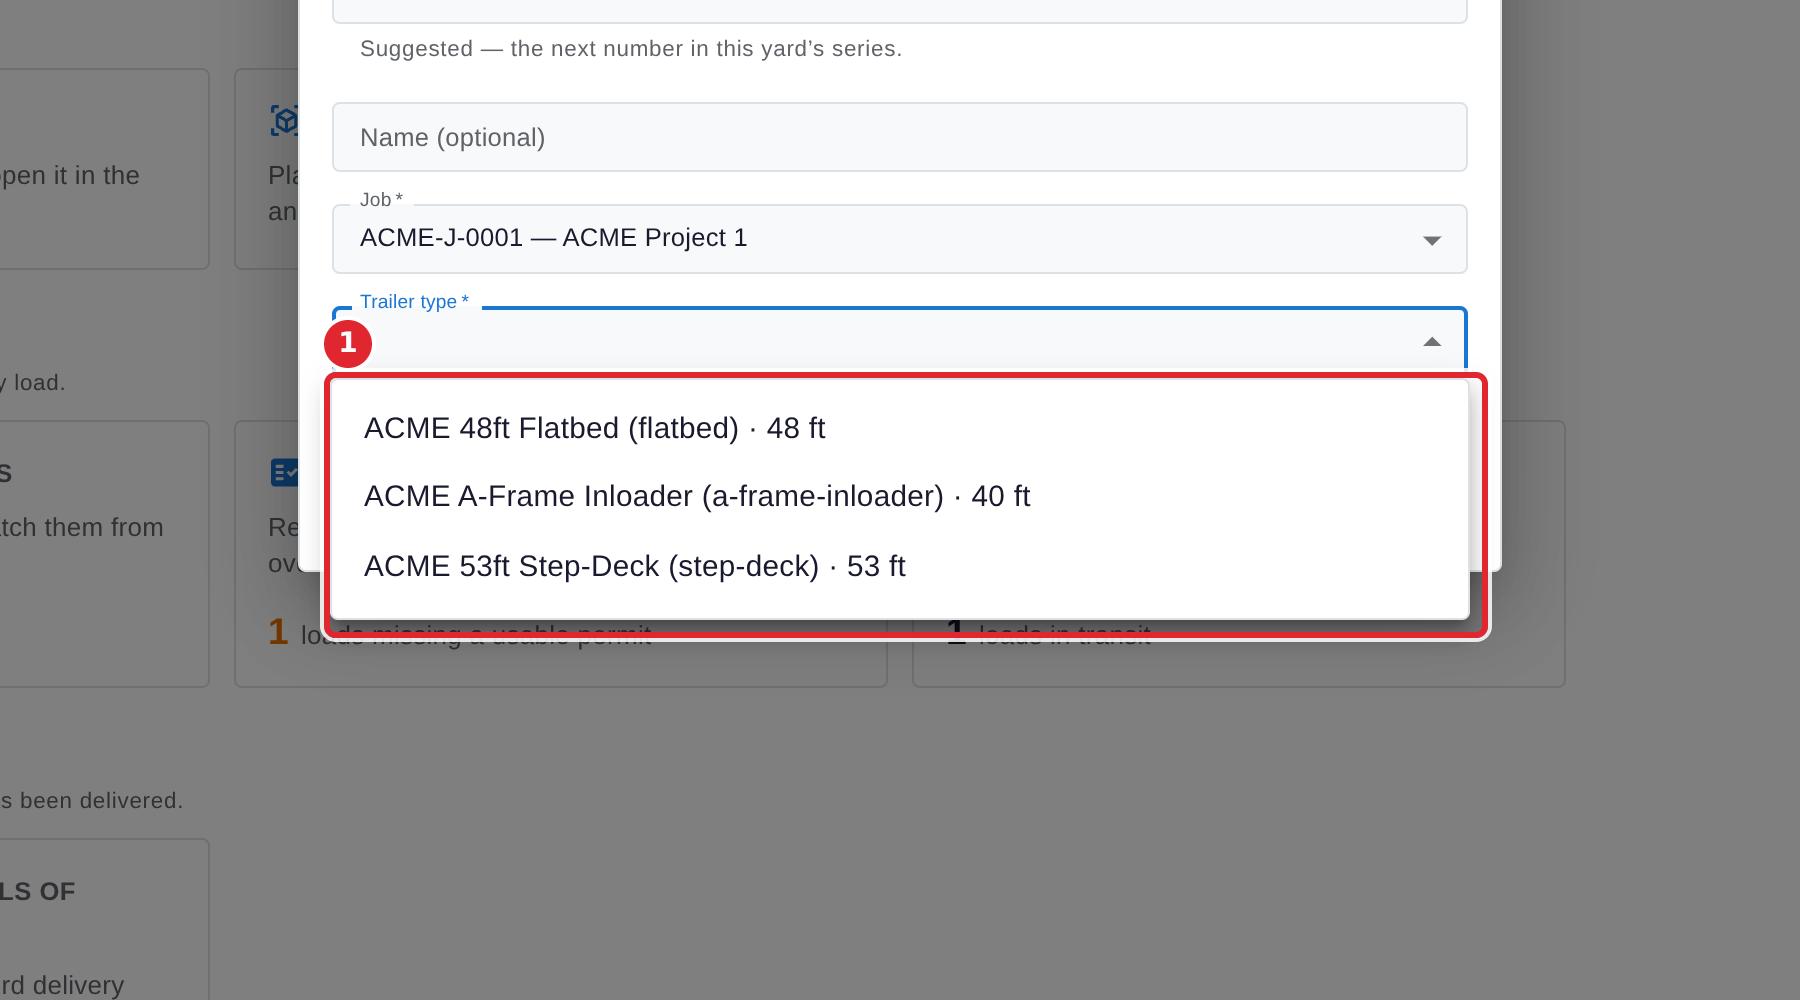
Choose the Trailer type.
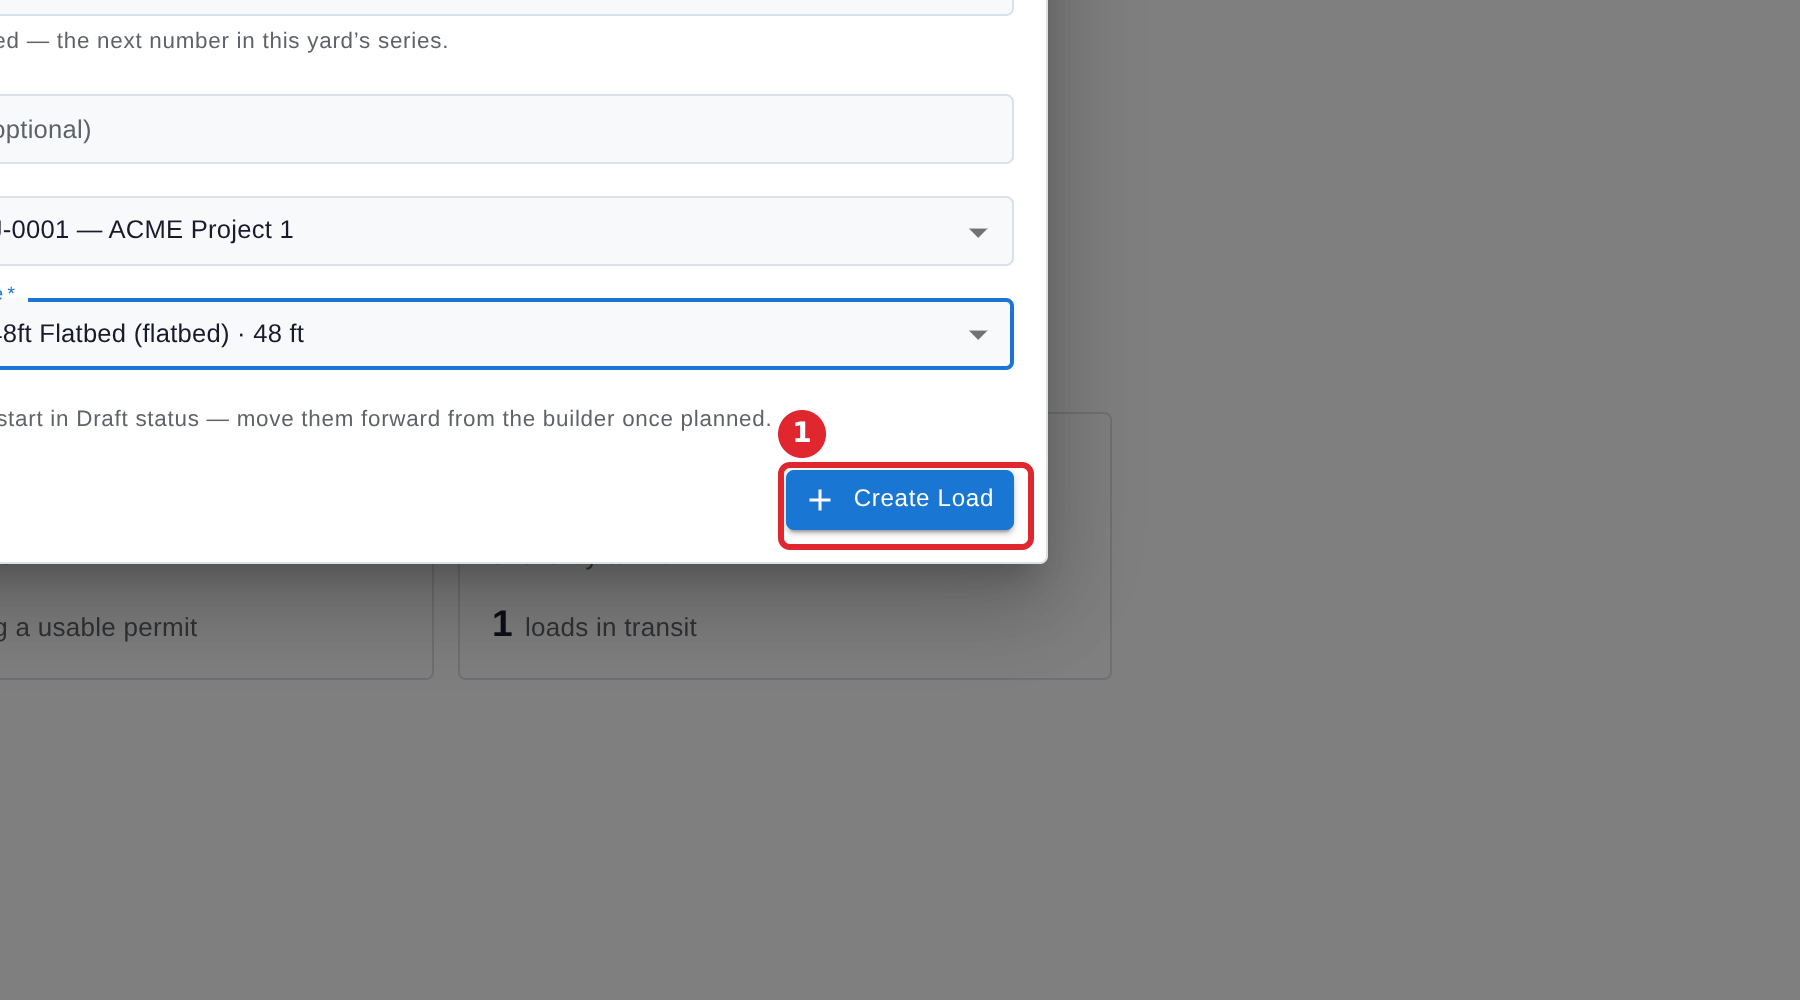
Select Create Load. It stays greyed out until the load number, job and trailer type are all filled in.
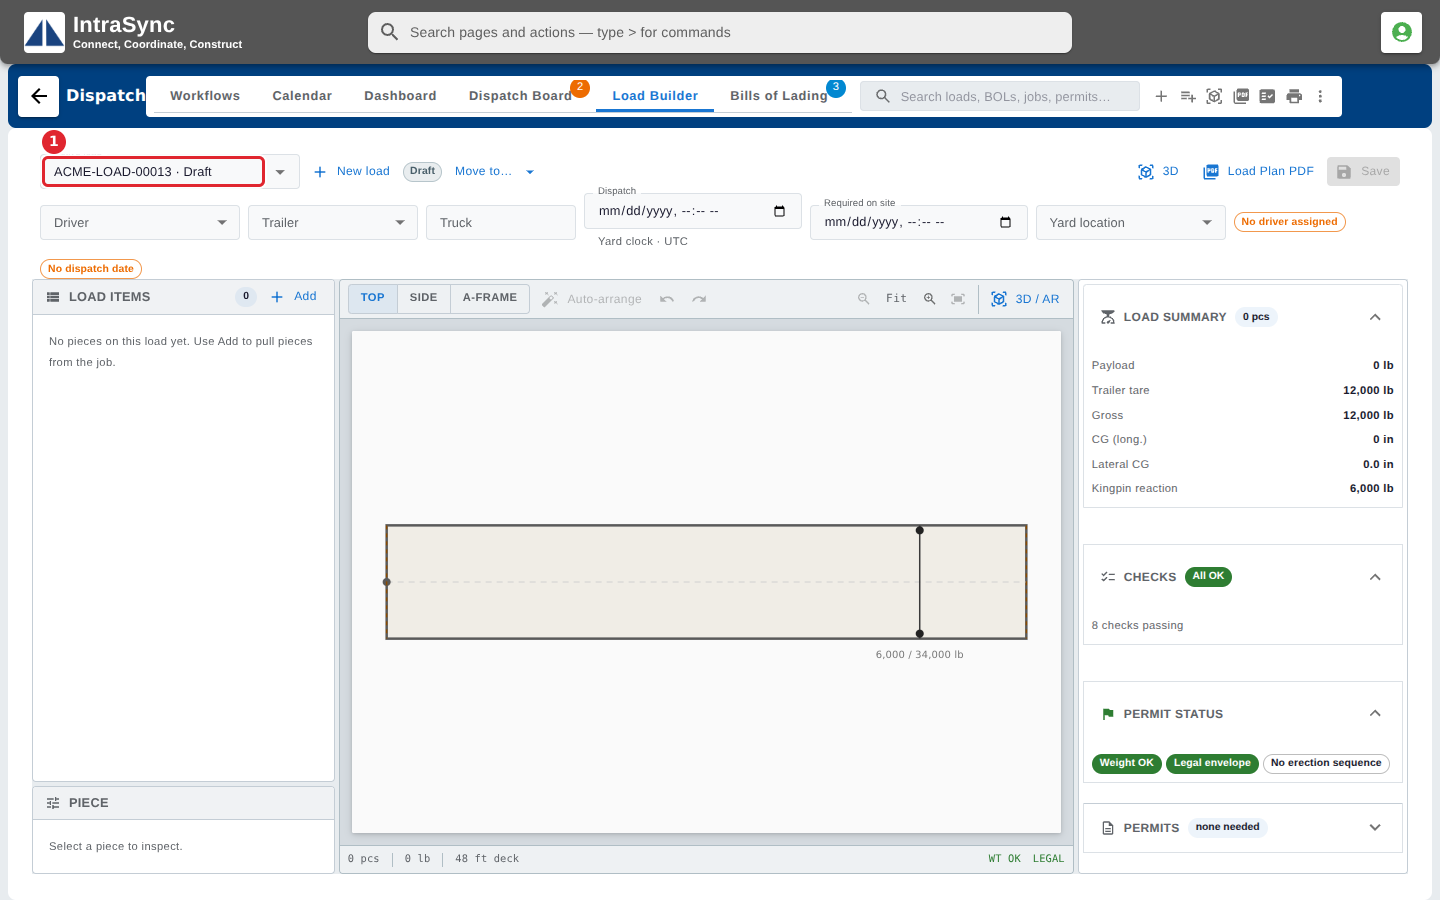
The new load opens in the Load Builder in Draft status, ready for its pieces.
Tips
- A load number that is already in use is refused. Choose another.
- New loads start in Draft. Move them forward from the Load Builder once they are planned.
- The Start a new load card on the Workflows tab opens the same form.