Production Schedule guide · section 9 of 23
Auto-schedule the plan
Let the scheduling engine place the work over the planning horizon, and check the result before anything moves.
Watch this in the video (1:26)
Before you start
- Choose the plant and set the planning horizon you want to schedule.
Steps
In the pictures, a numbered red box marks where to click or type. Where a picture has more than one box, the numbers give the order.
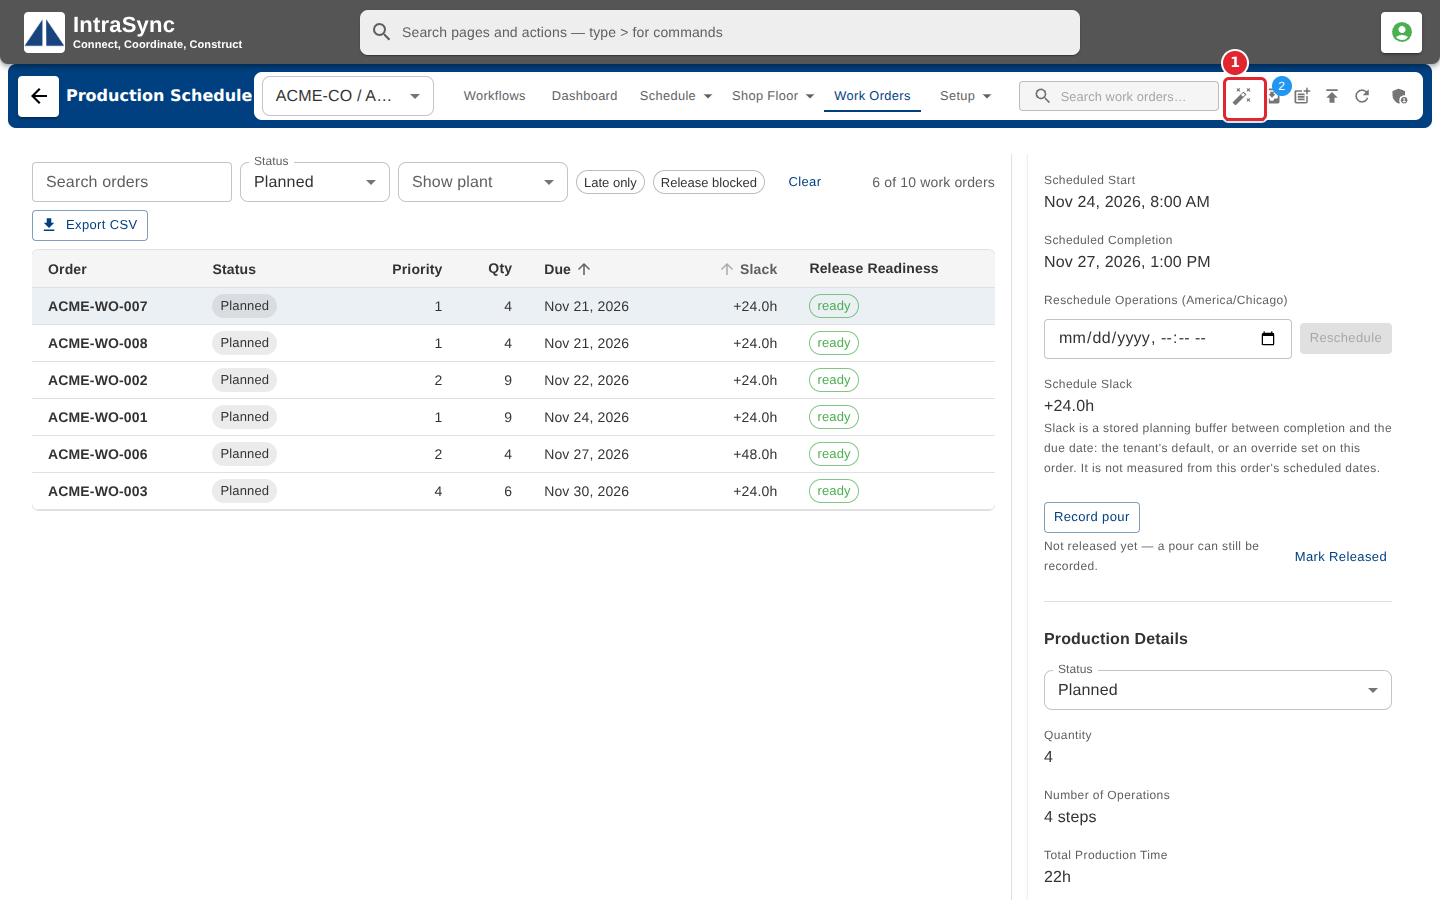
Select Auto-schedule in the header.
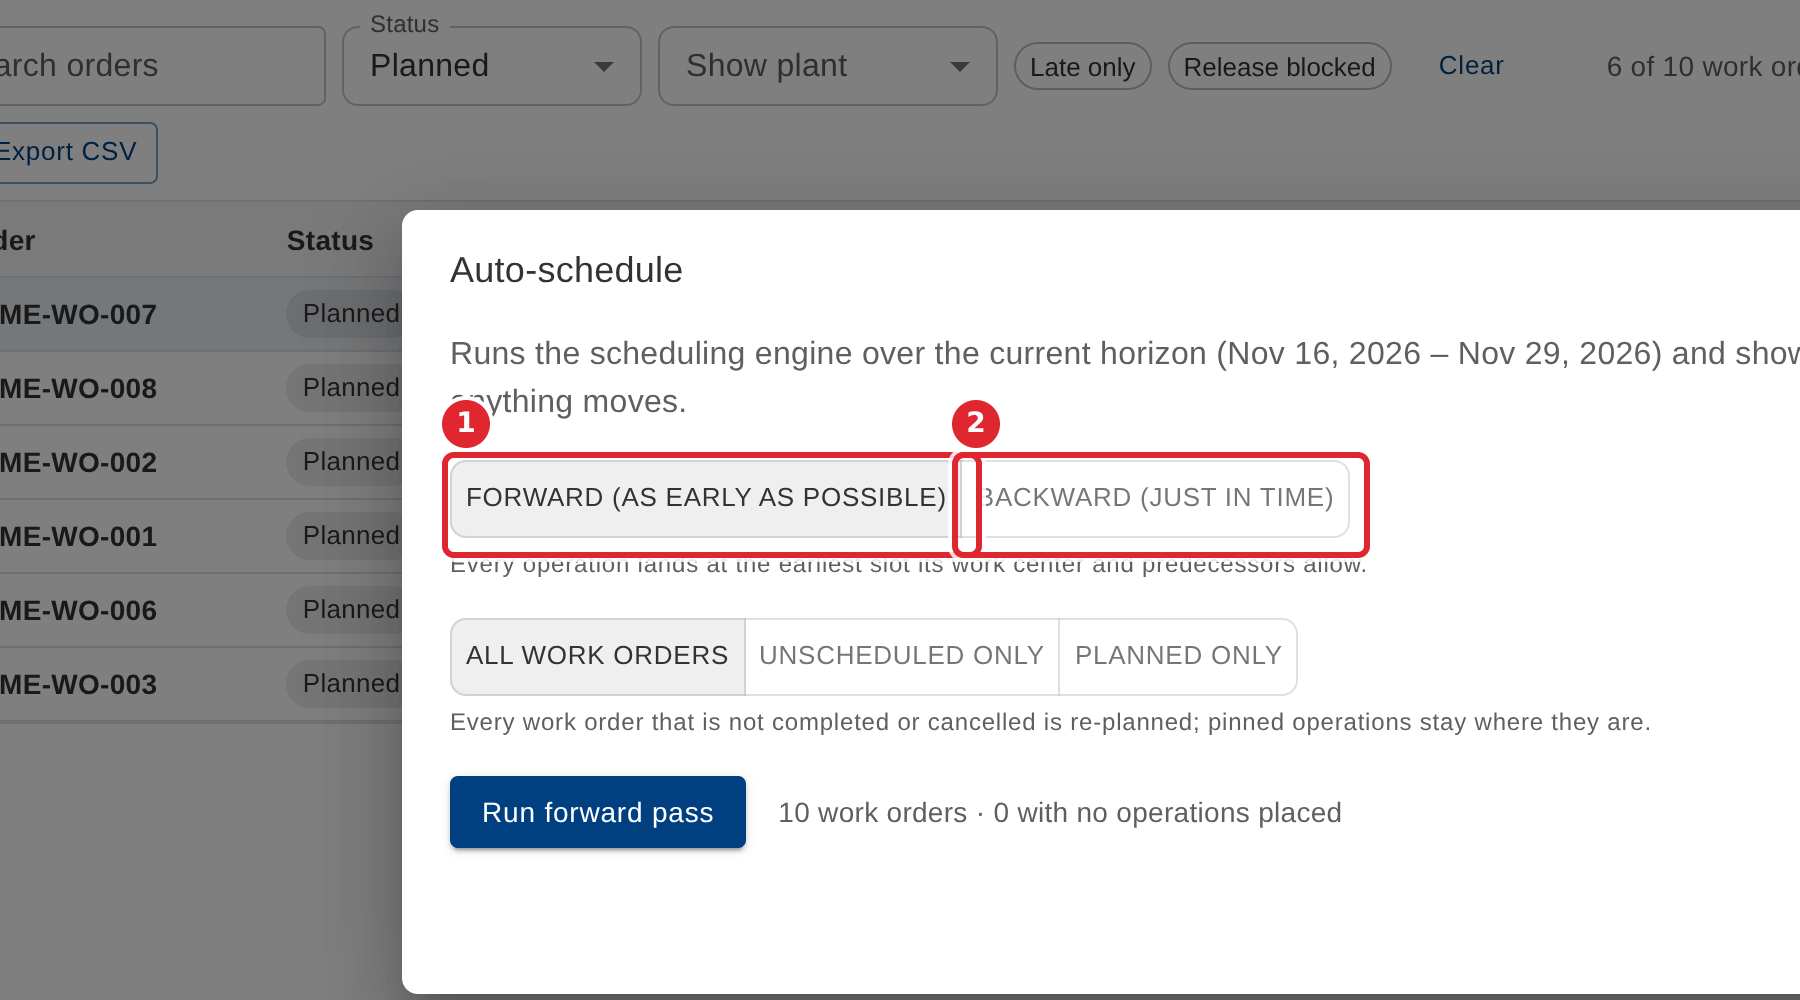
Choose Forward to place work as early as possible, or Backward to finish it just in time.
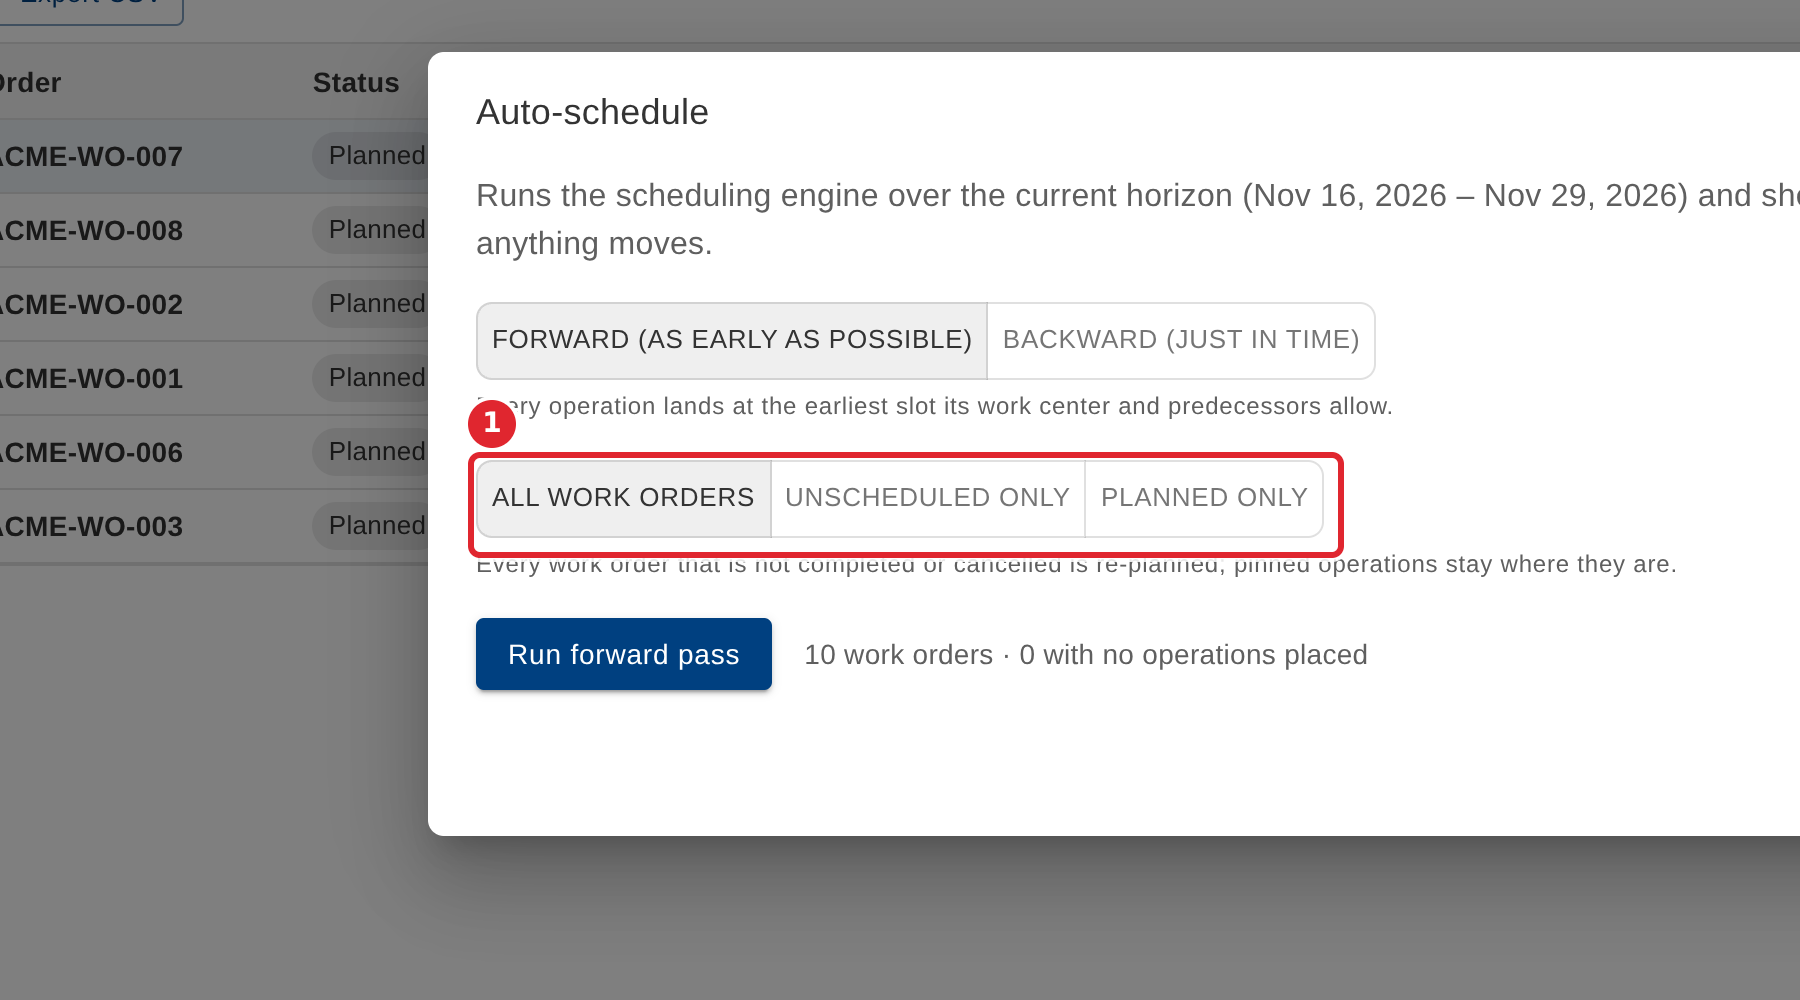
Choose which work orders to schedule: all, unscheduled only, or planned only.
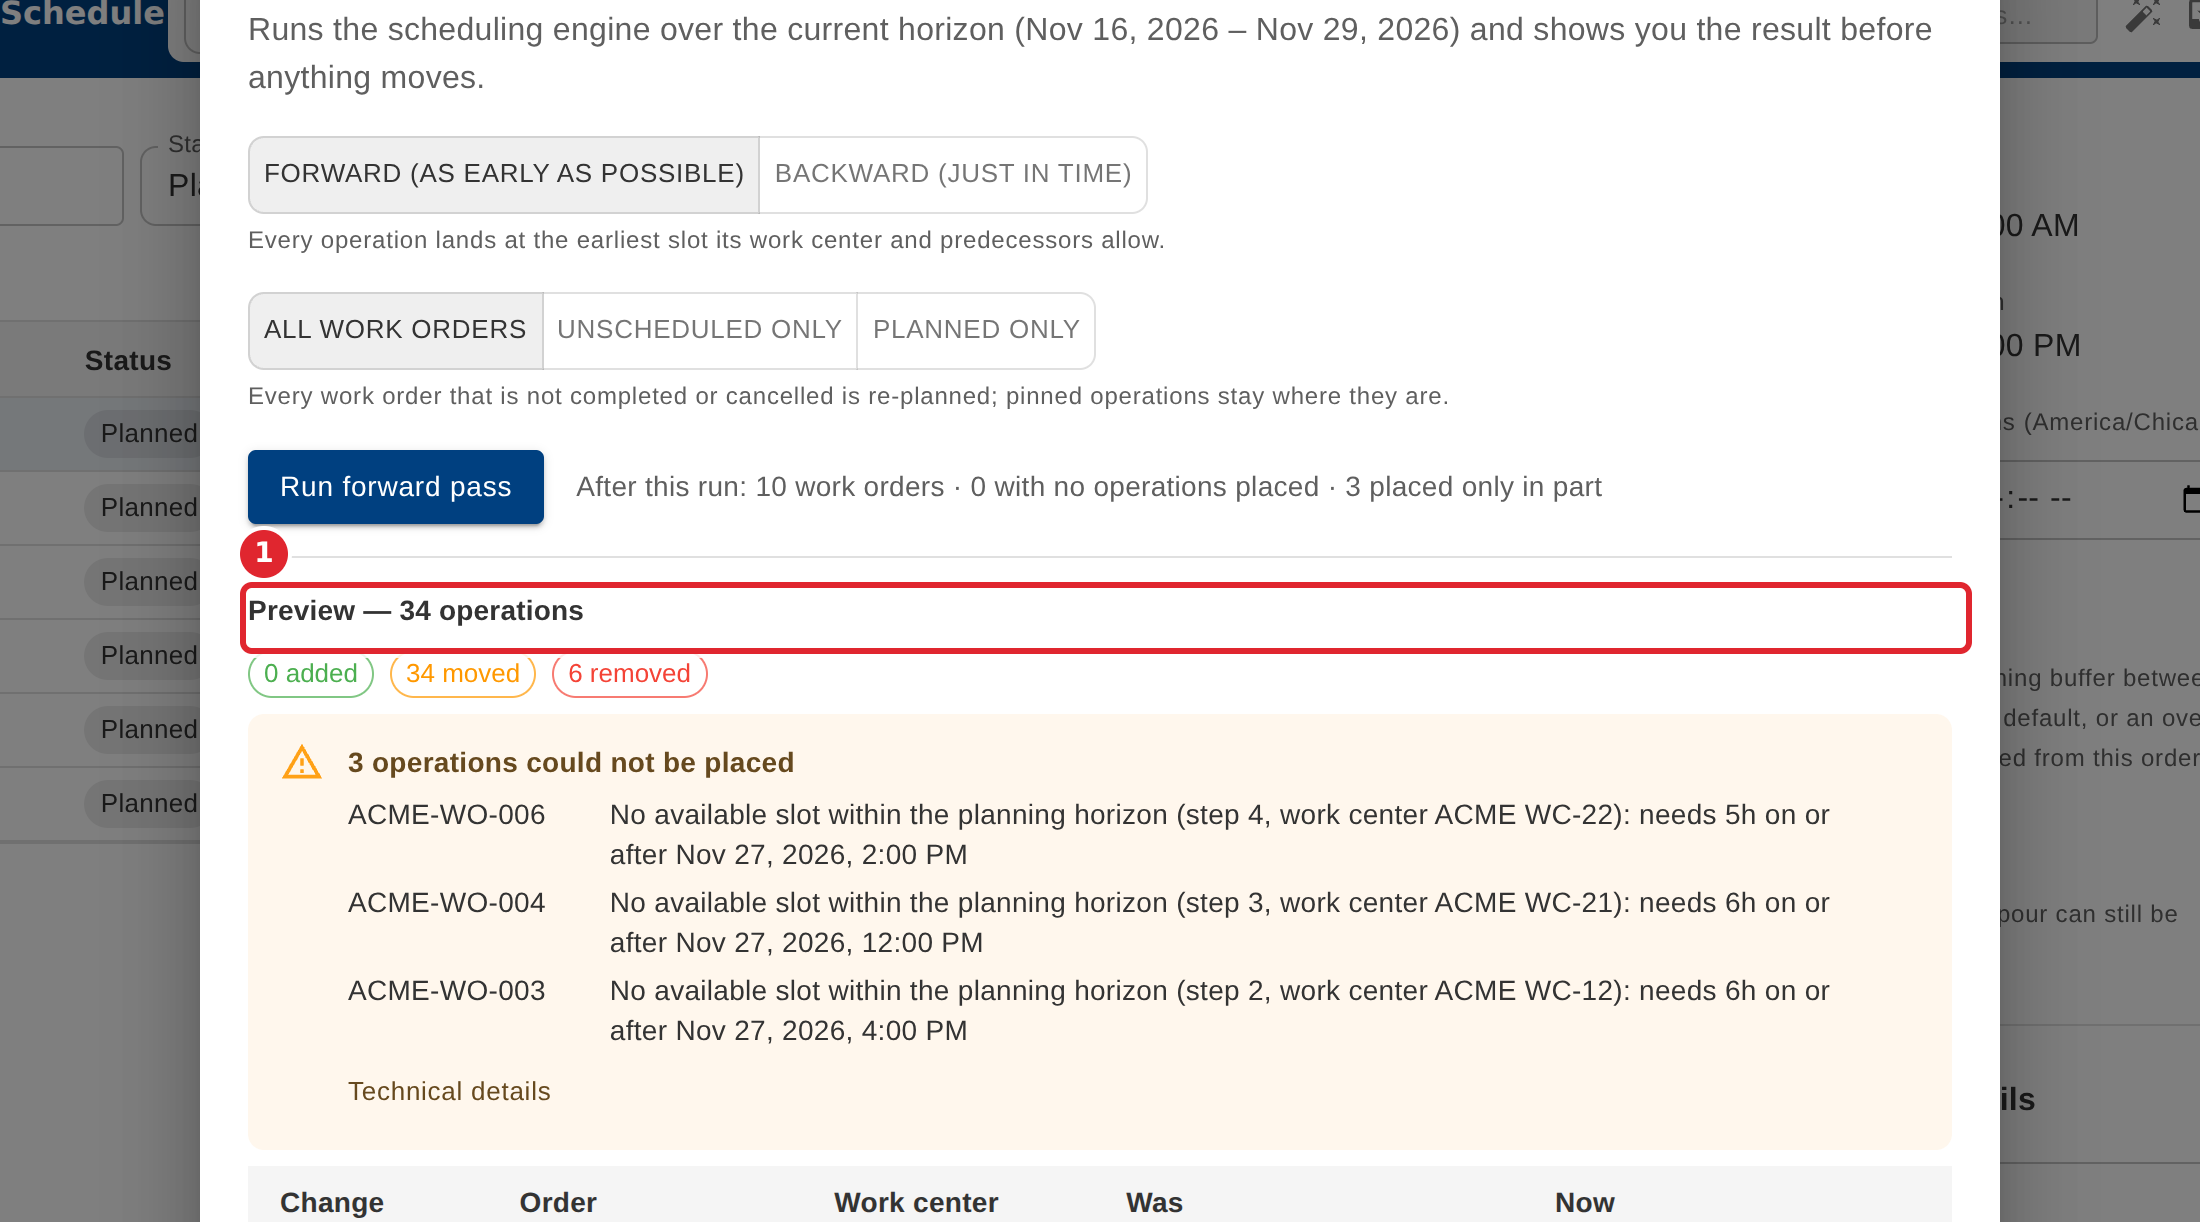
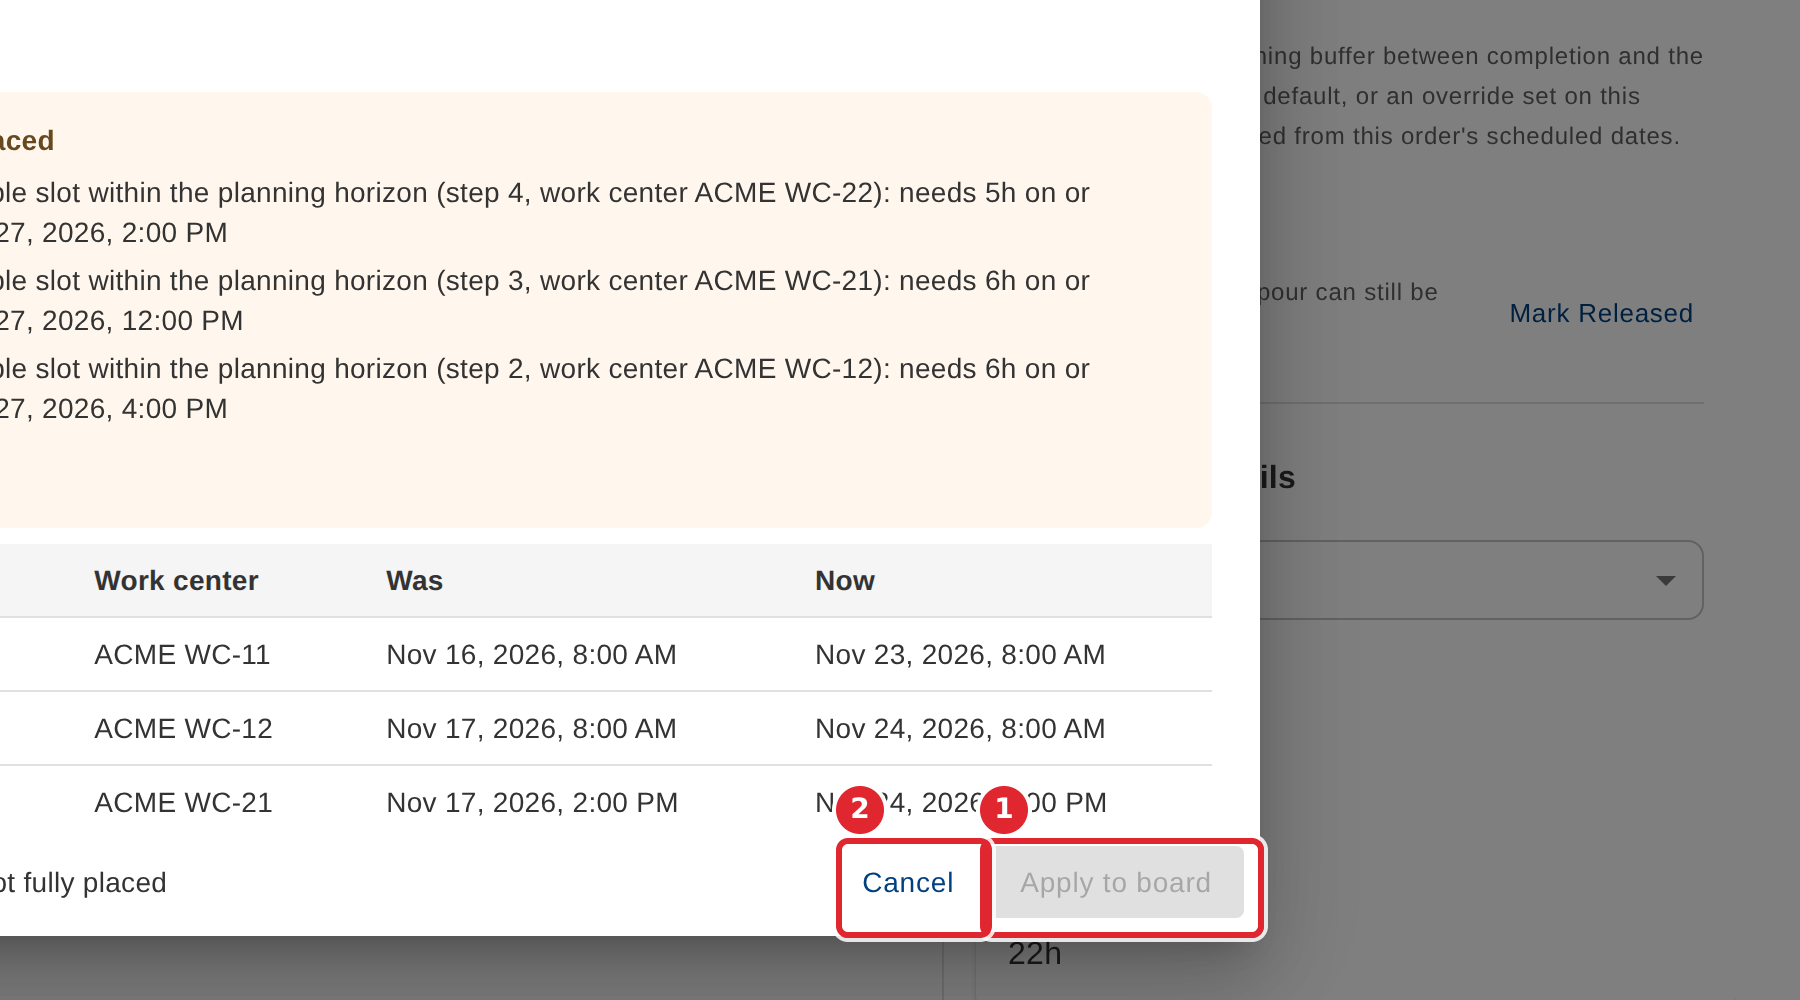
Select Run forward pass. Read the preview: each operation that would move, and any that could not be placed and why.
Select Apply to board to place the work, or Cancel to change nothing.
Tips
- Nothing moves until you select Apply to board.
- Pinned operations stay where they are. Completed and cancelled work orders are not re-planned.
- An operation that could not be placed says why, such as no free slot on its work center within the horizon. Widen the horizon or free up capacity, then run the pass again.
- If some work orders are not fully placed, Apply to board stays unavailable unless you tick Apply anyway.