Project Management guide · section 5 of 20
Create a project
Add a new job to the register so its milestones, pieces, loads and coordination records have a home.
Watch this in the video (0:21)
Steps
In the pictures, a numbered red box marks where to click or type. Where a picture has more than one box, the numbers give the order.
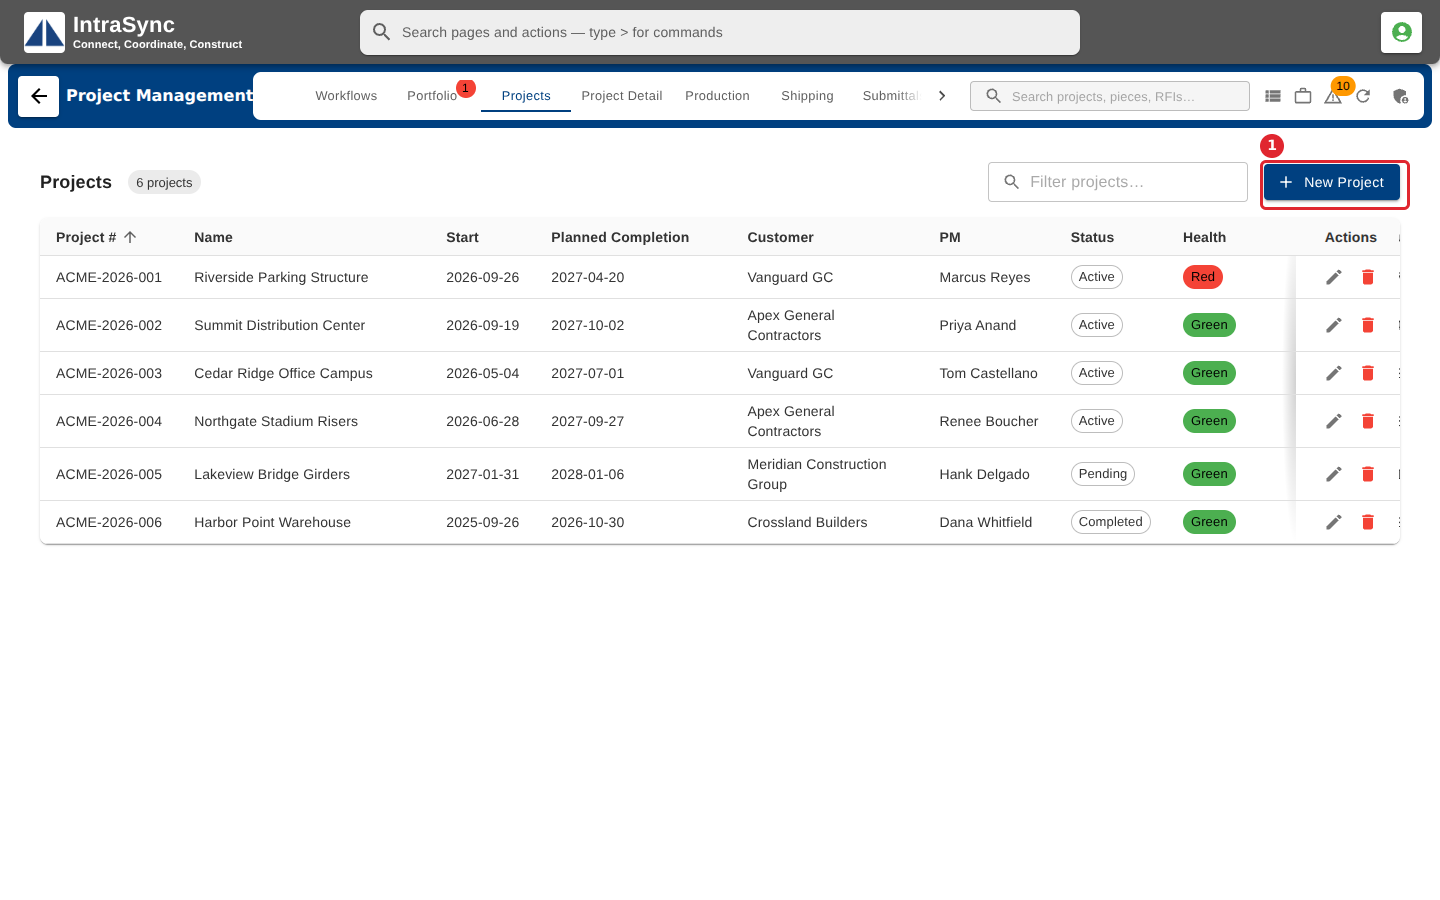
Open the Projects tab and select New Project.
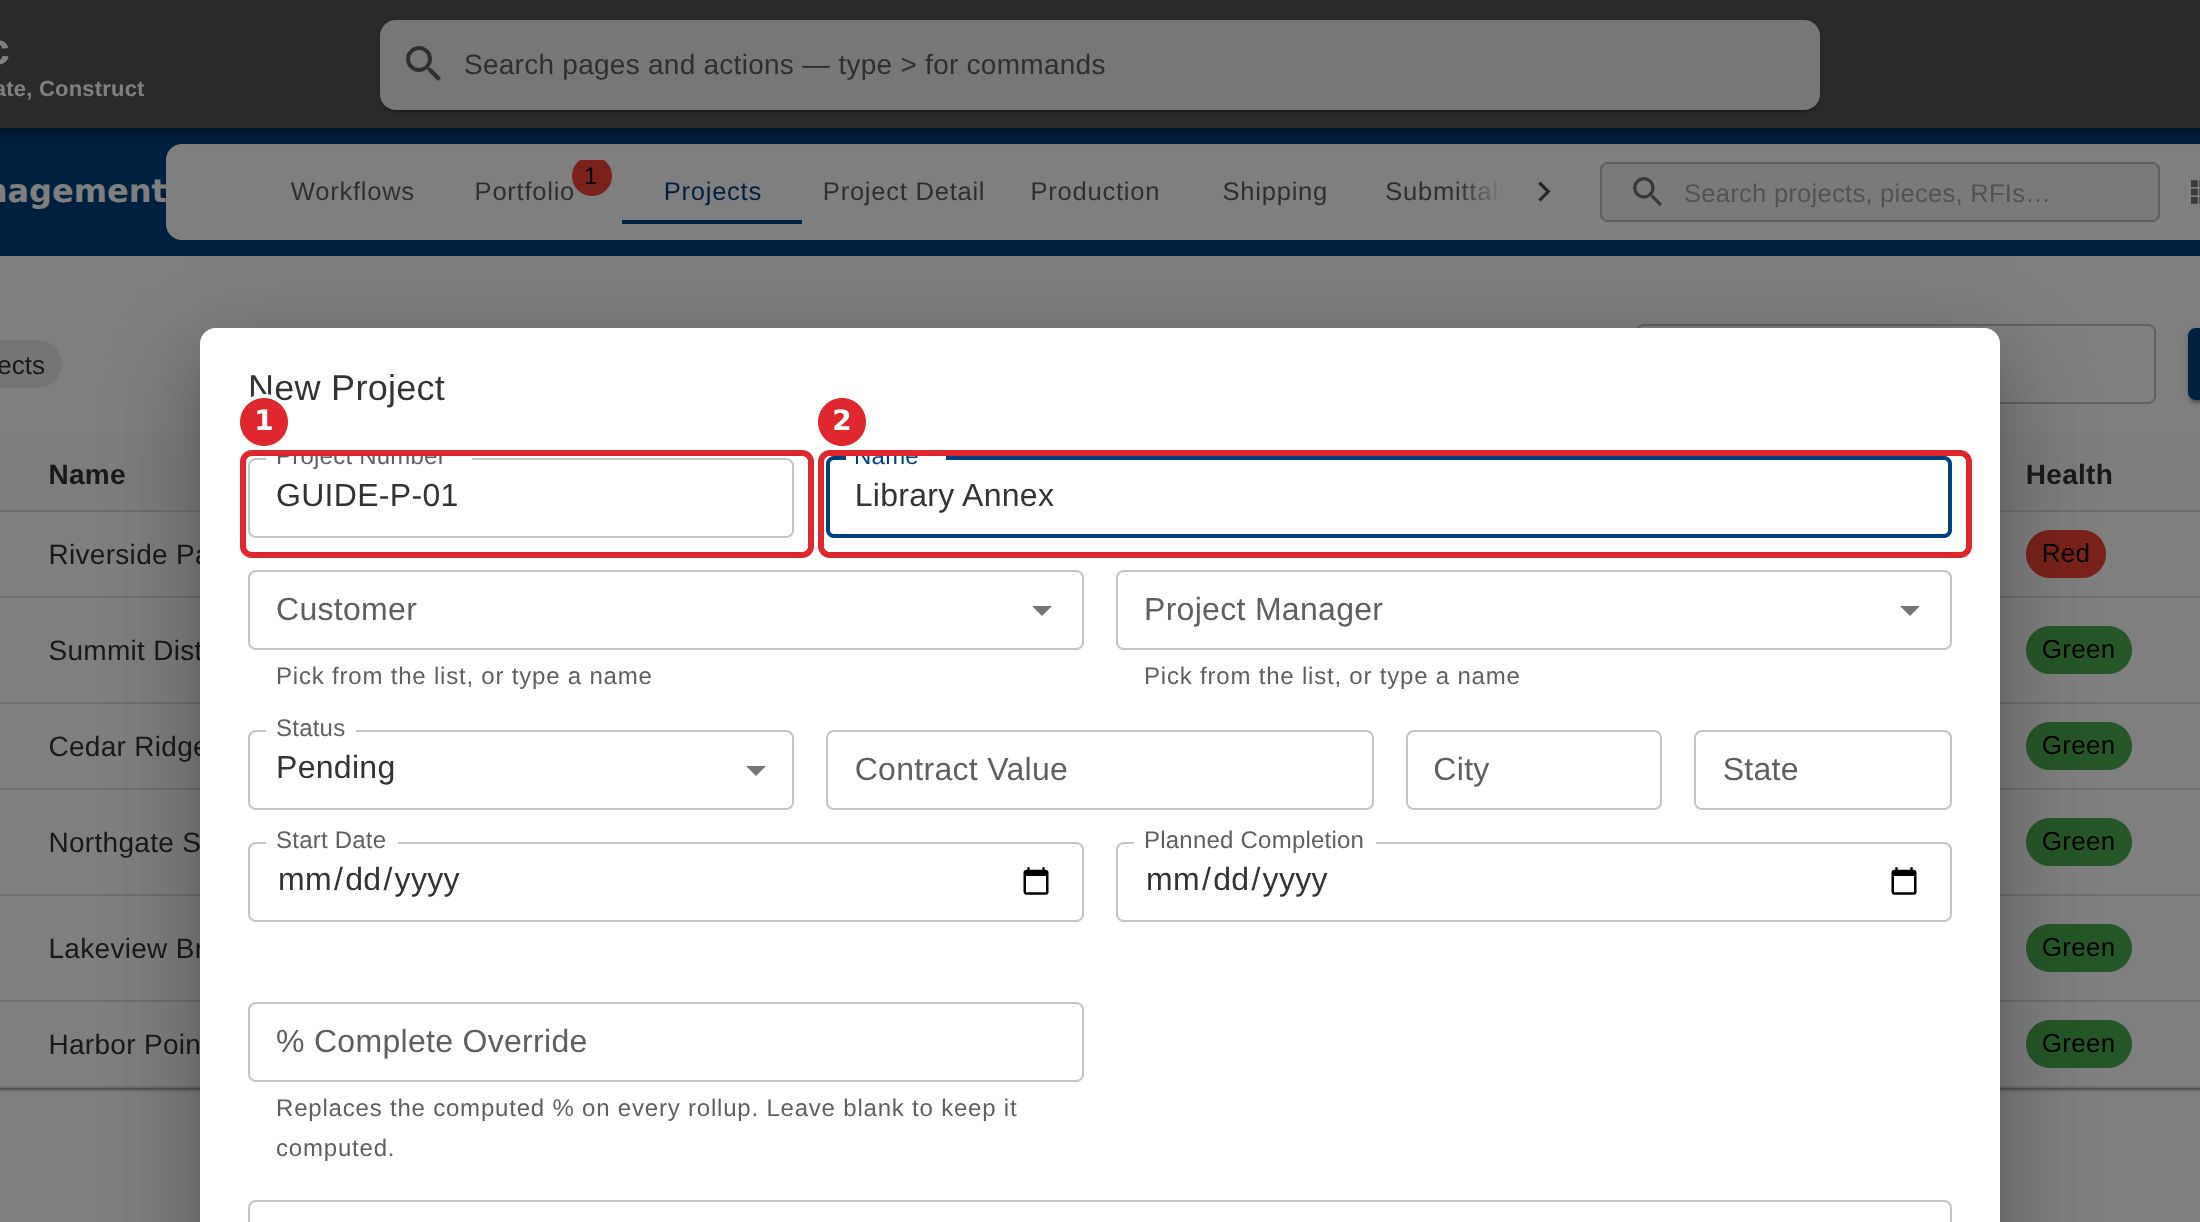
Enter the Project Number and the Name. Both are required.
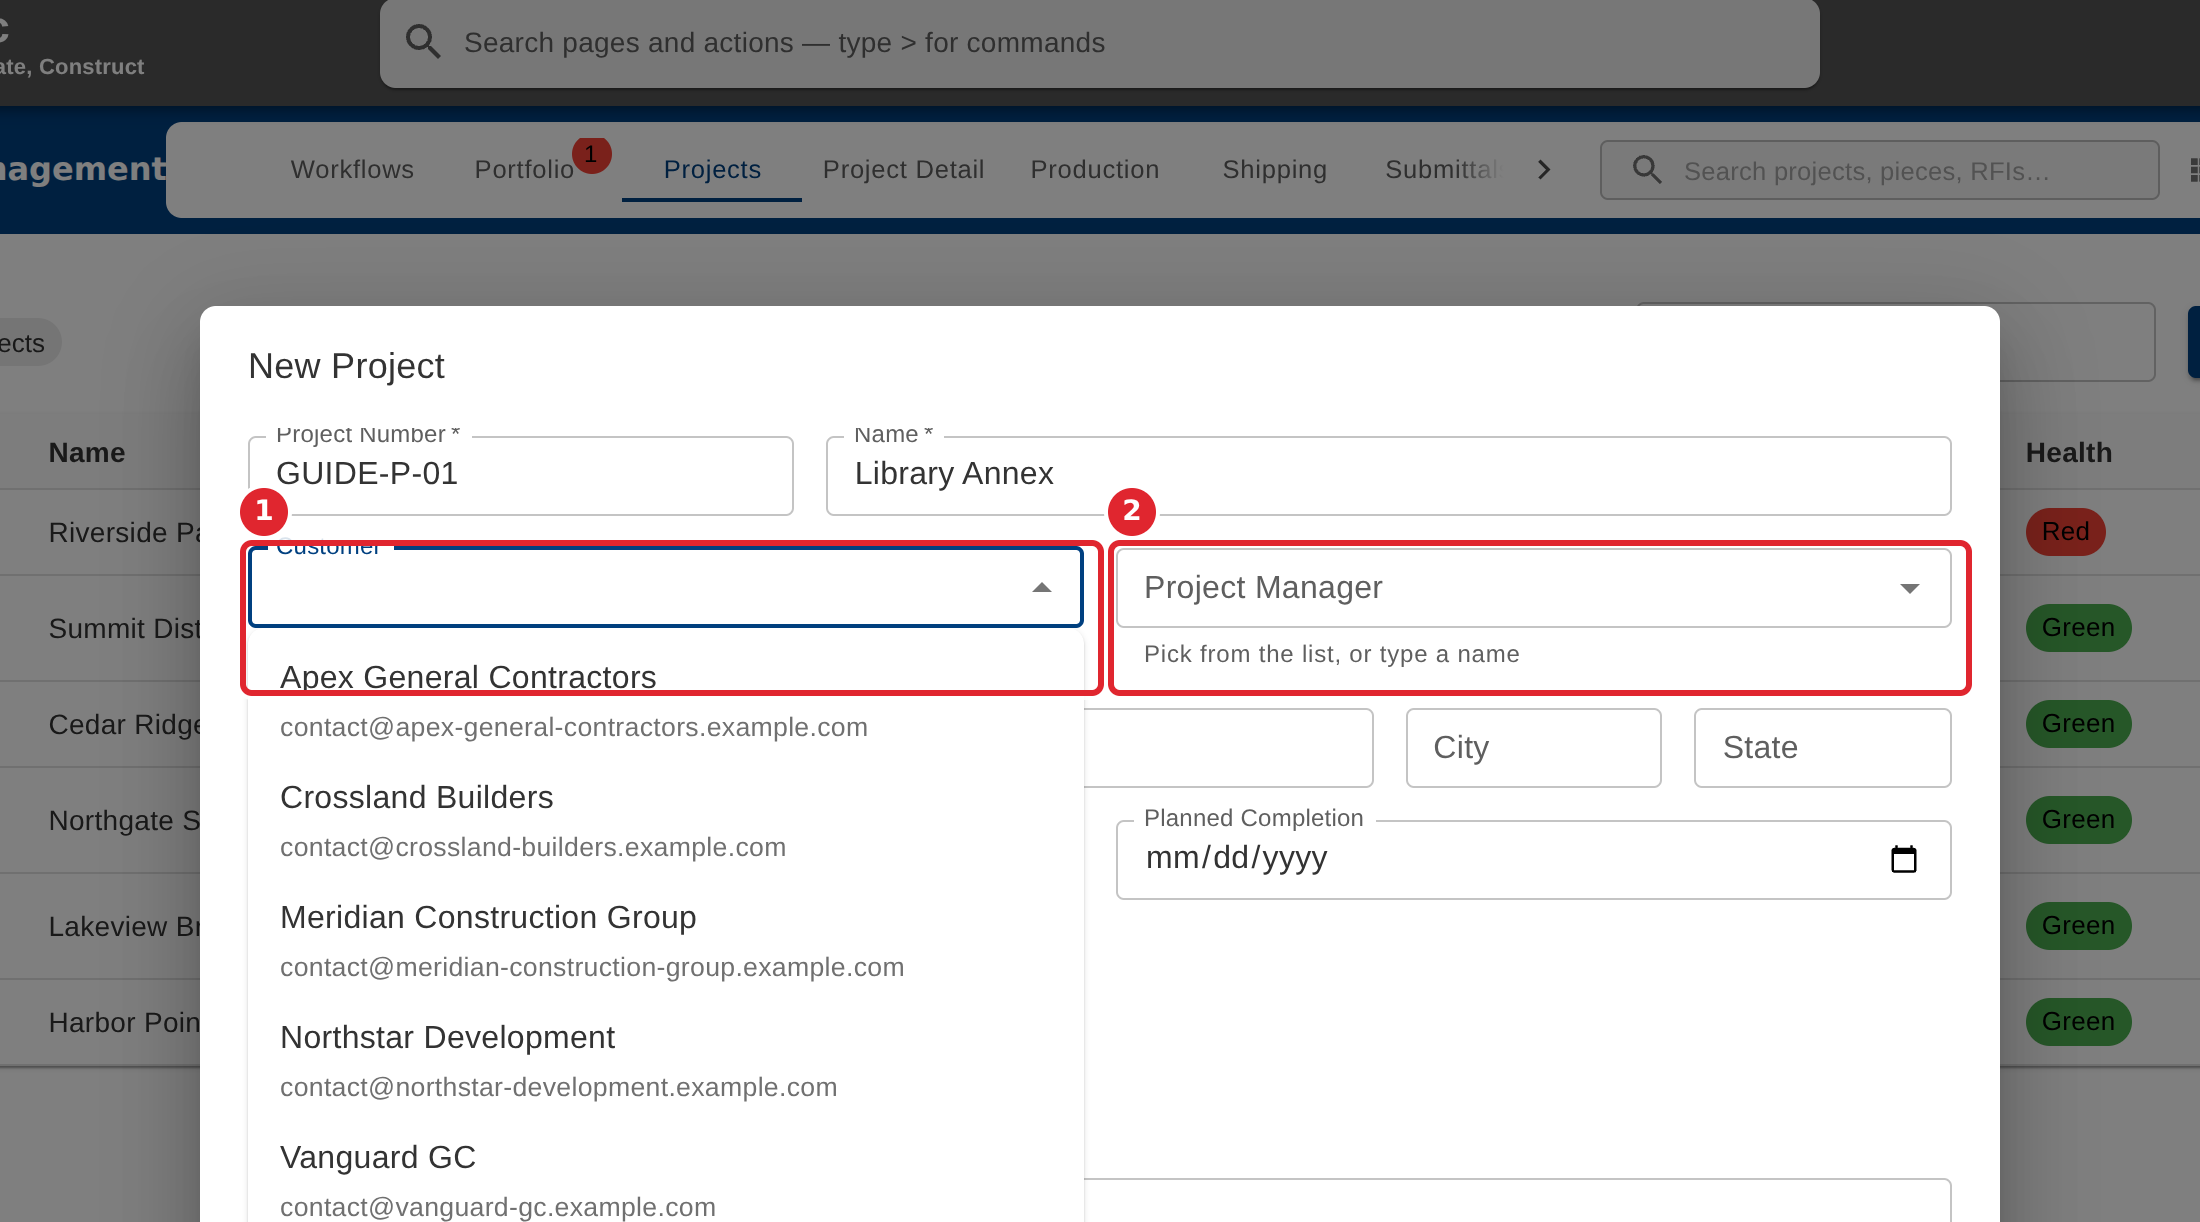
Pick the Customer and the Project Manager from their lists, or type a name.
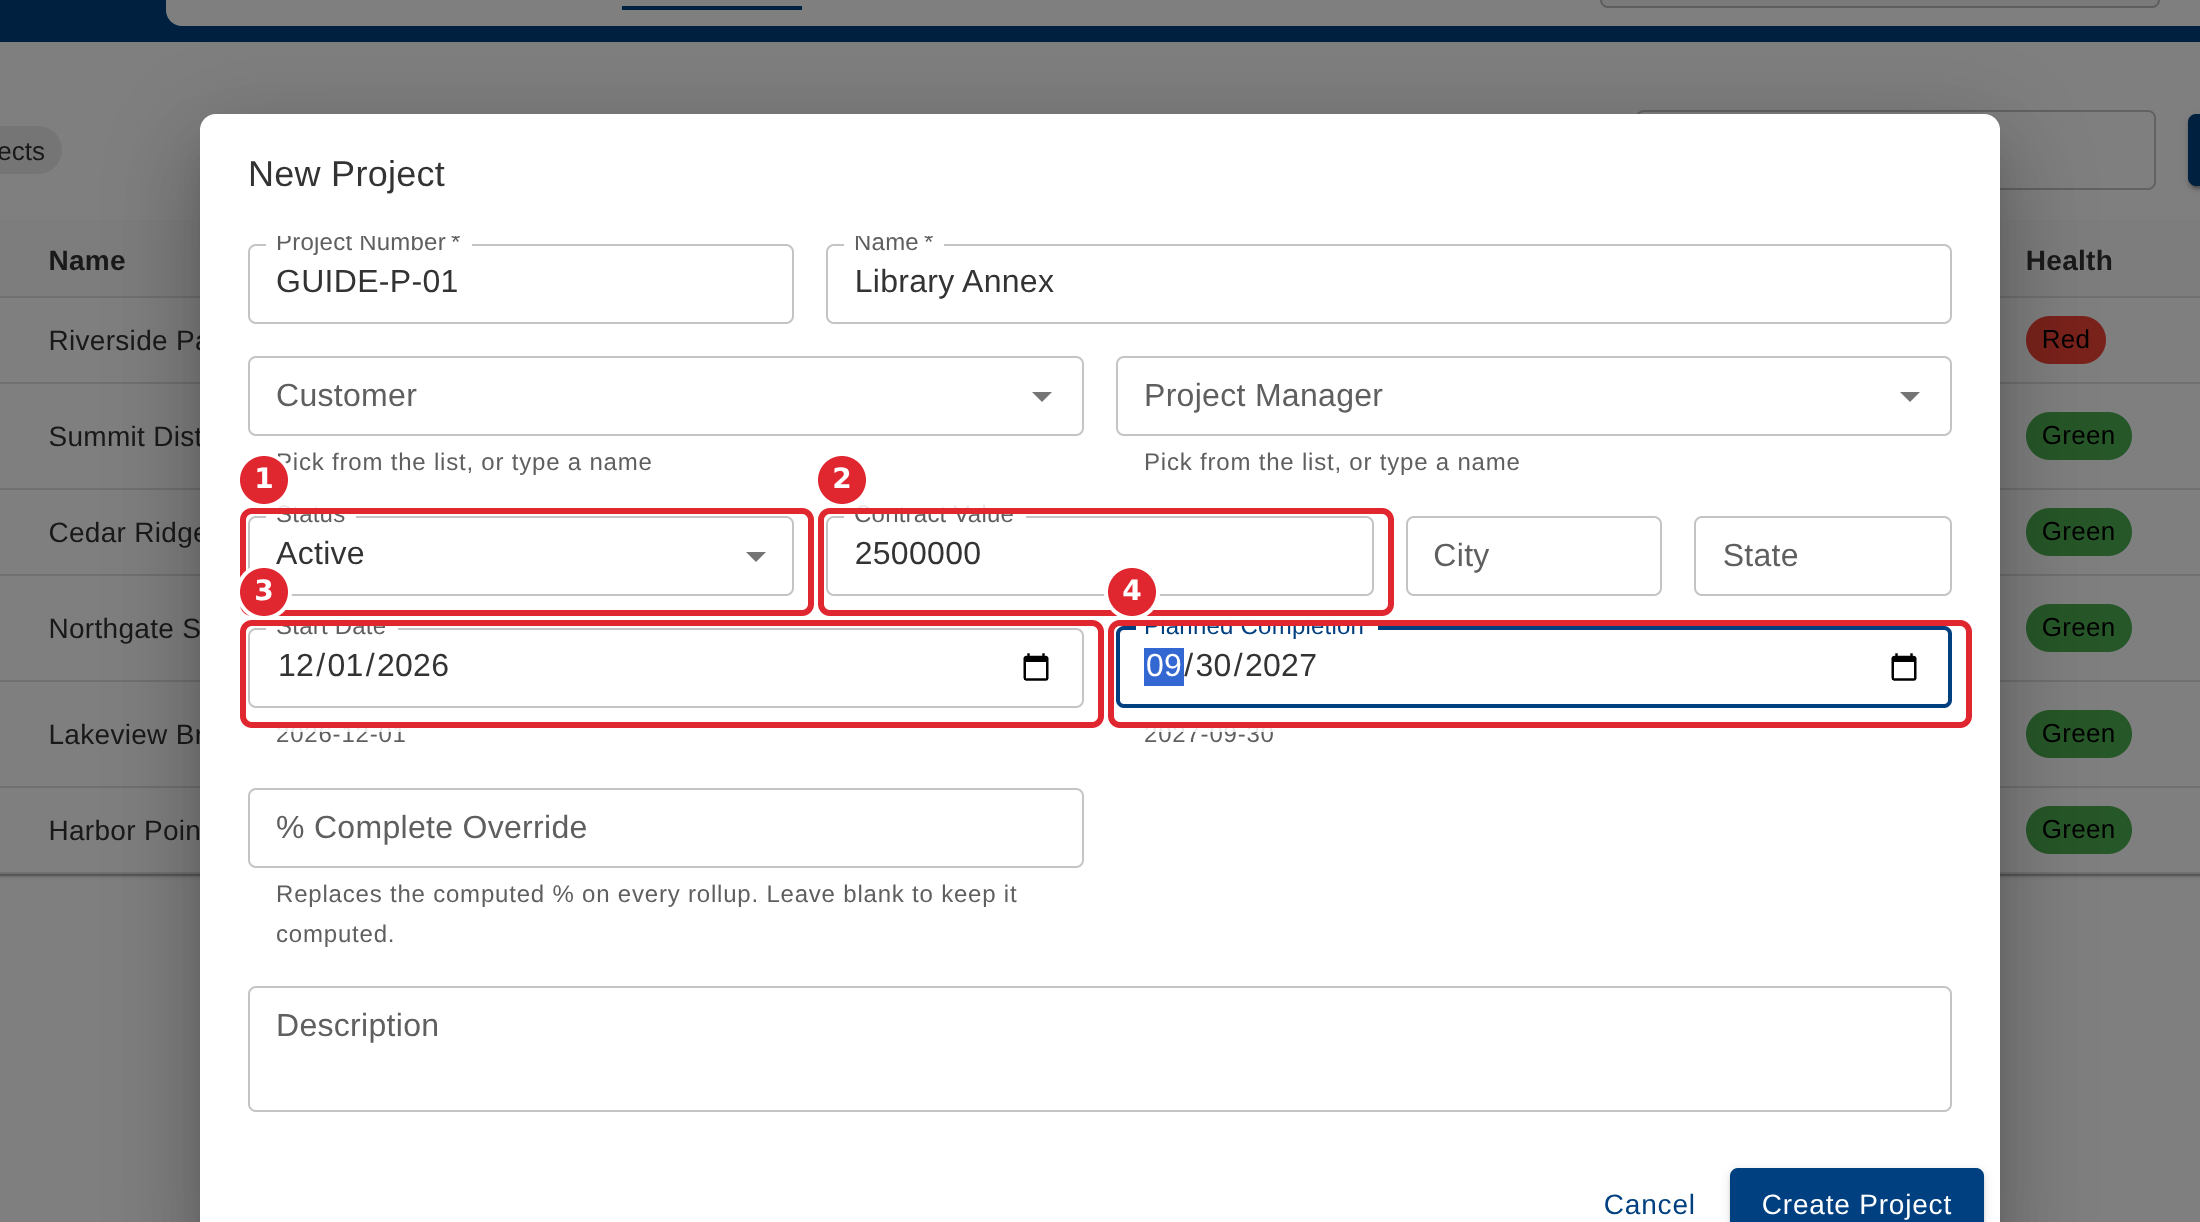
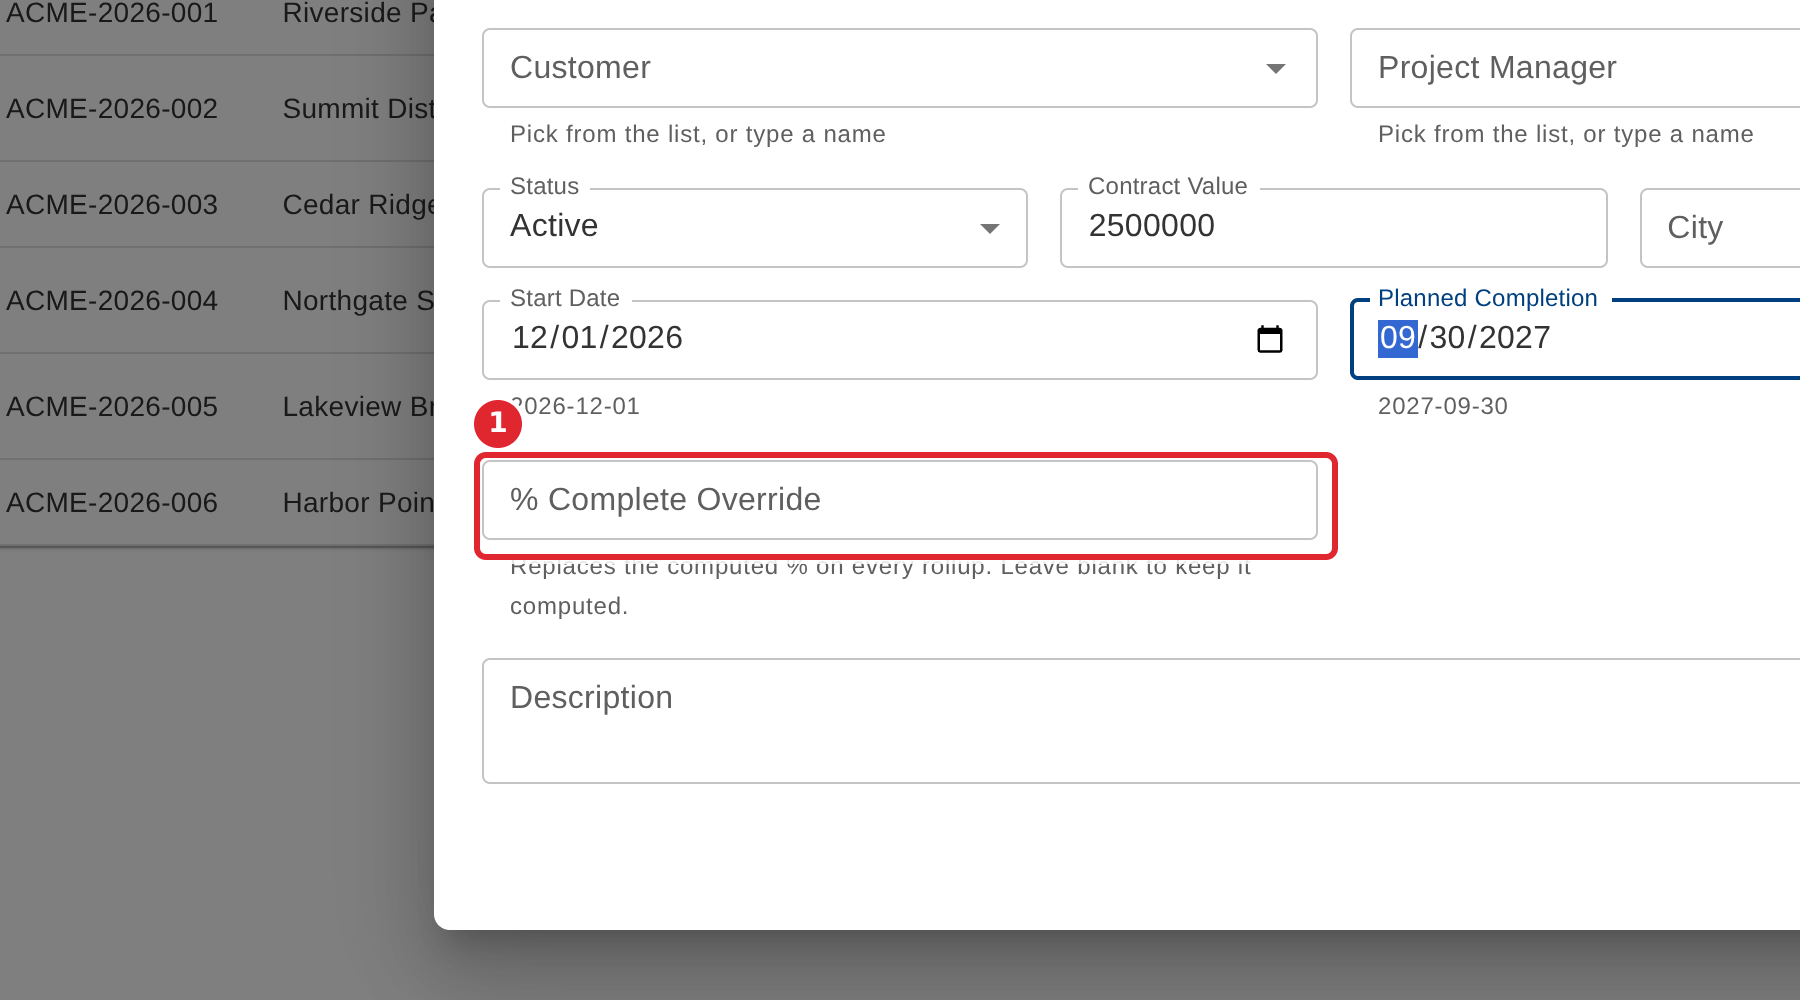
Set the Status, the Contract Value, the location and the Start Date and Planned Completion.
Leave % Complete Override blank to let the hub compute progress from the pieces. Enter a number only to replace it.
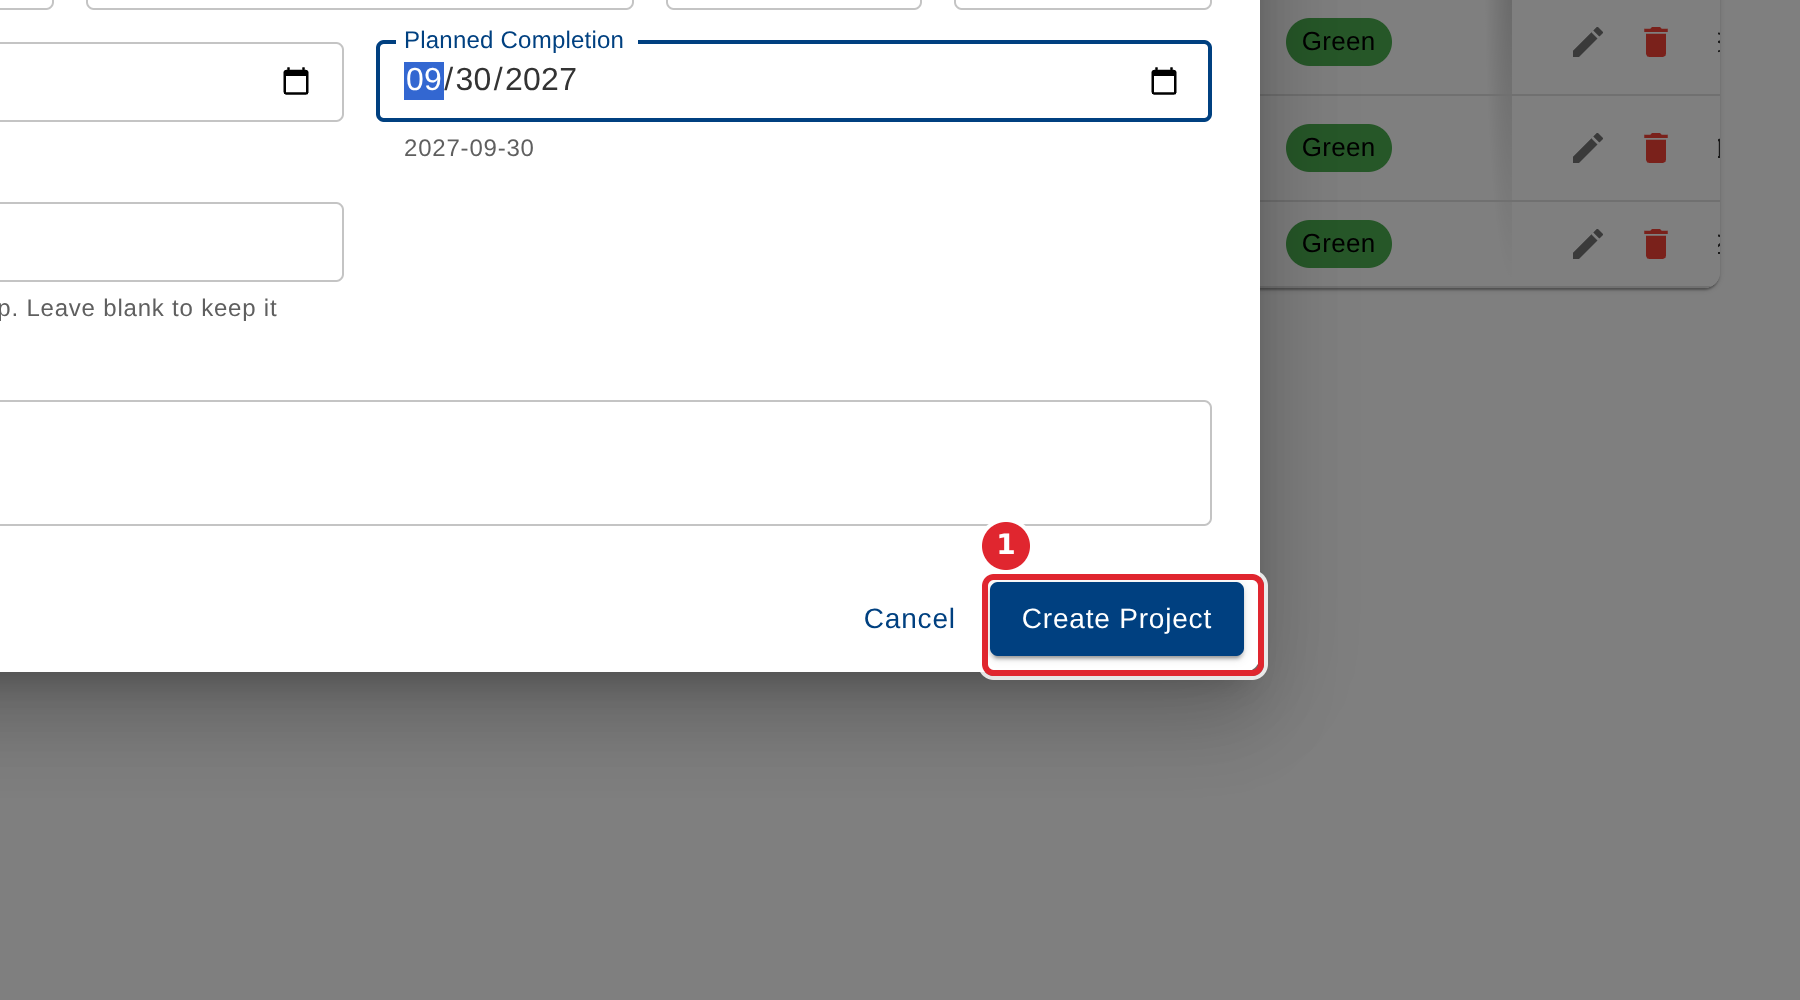
Select Create Project.
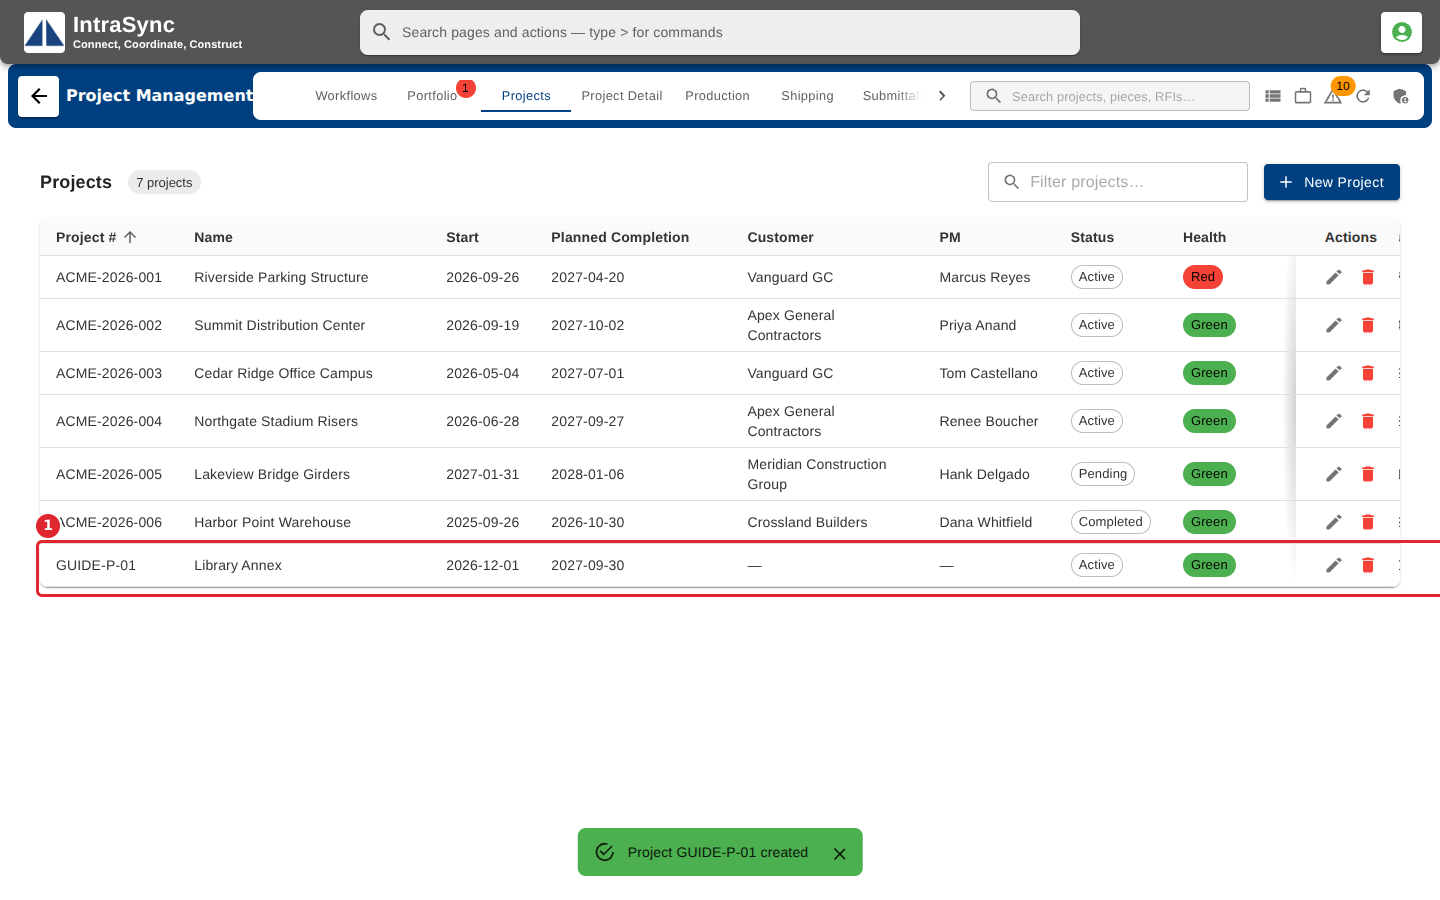
The project joins the register.
Tips
- Project Number and Name are required; Create Project stays unavailable until both are filled in.
- % Complete Override accepts a number from 0 to 100. Leave it blank to keep the computed percentage.
- If you close the form with unsaved changes, the hub asks before discarding them.