Plan a shipping load and mark it delivered
Group pieces onto loads, track each load to the job site, and keep shipped and delivered counts right.
Watch this in the video (0:52)
Before you start
- A project is in scope, and its pieces are on the Production tab.
Steps
In the pictures, a numbered red box marks where to click or type. Where a picture has more than one box, the numbers give the order.
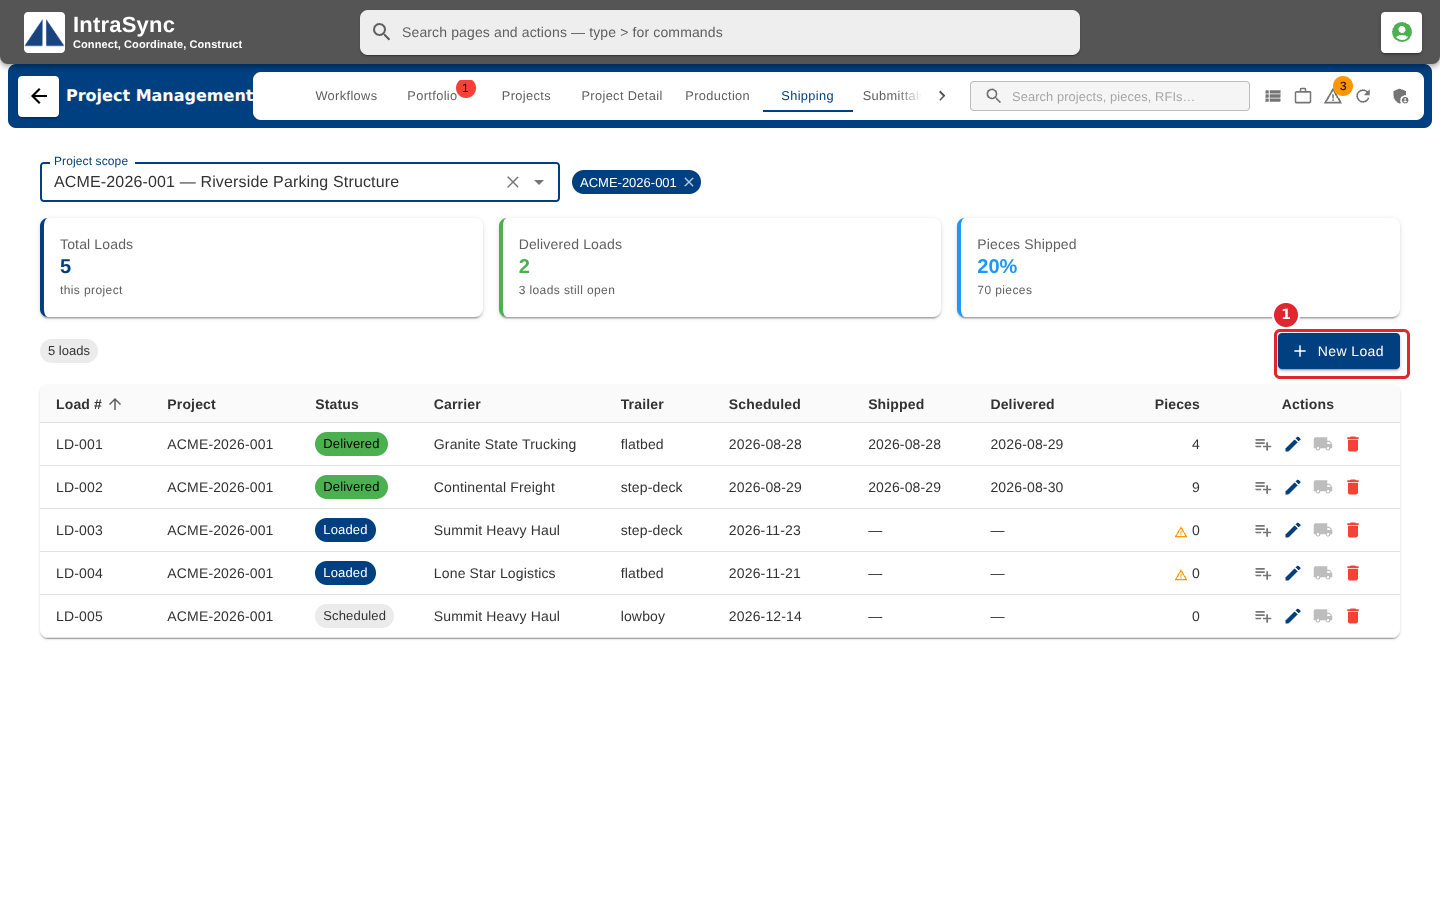
Open the Shipping tab with a project in scope and select New Load.
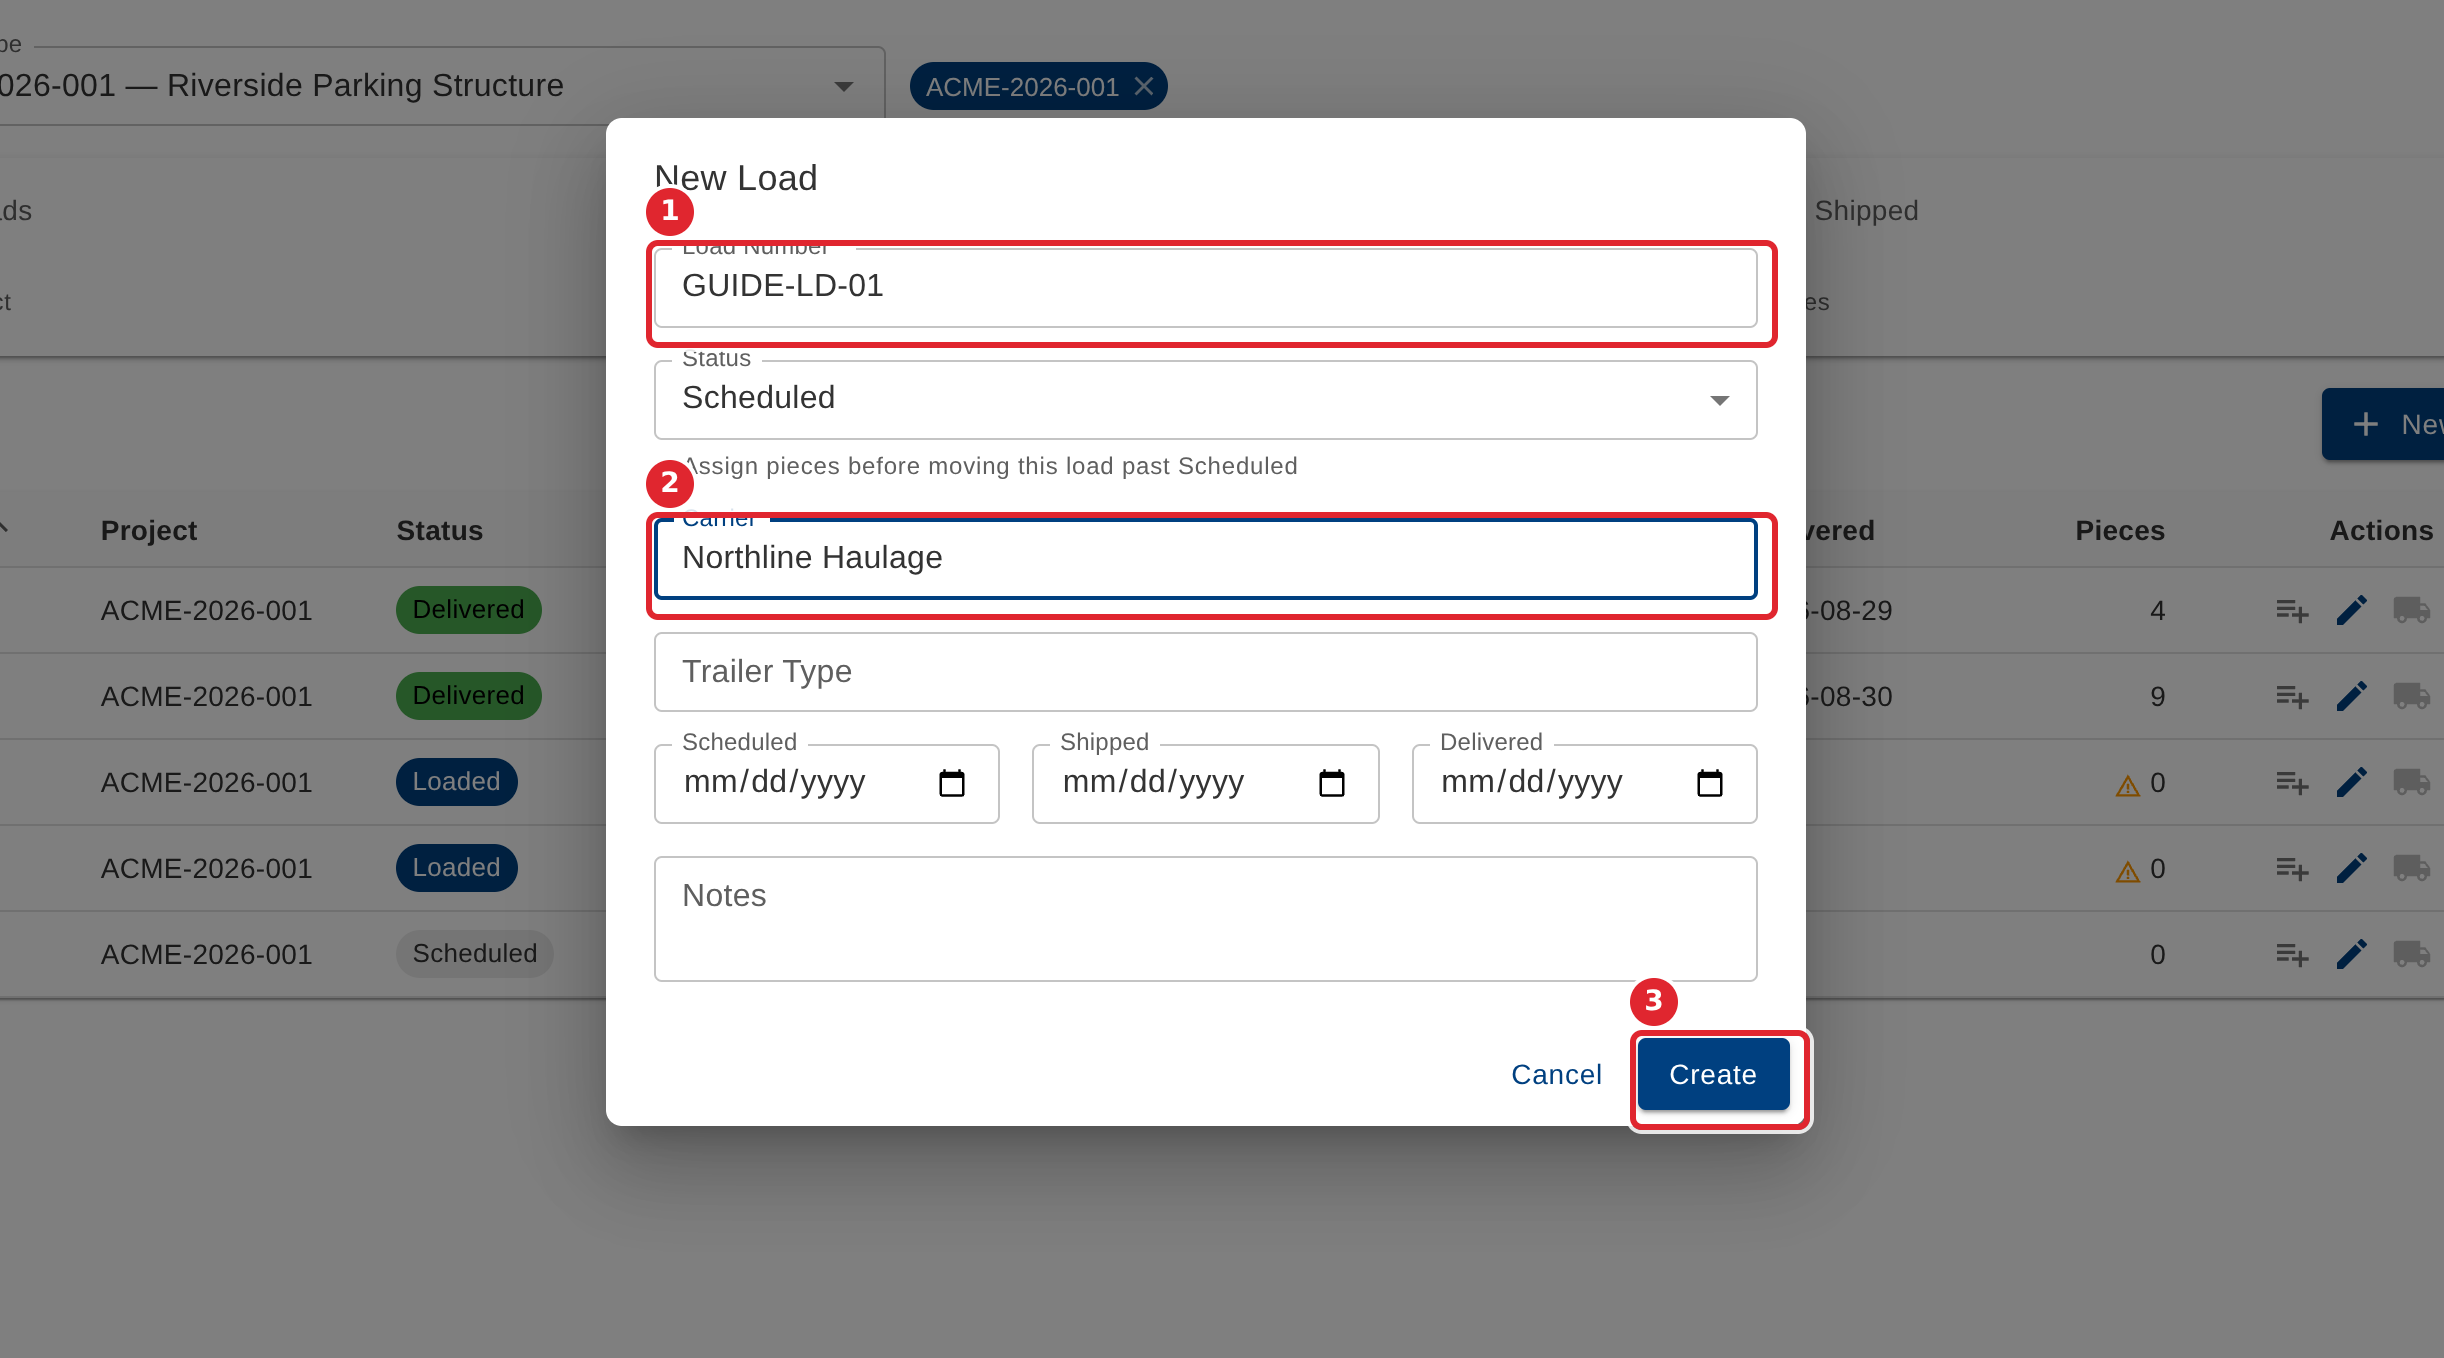
Enter the Load Number (required), the Carrier, the Trailer Type and the Scheduled date, then select Create. A new load starts as Scheduled.
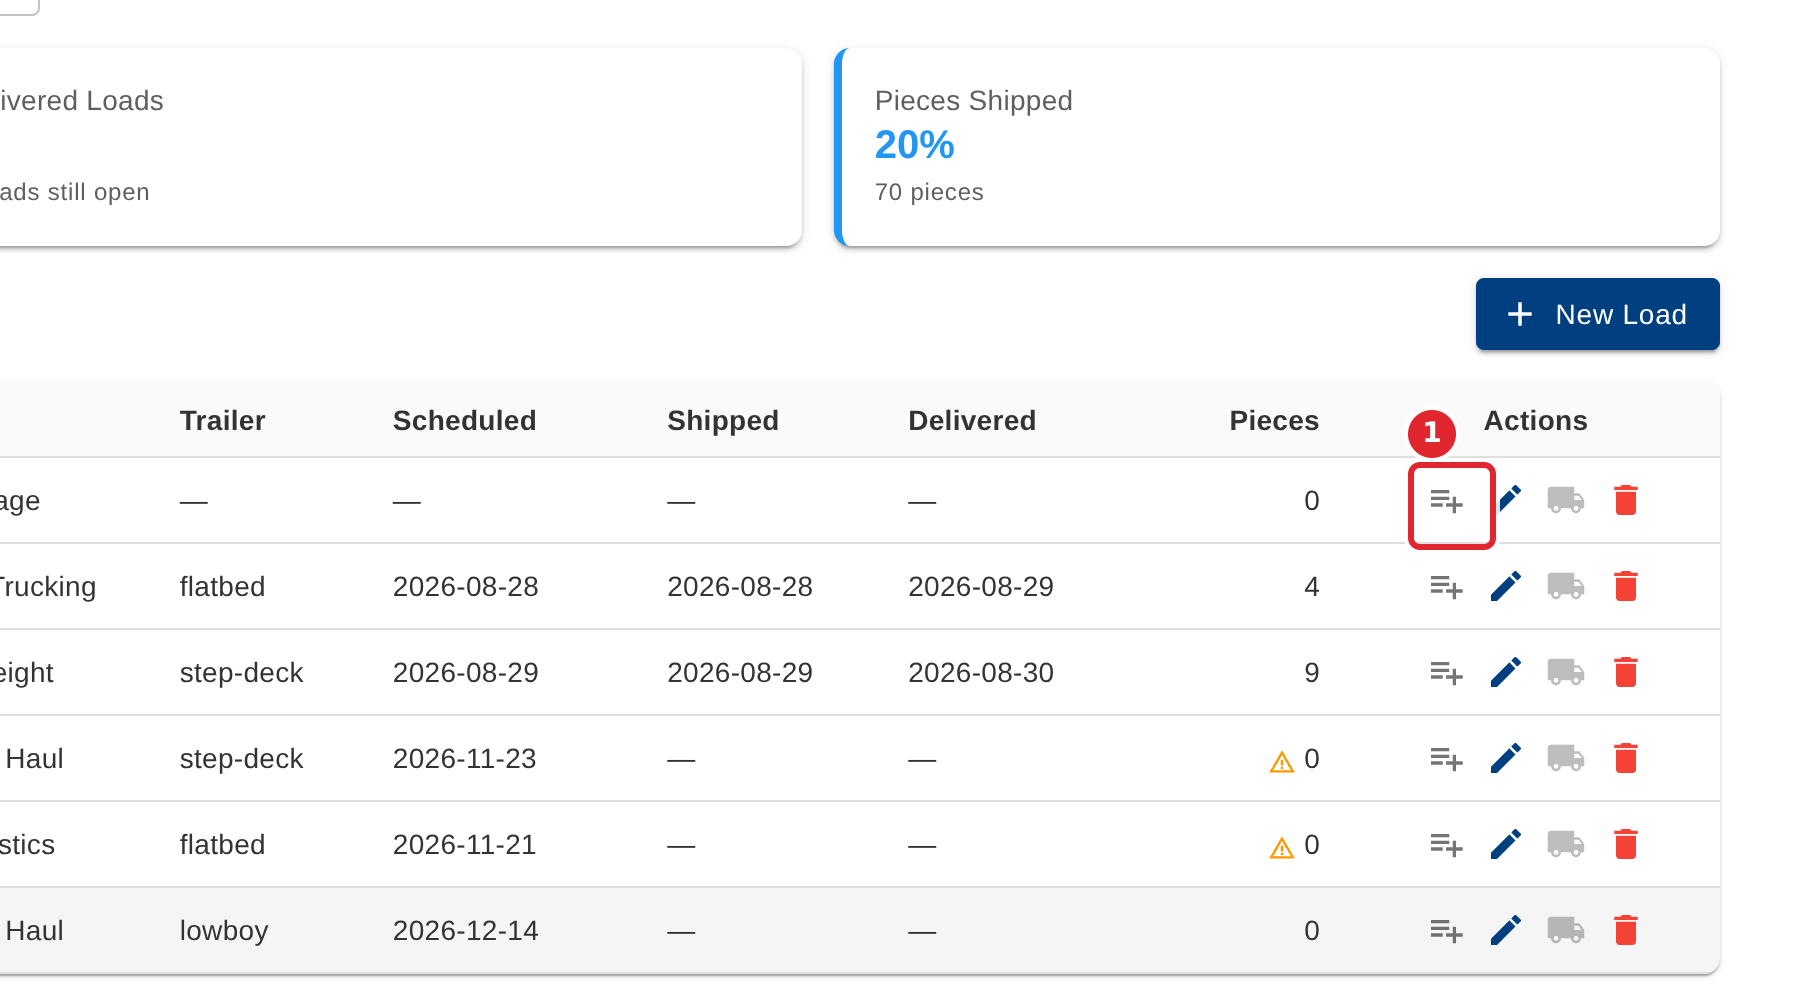
On the new load's row, select Assign pieces to this load.
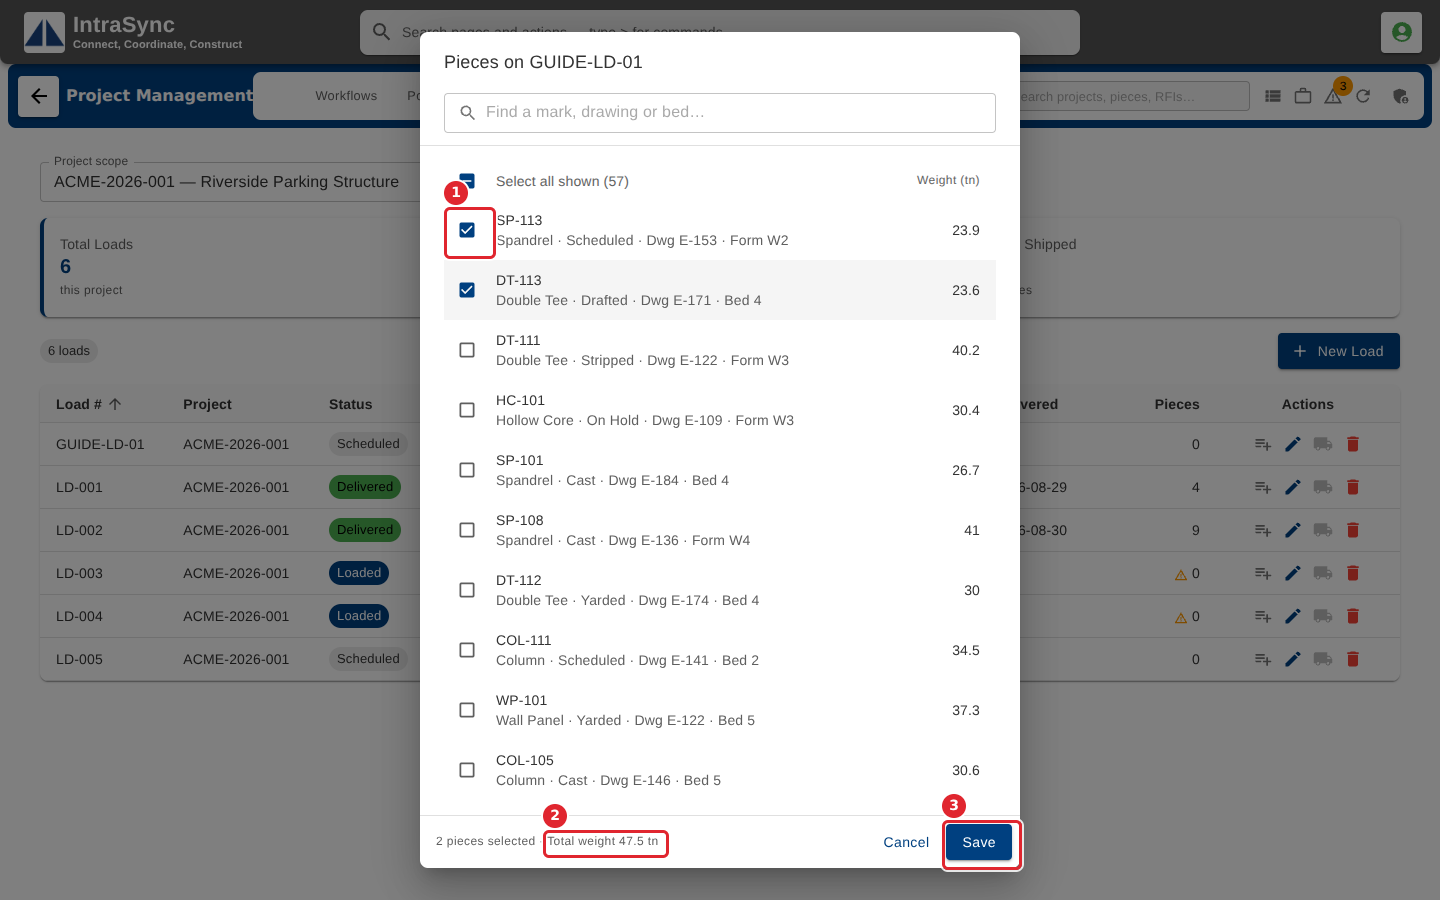
Tick the pieces going on the load, filtering the list if it is long. The total weight of the ticked pieces shows at the bottom. Select Save.
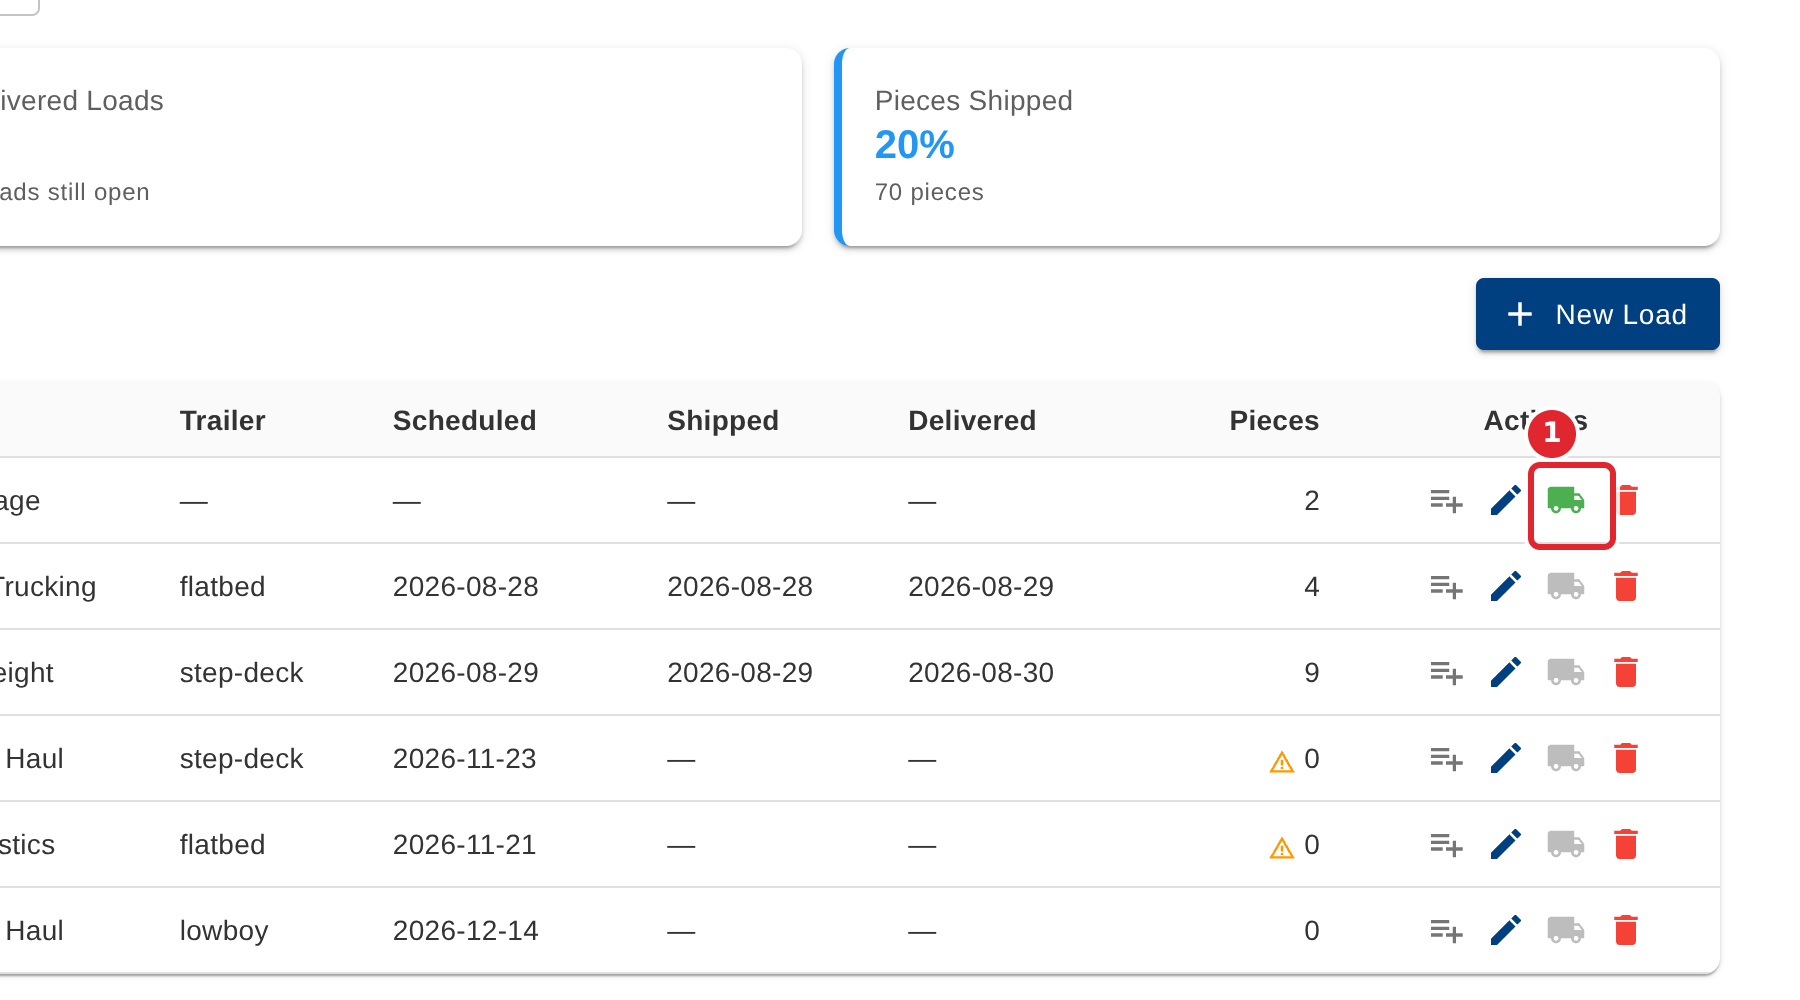
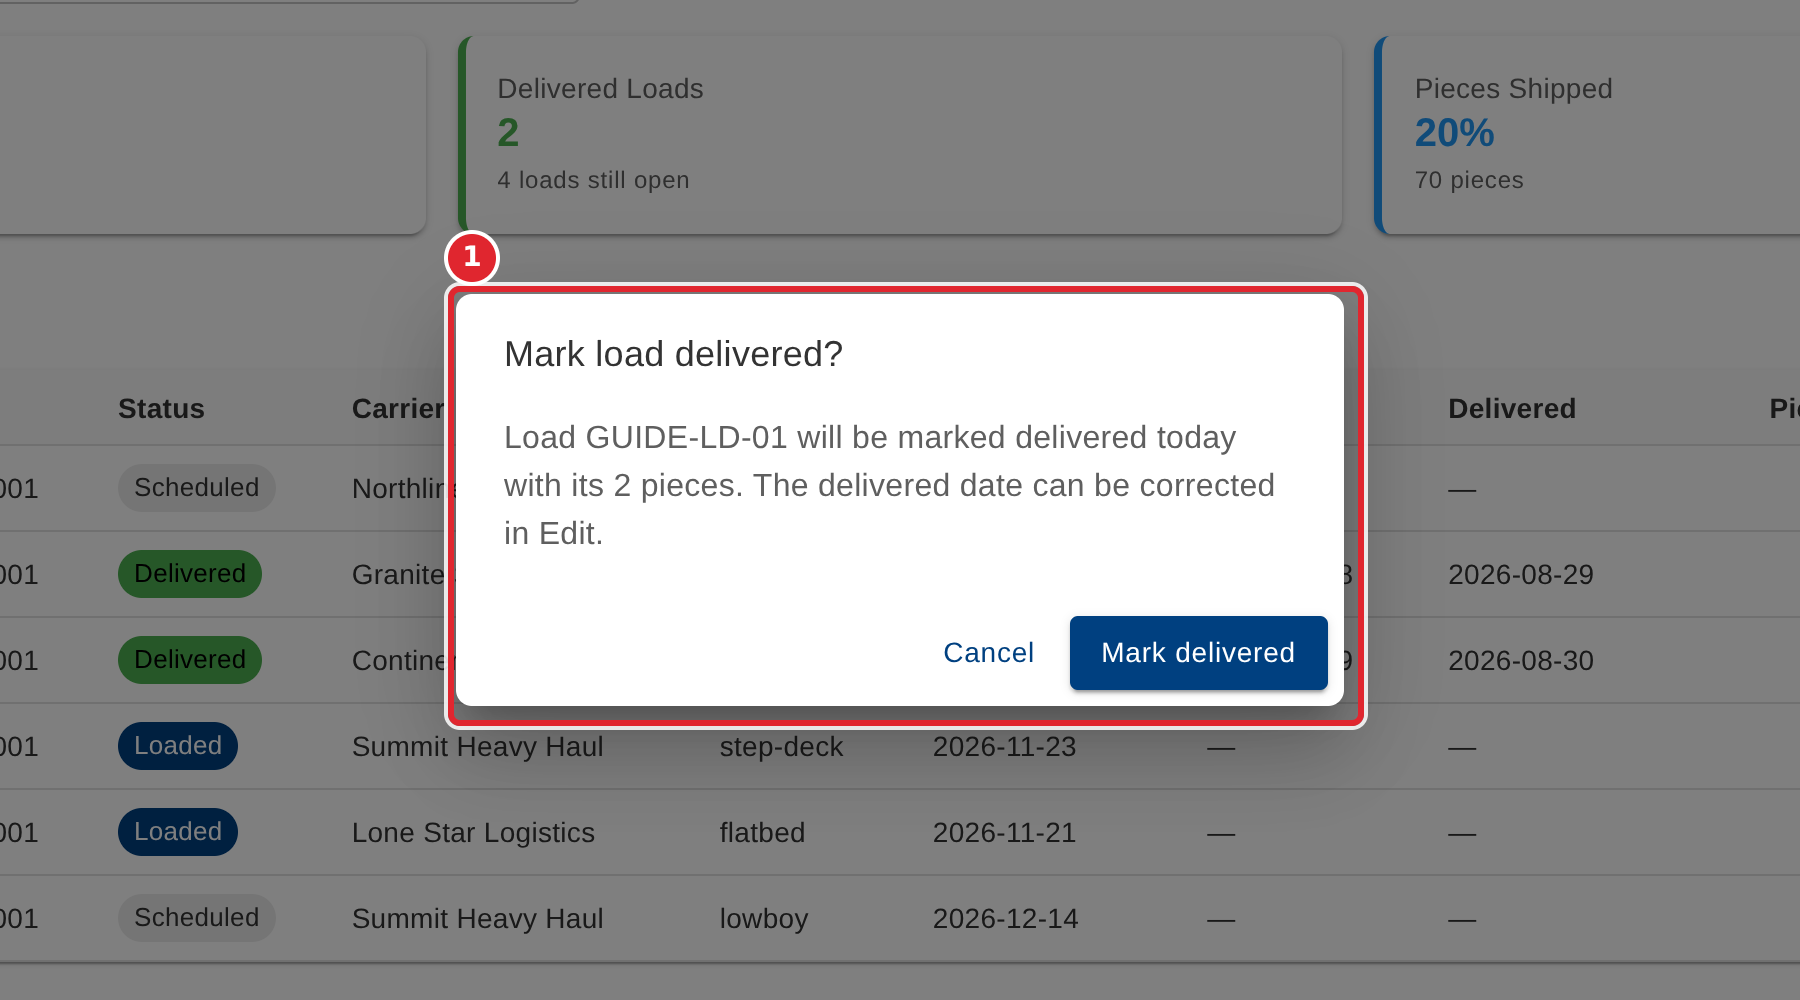
When the load arrives, select Mark delivered (the truck) on its row and confirm. A load with no pieces on it cannot be marked delivered.
Confirm to mark the load delivered.
Tips
- A load with no pieces stays Scheduled until pieces are assigned, and cannot be marked delivered.
- A piece already on another load is not offered; free it from its current load first.