Track pieces through production
Follow every piece from drafting through casting, yarding and shipping to erection, and spot the late ones.
Watch this in the video (0:45)
Before you start
- A project is in scope to add pieces. The list itself works across all projects.
Steps
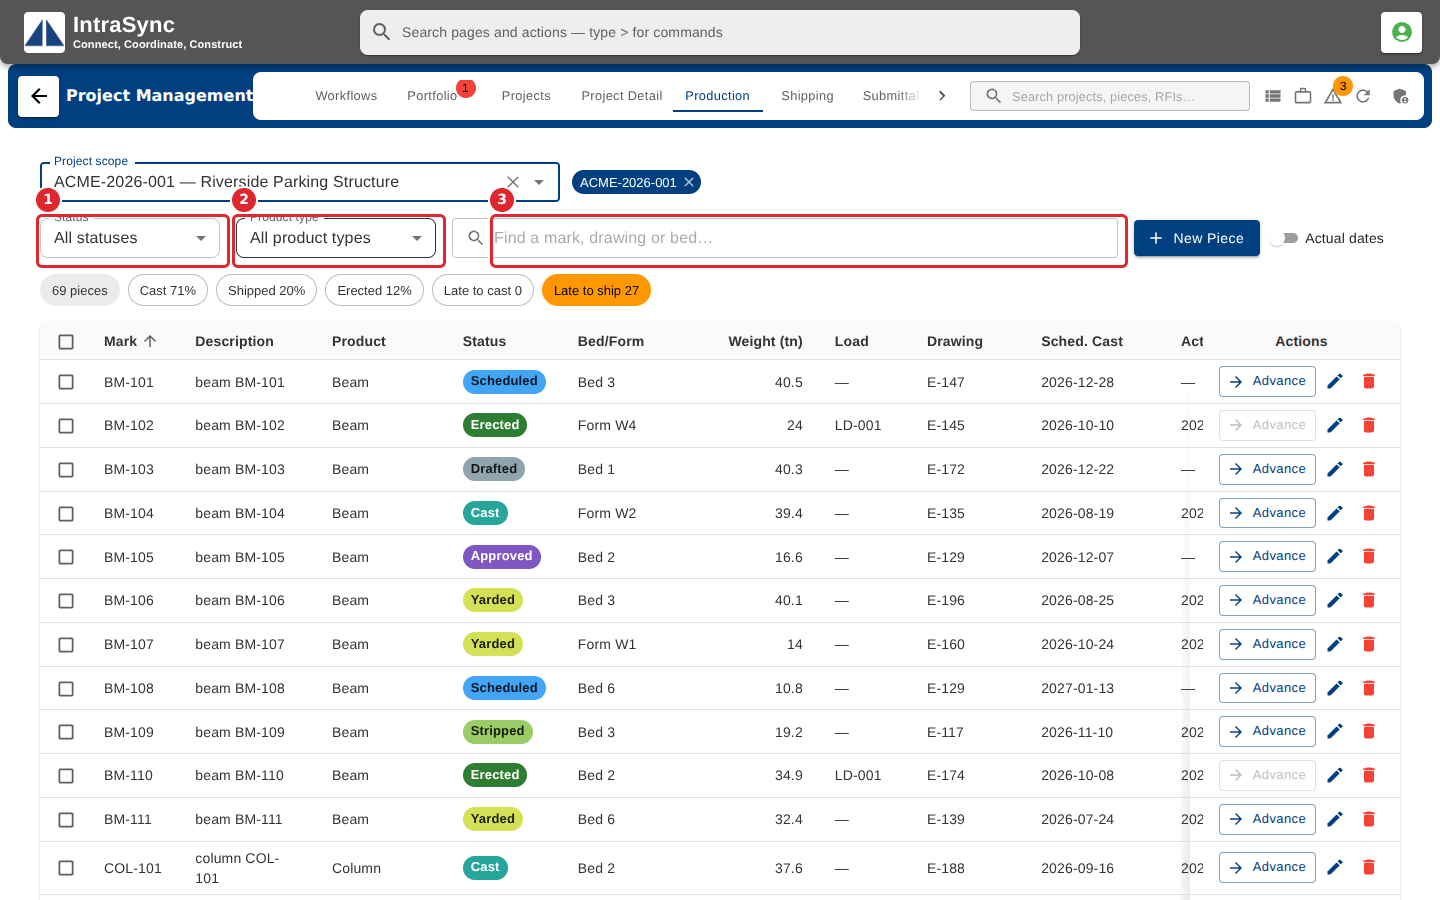
In the pictures, a numbered red box marks where to click or type. Where a picture has more than one box, the numbers give the order.
Open the Production tab with a project in scope. Filter the pieces by Status or Product type, or find a mark, drawing or bed.
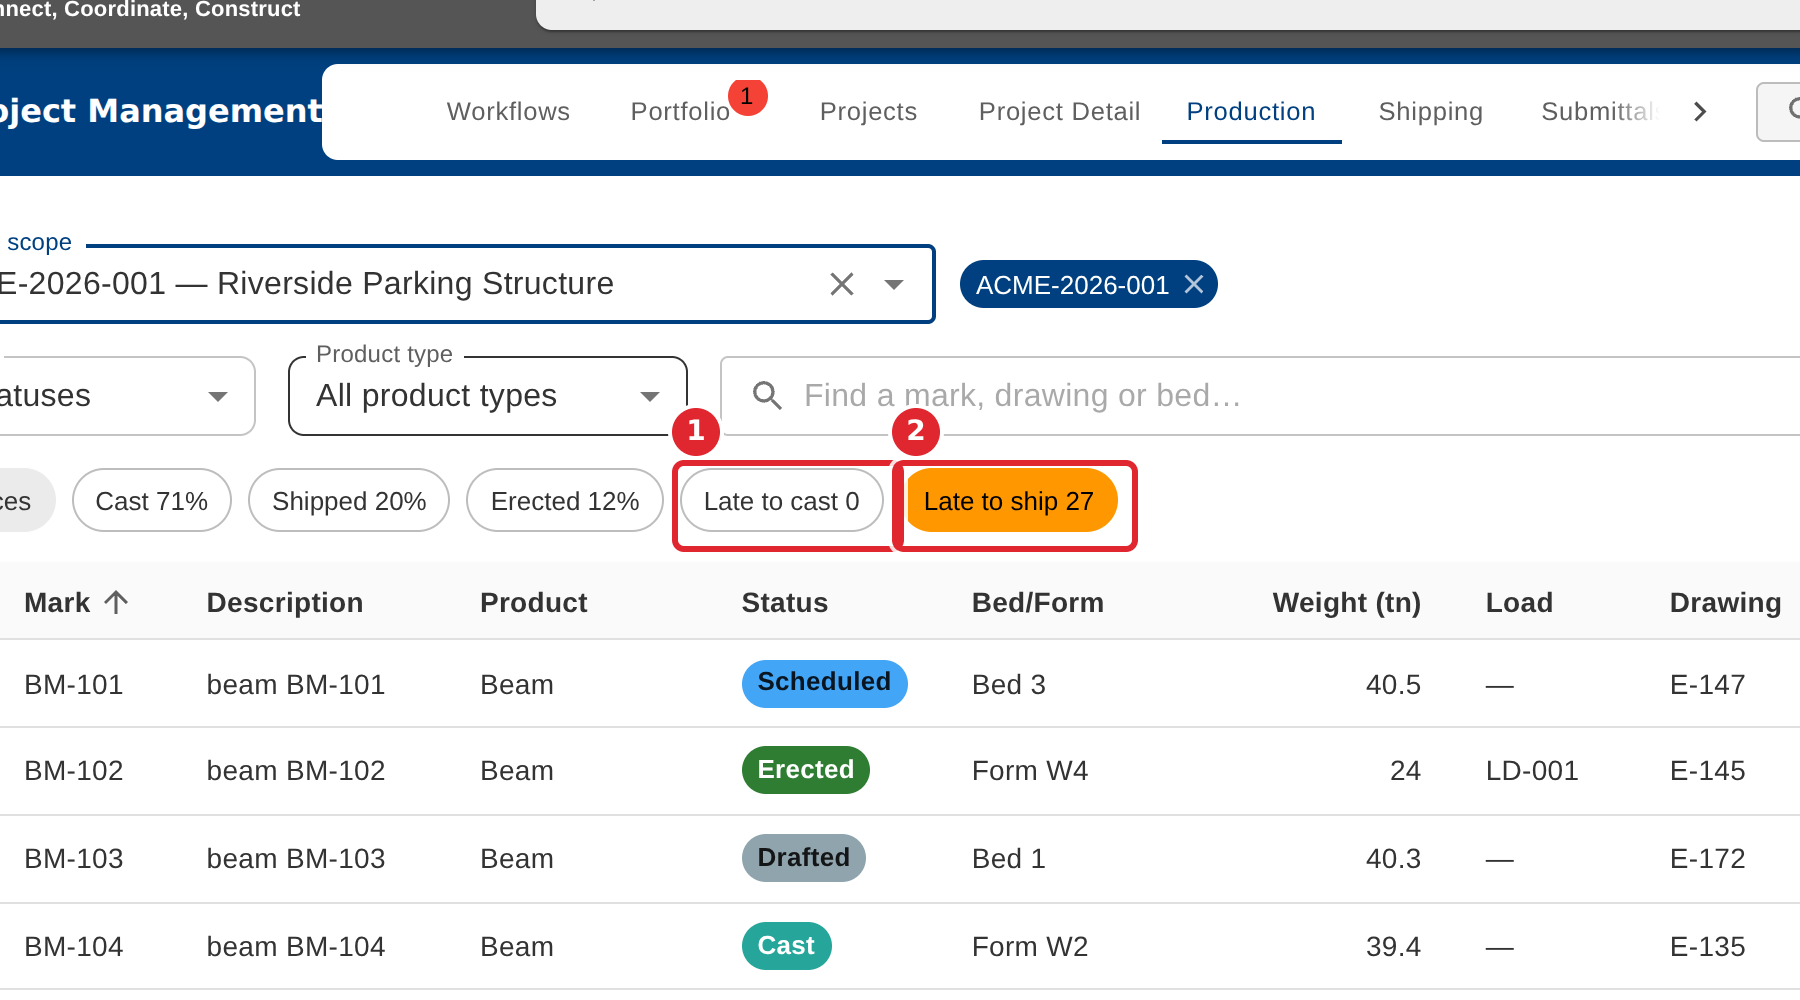
The chips show the share cast, shipped and erected. Select Late to cast or Late to ship to see only the pieces running late.
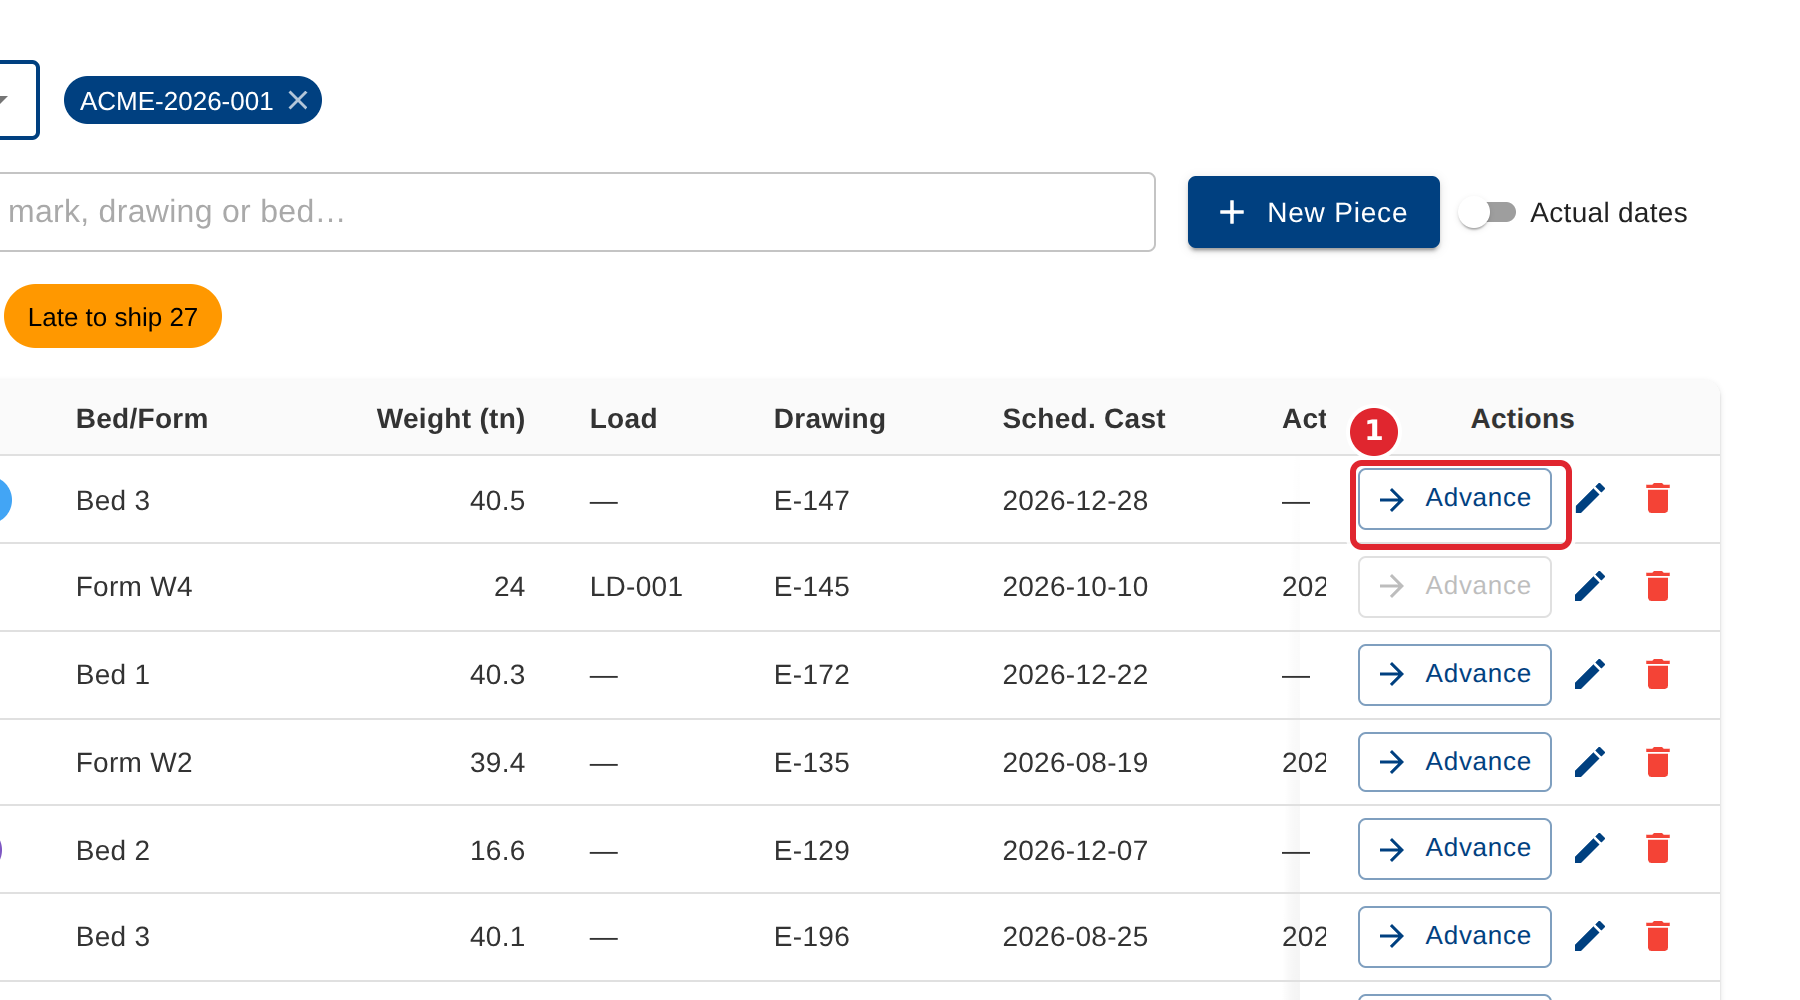
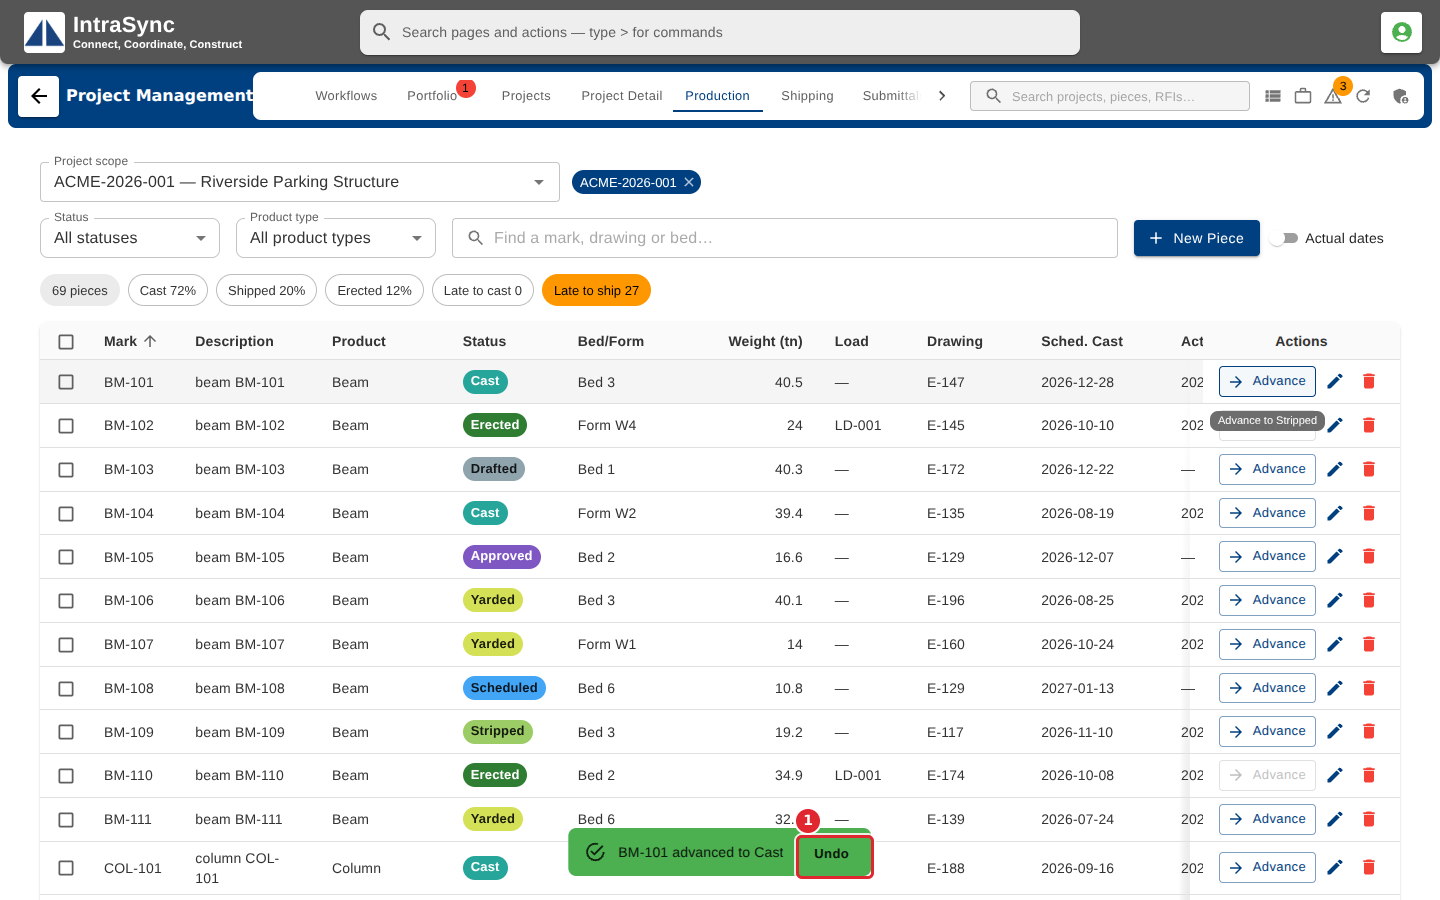
Select Advance on a row to move the piece to its next stage. Moving to cast, shipped or erected records today's date, and the message offers Undo.
Select Undo in the message if you advanced the wrong piece.
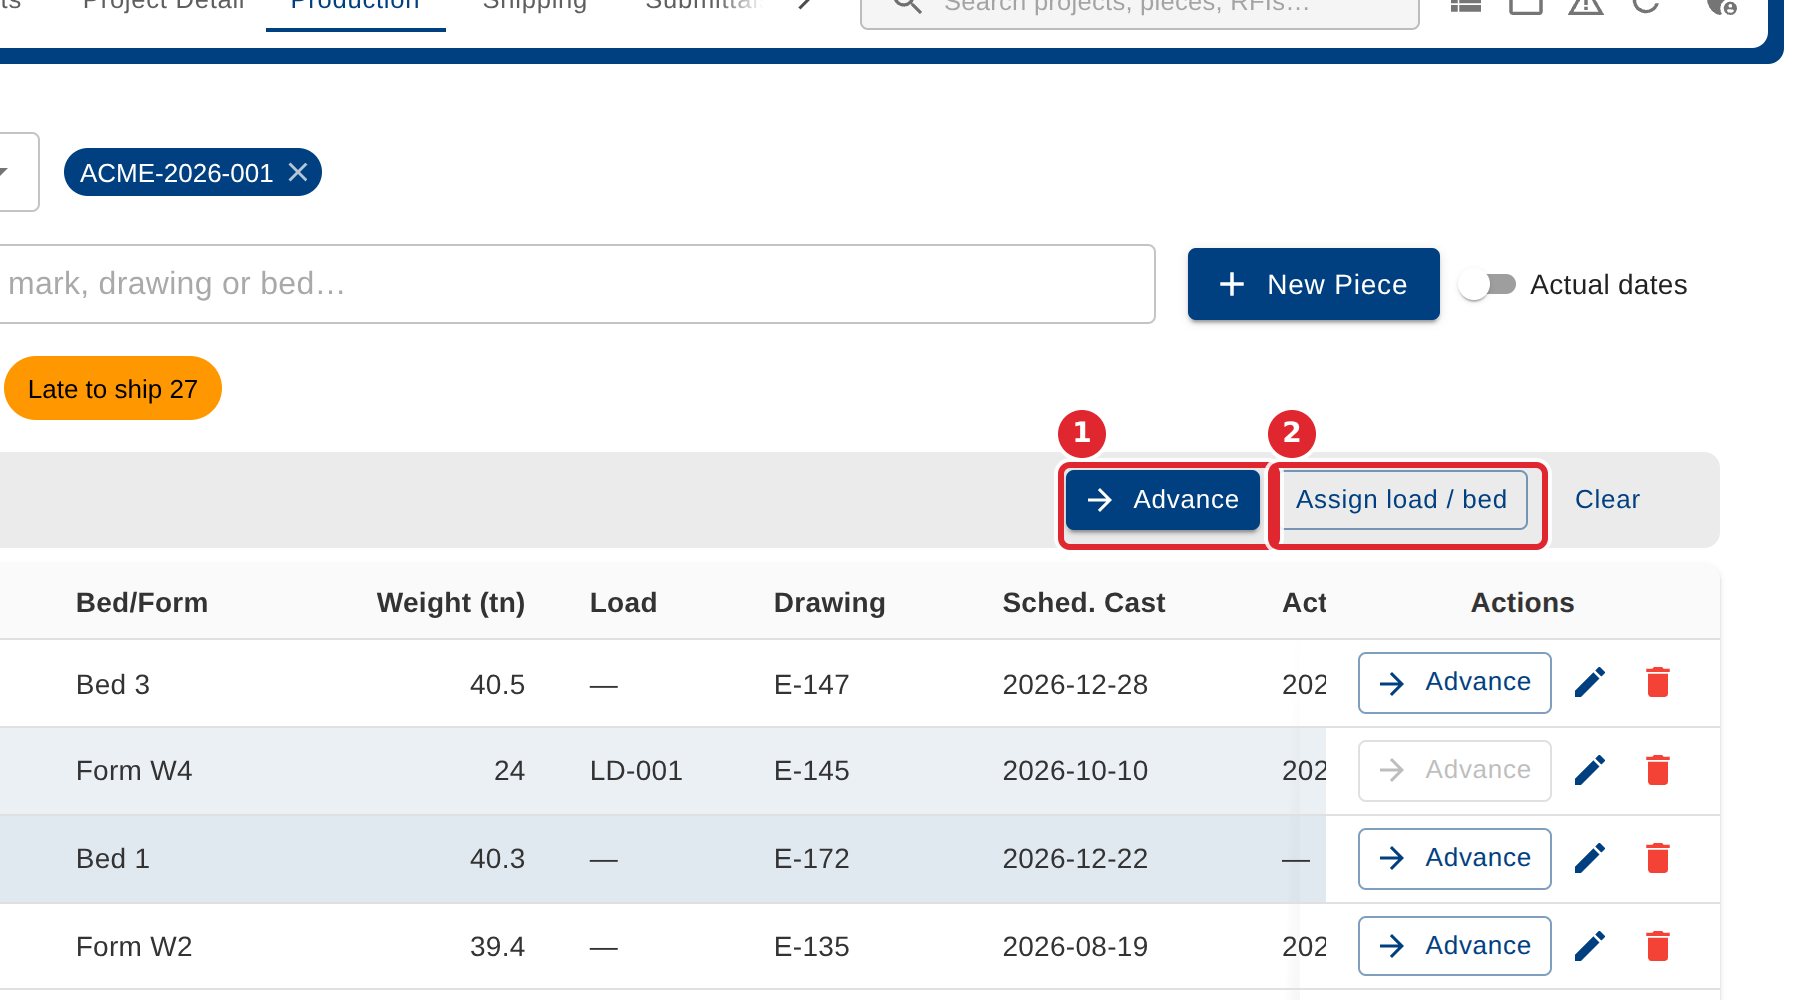
Tick several pieces to work on them together: Advance them all, or Assign load / bed.
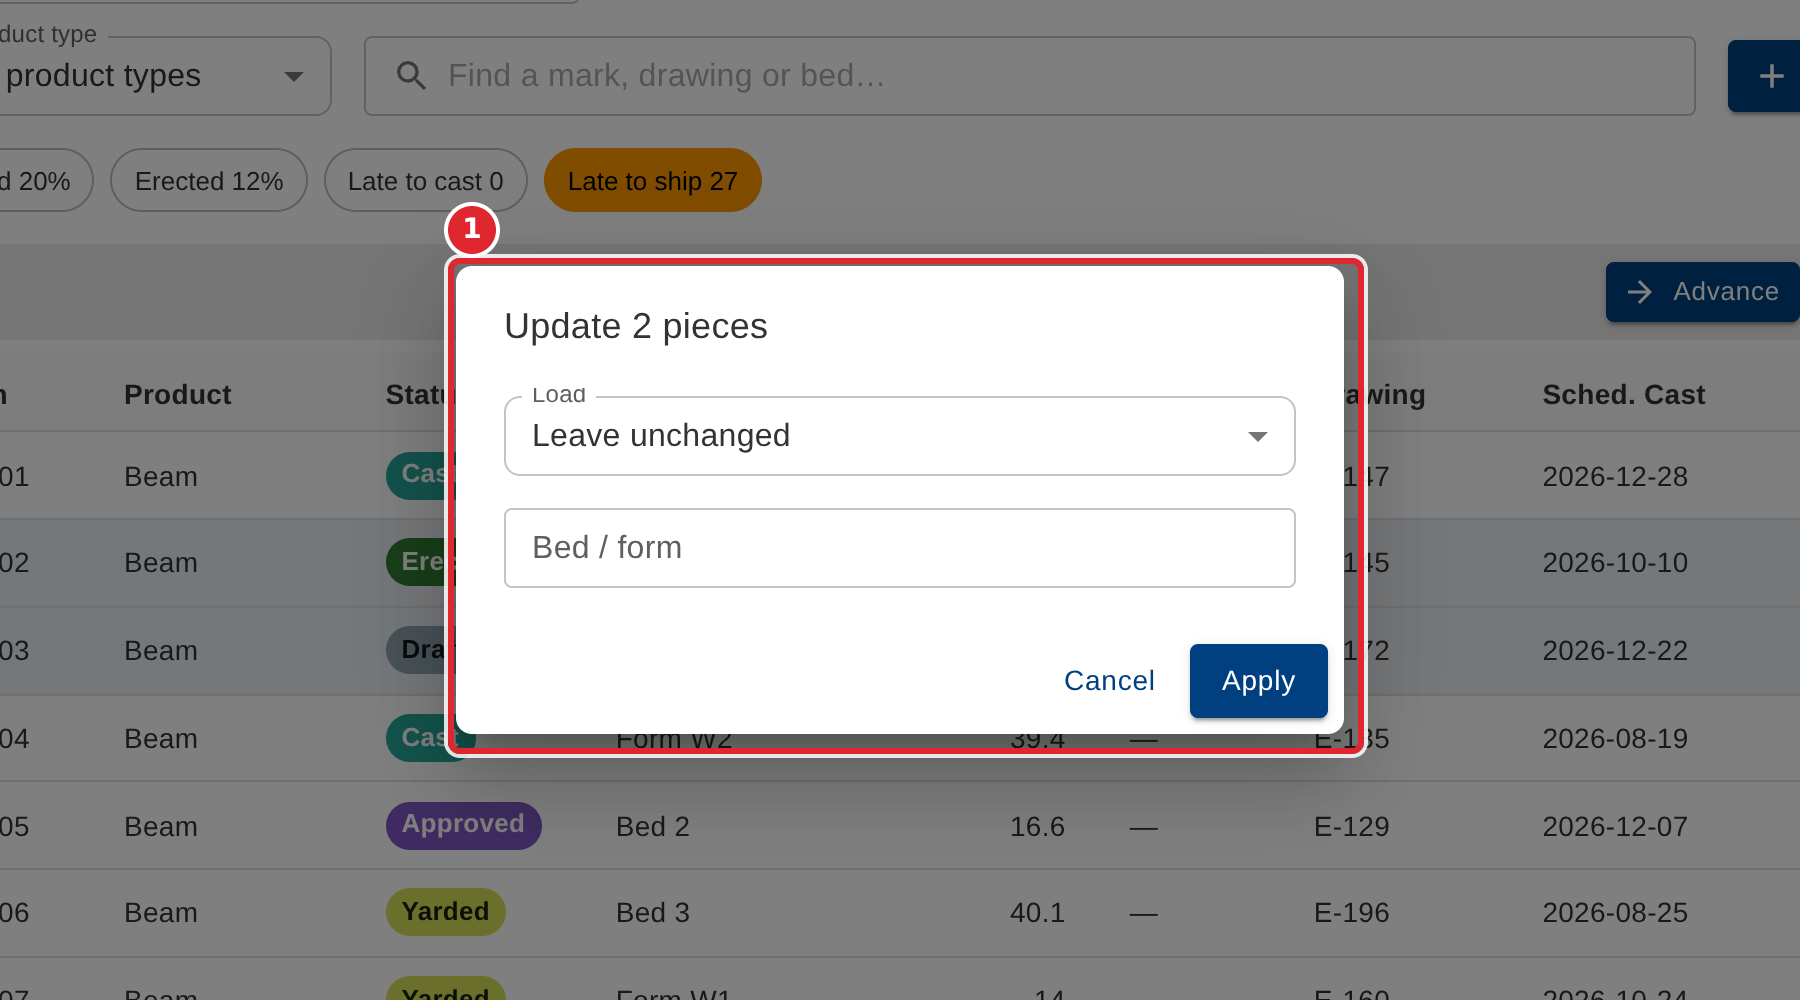
In the update dialog, choose a Load or type a Bed / form, then select Apply. Leave a field as it is to keep each piece's own value.
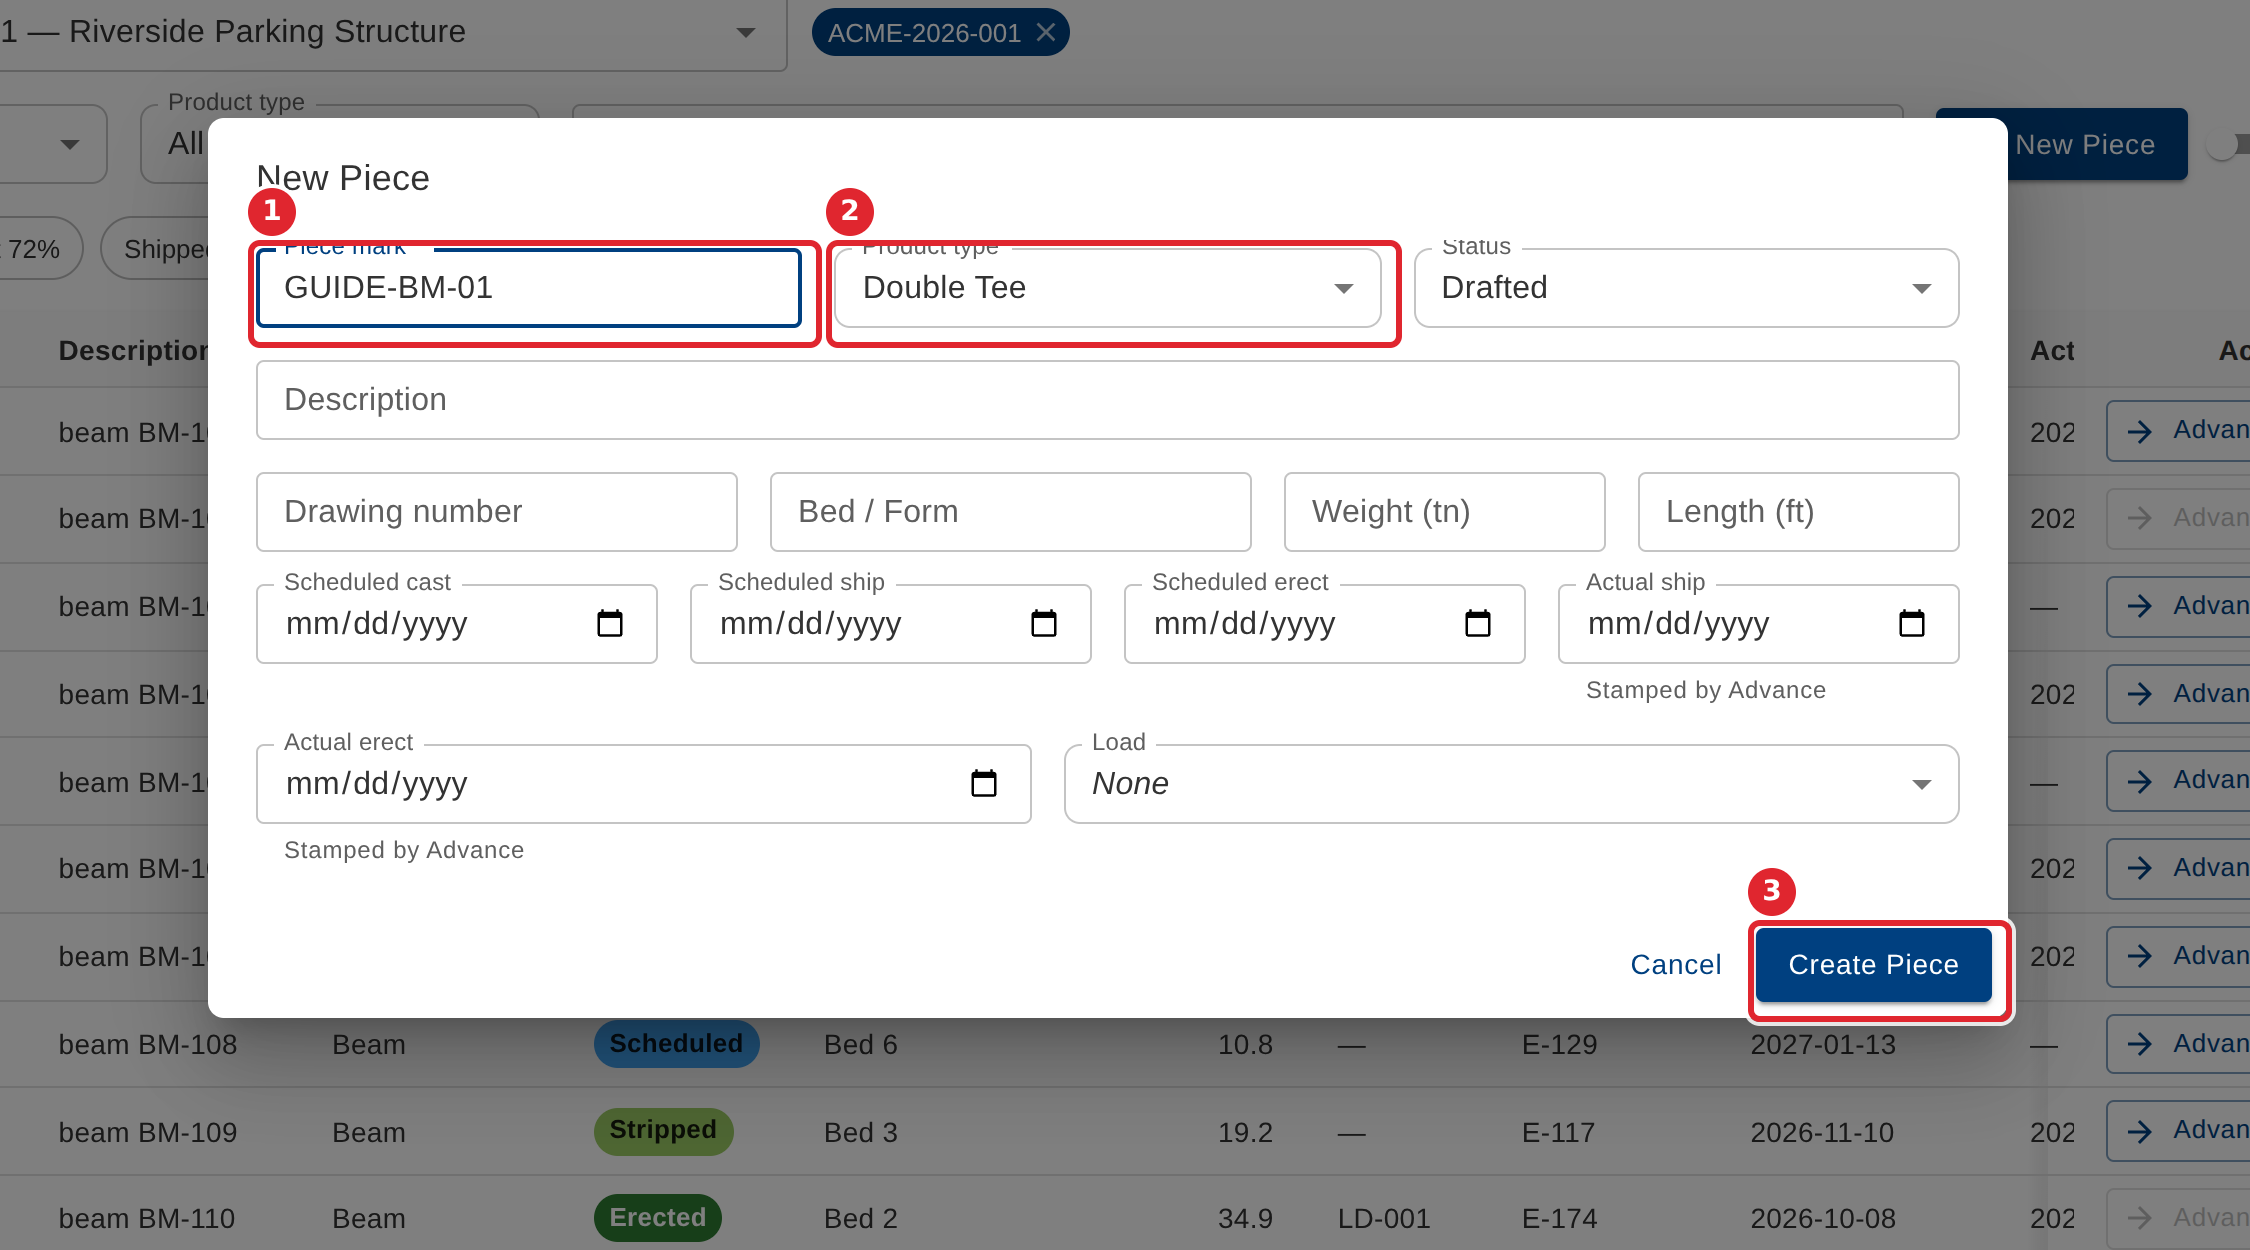
To add a piece, select New Piece. Enter the Piece mark (required), its product type, status, drawing, bed, size and scheduled dates, then select Create Piece.
Tips
- A piece on hold or rejected cannot be advanced.
- The Actual dates switch adds the recorded actual dates to the table, beside the scheduled ones.
- The piece mark is required on a new piece.