Fill in a project's addresses
Record where a project's product is delivered, where its invoices go, and who receives its lien notice. The delivery location also sets the project's tax code.
Watch this in the video (2:32)
Before you start
- Your system has project addresses switched on. Otherwise the Project addresses button is not shown.
- The order belongs to a project. An order with no project has no addresses of its own: open the form from Project addresses at the top right of the hub instead, and enter the project ID the estimate carries.
Steps
In the pictures, a numbered red box marks where to click or type. Where a picture has more than one box, the numbers give the order.
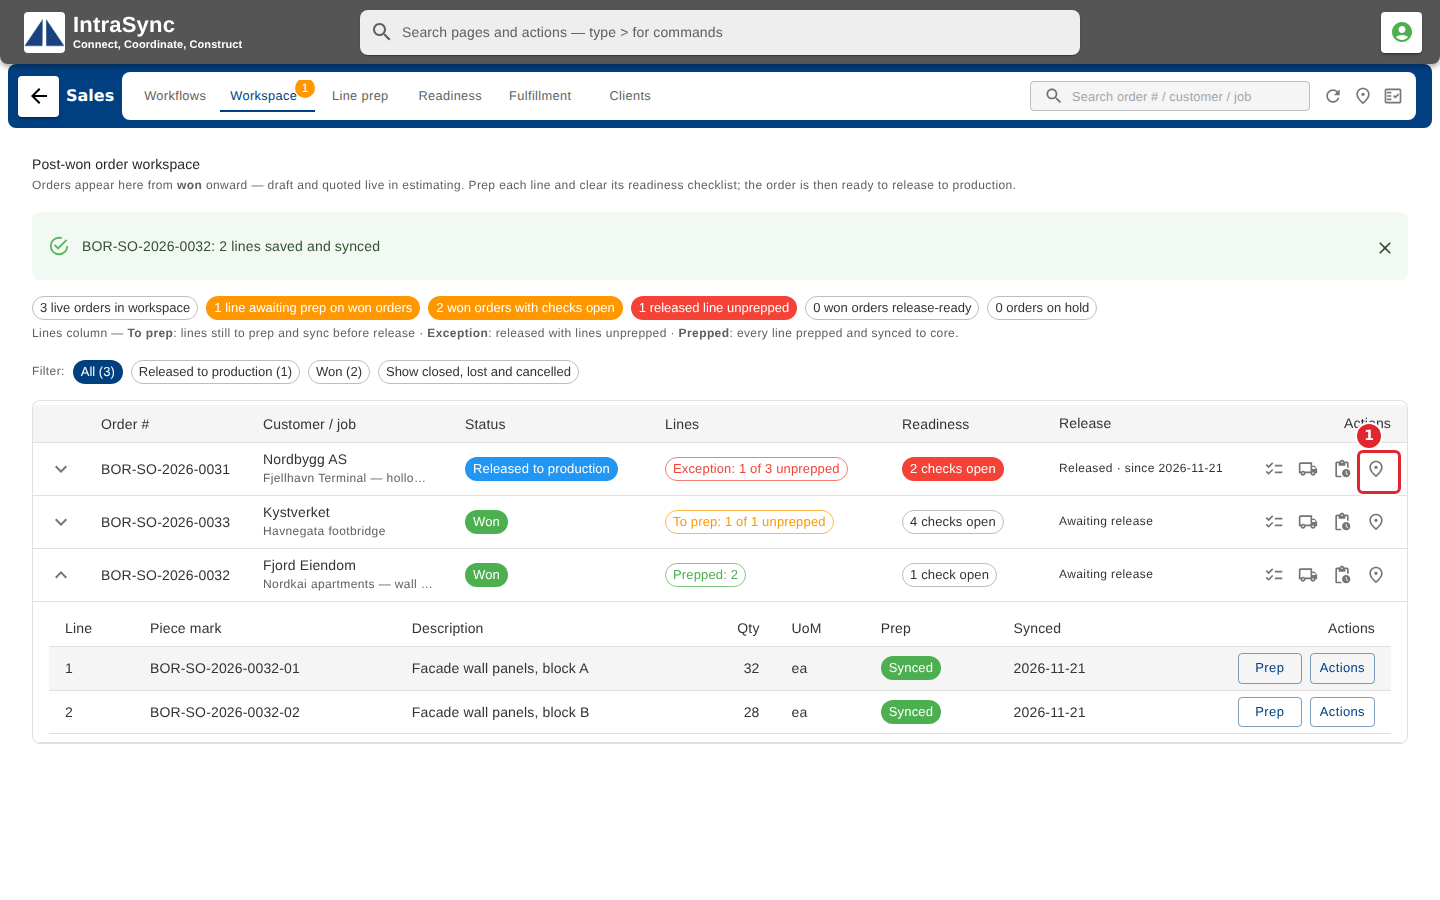
On the order's row, select Project addresses.
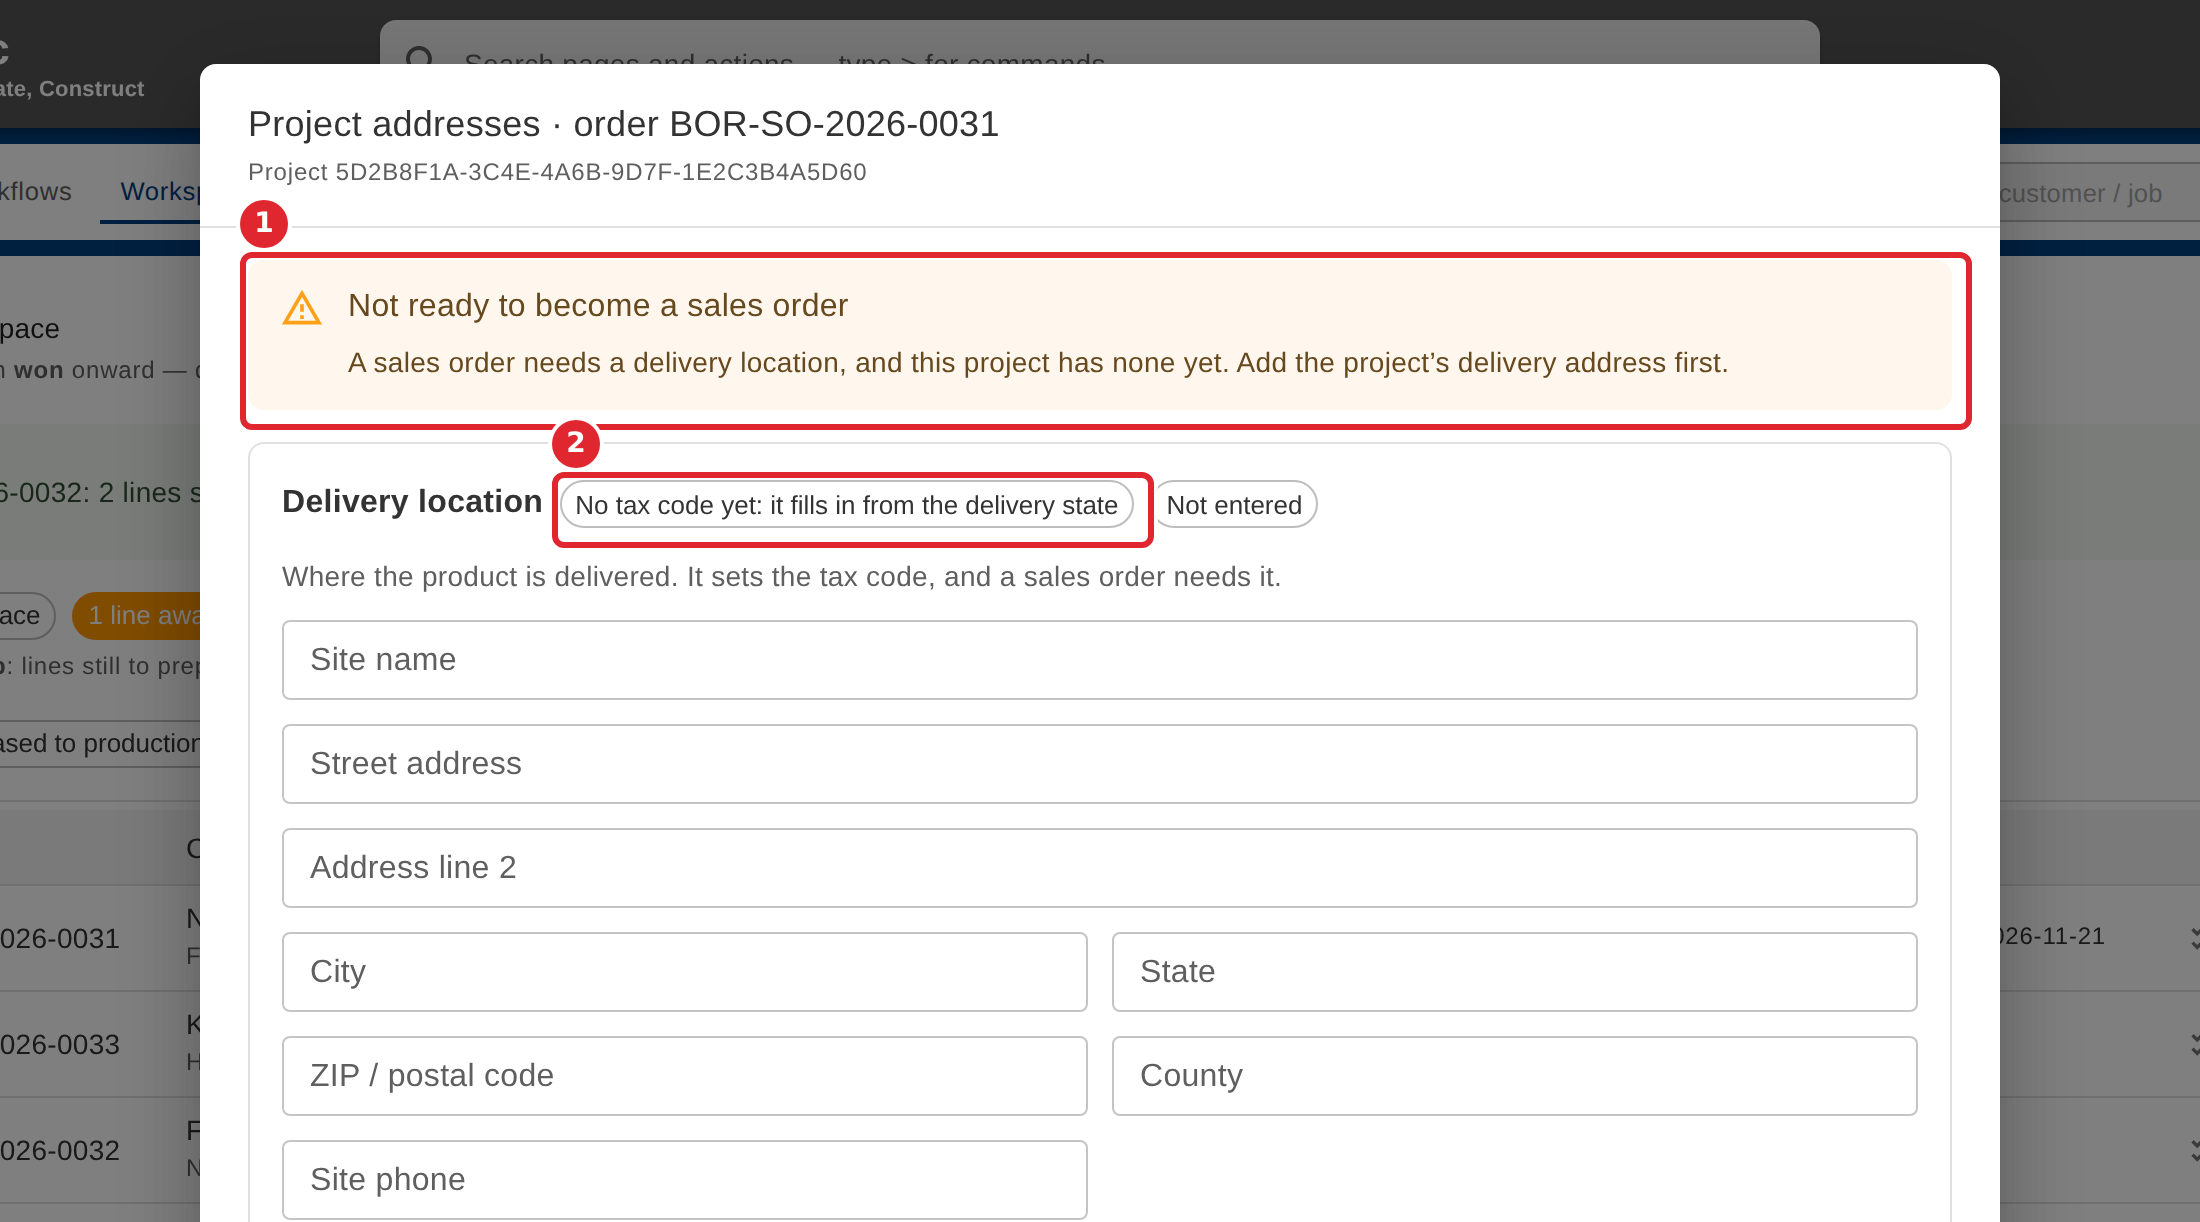
The project form opens on the order's project. When the project cannot become a sales order yet, the warning at the top says why.
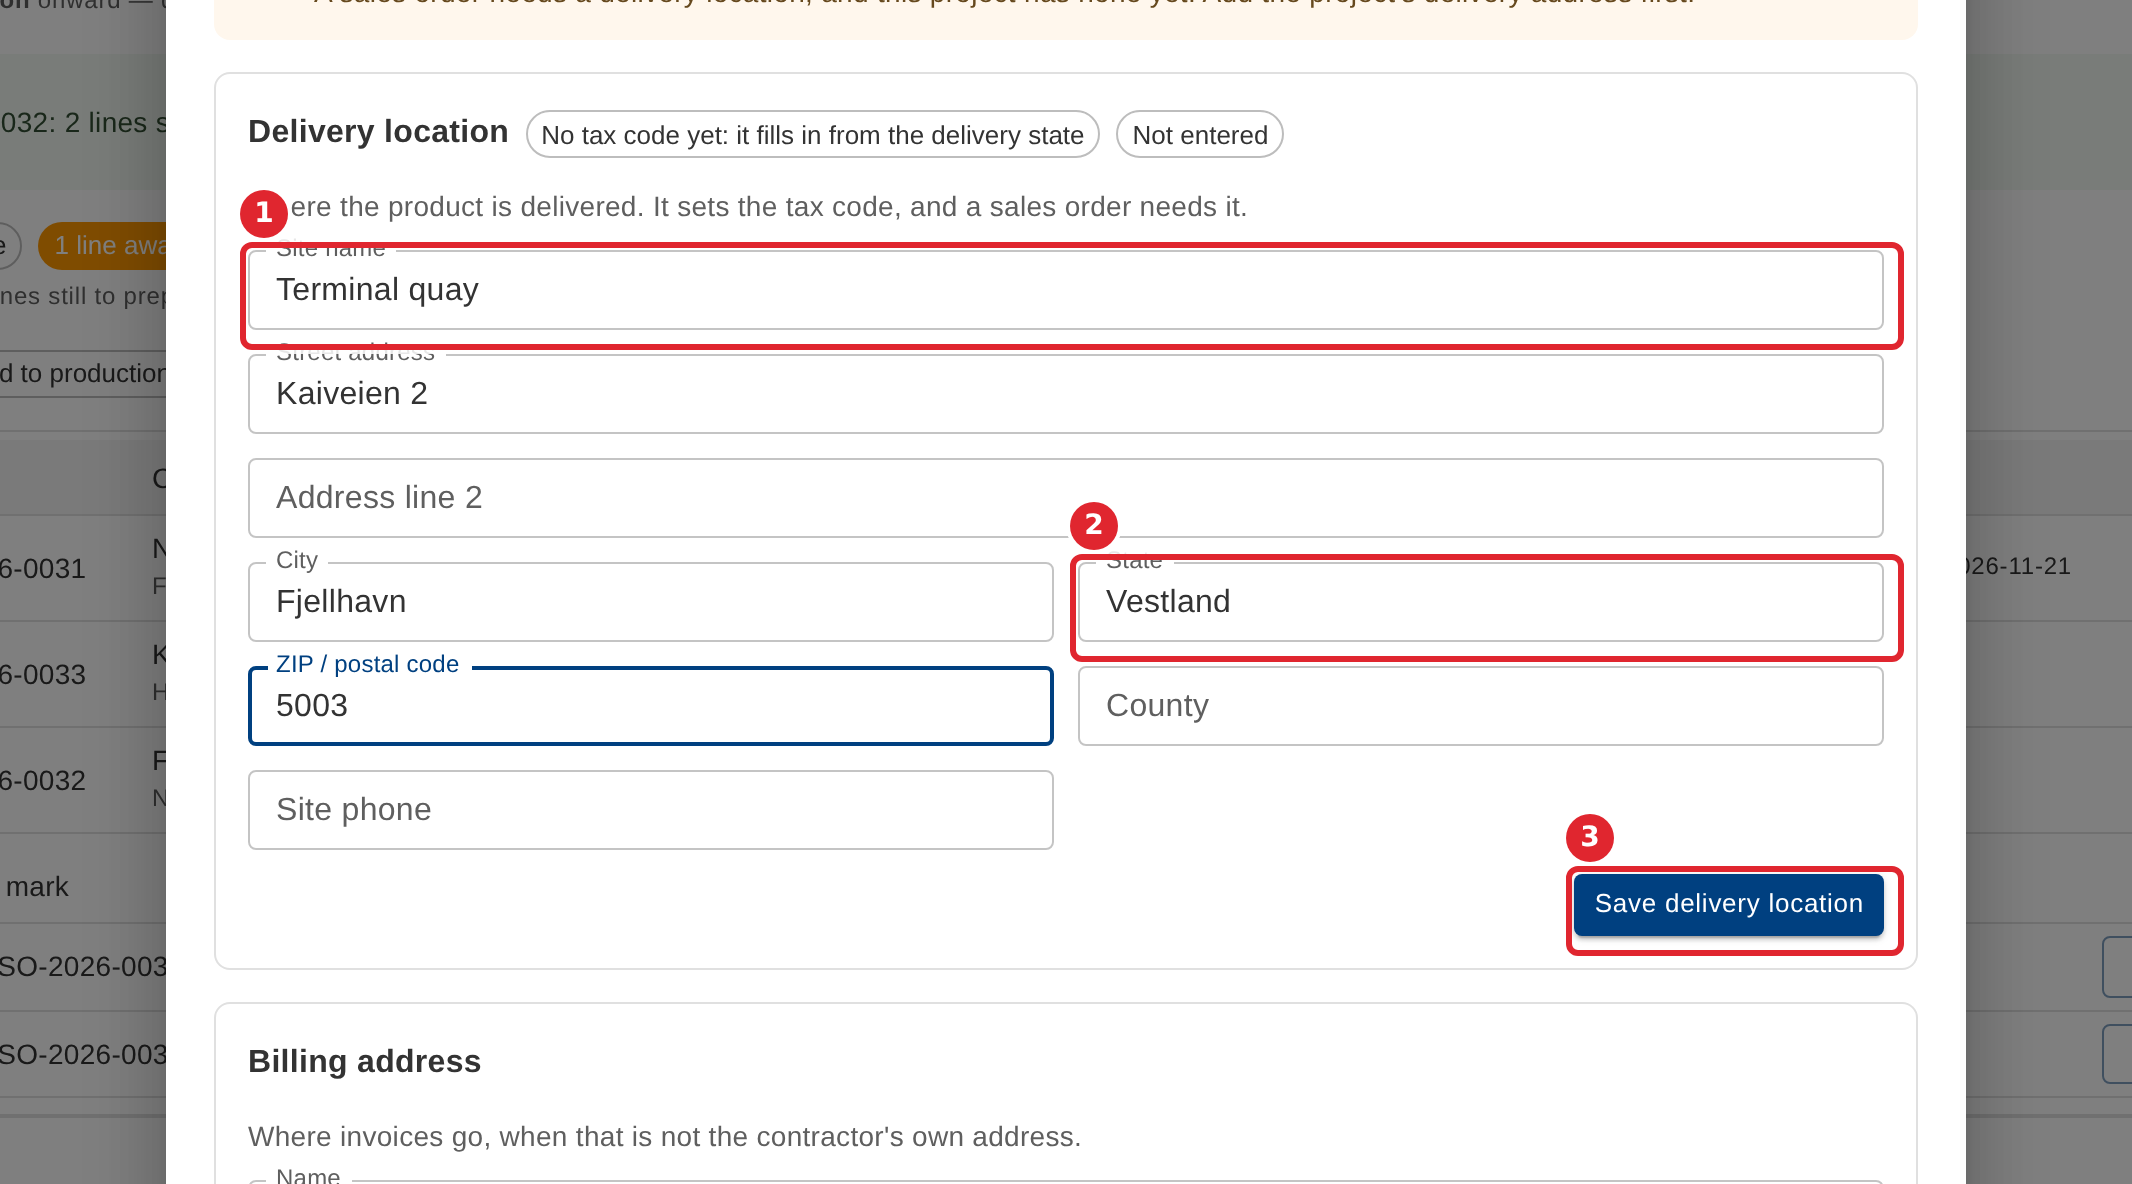
Under Delivery location, enter the site name, street address, city, state and ZIP or postal code, then select Save delivery location.
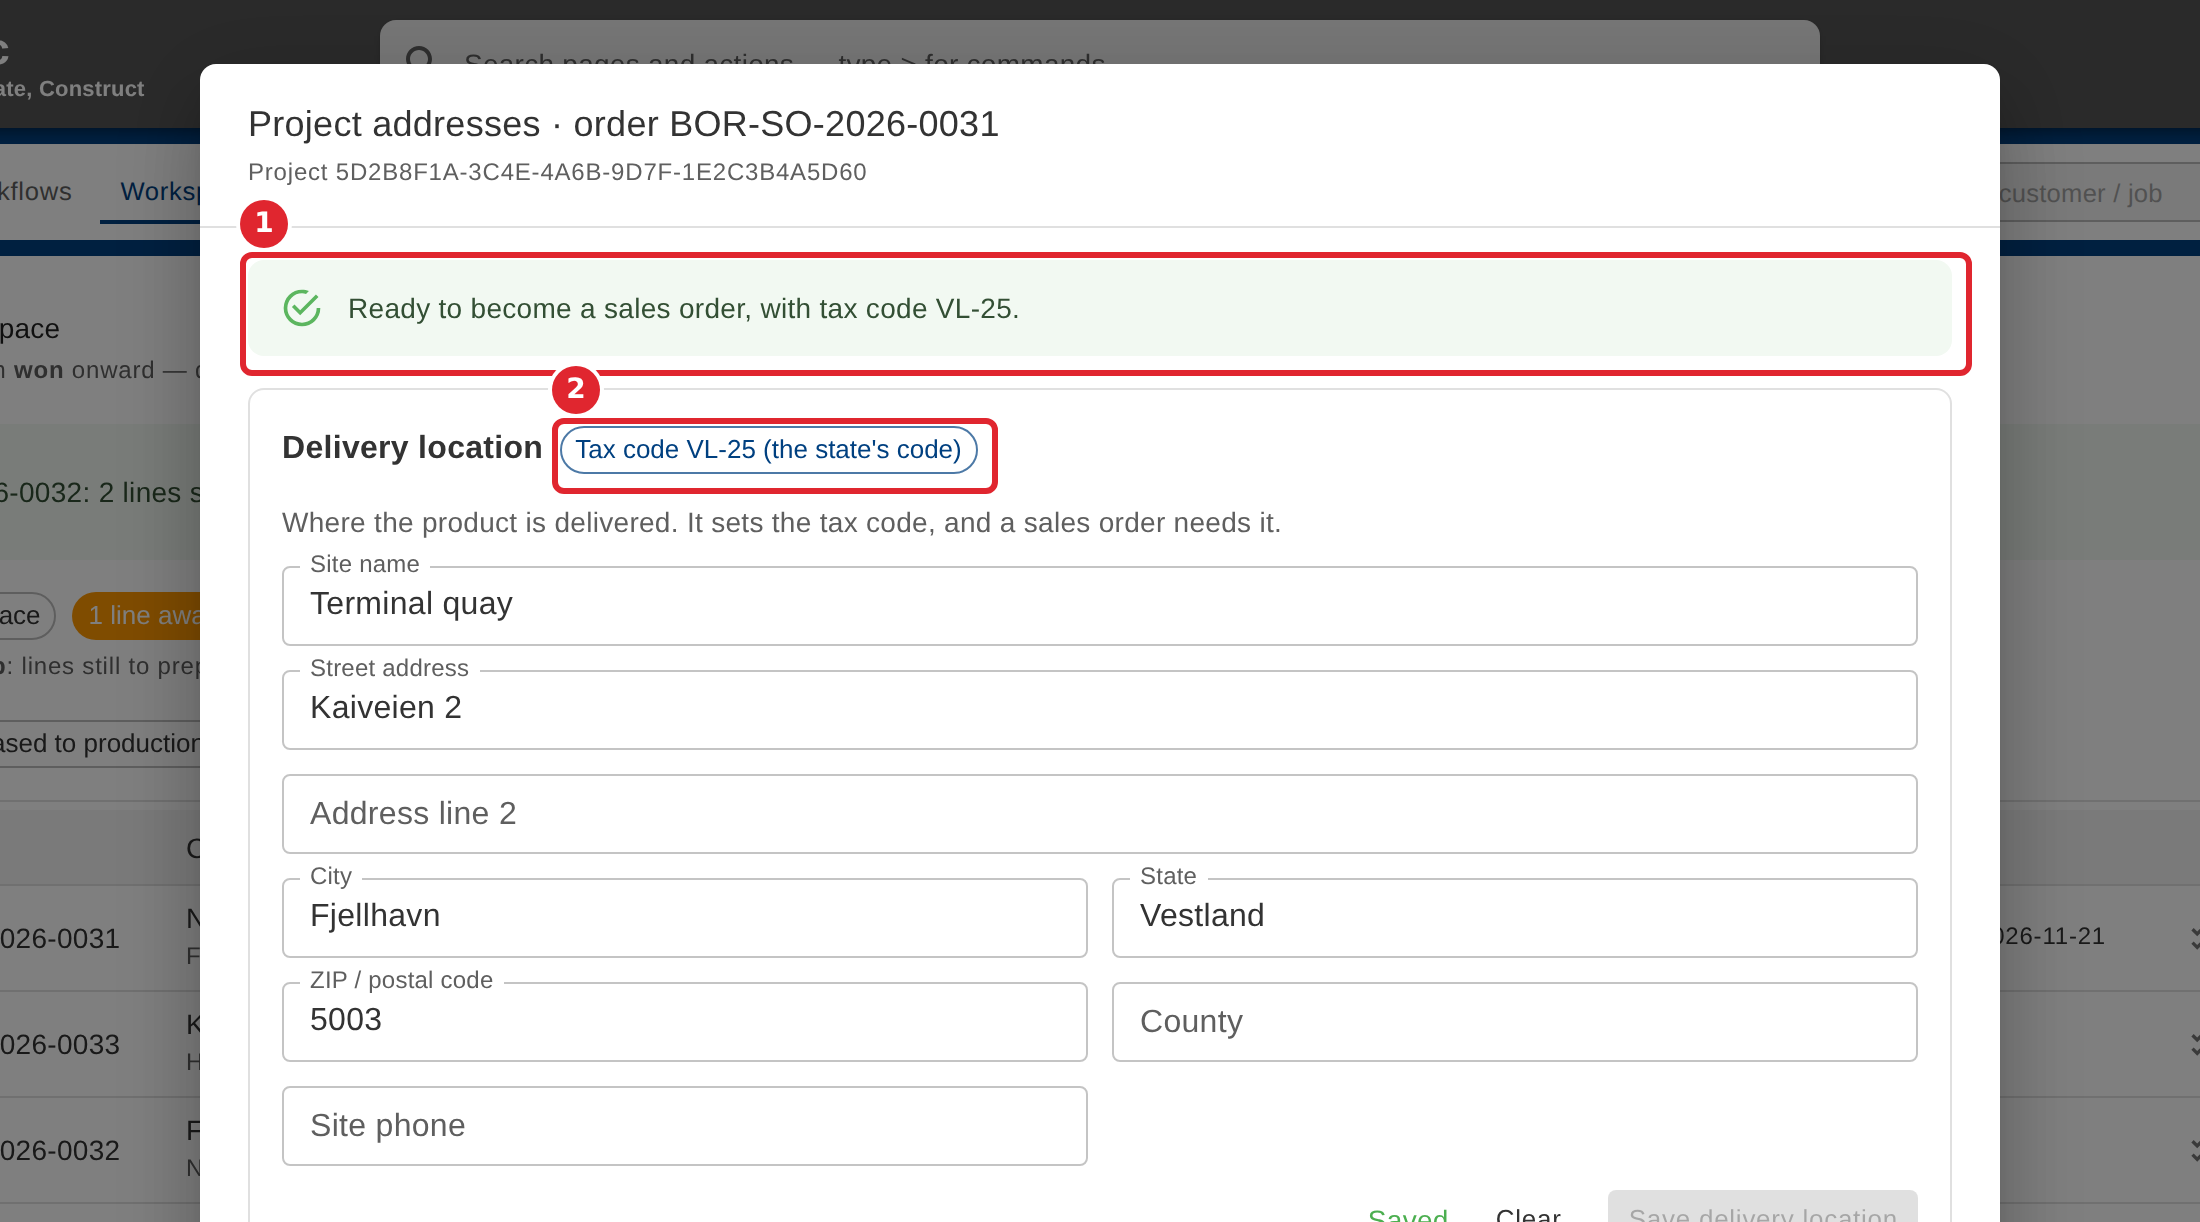
The tax code fills in from the delivery address, and the message at the top now says the project is ready to become a sales order.
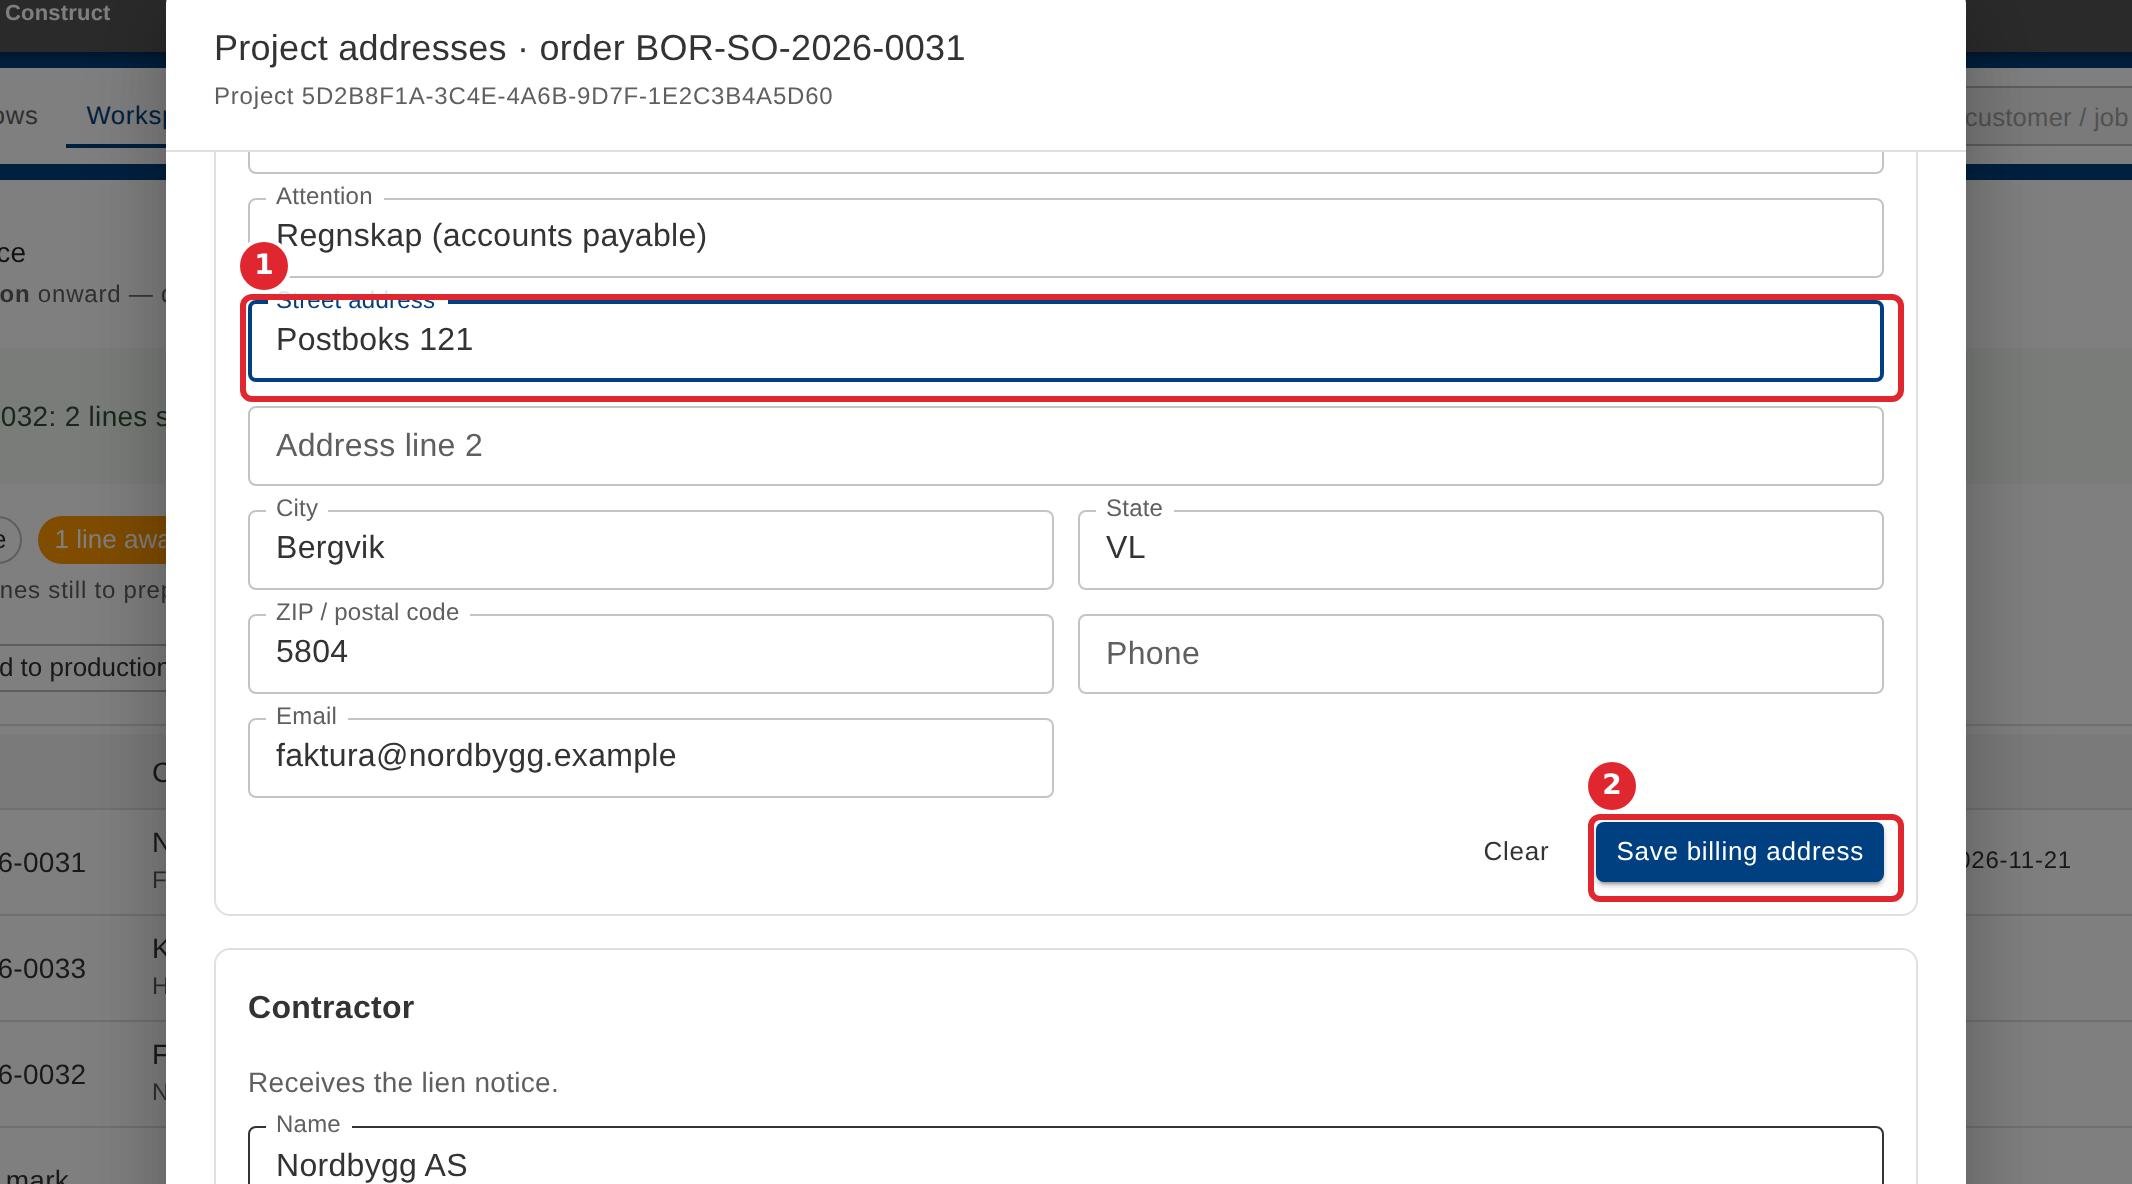
Each card saves on its own. Change the billing address, then select Save billing address. The contractor's address is not changed.
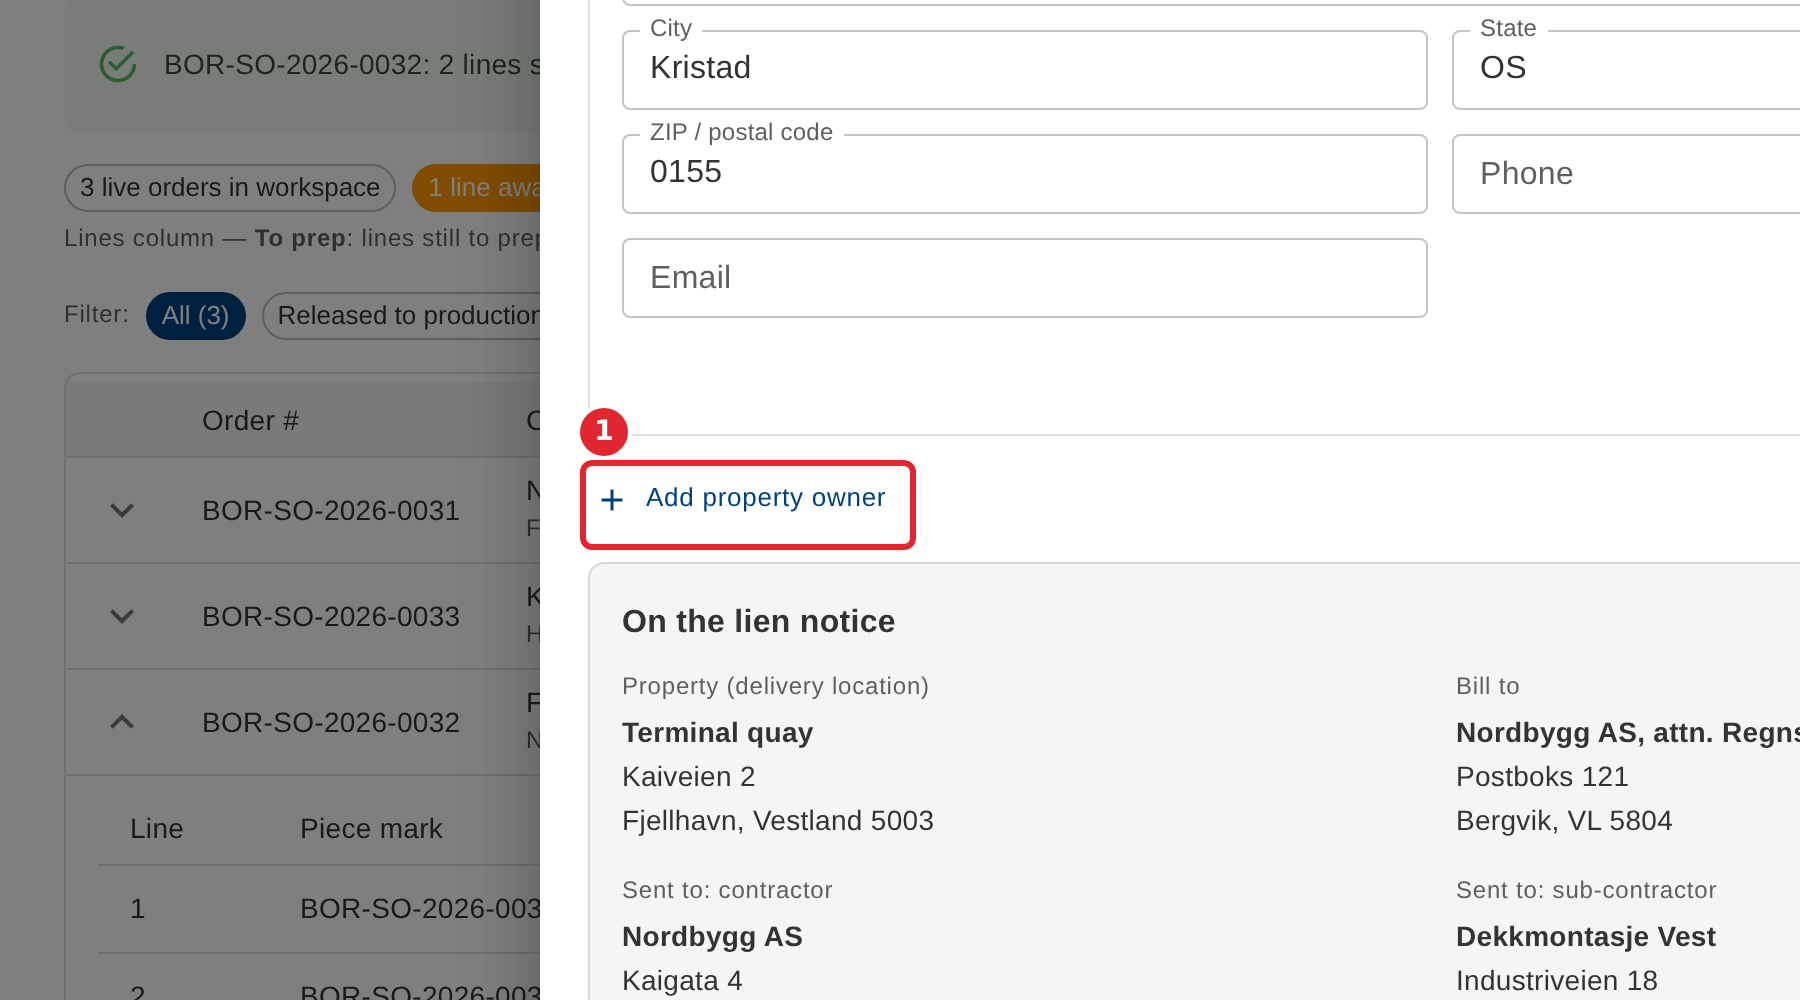
To add a property owner, select Add property owner. Add one for each owner of the property.
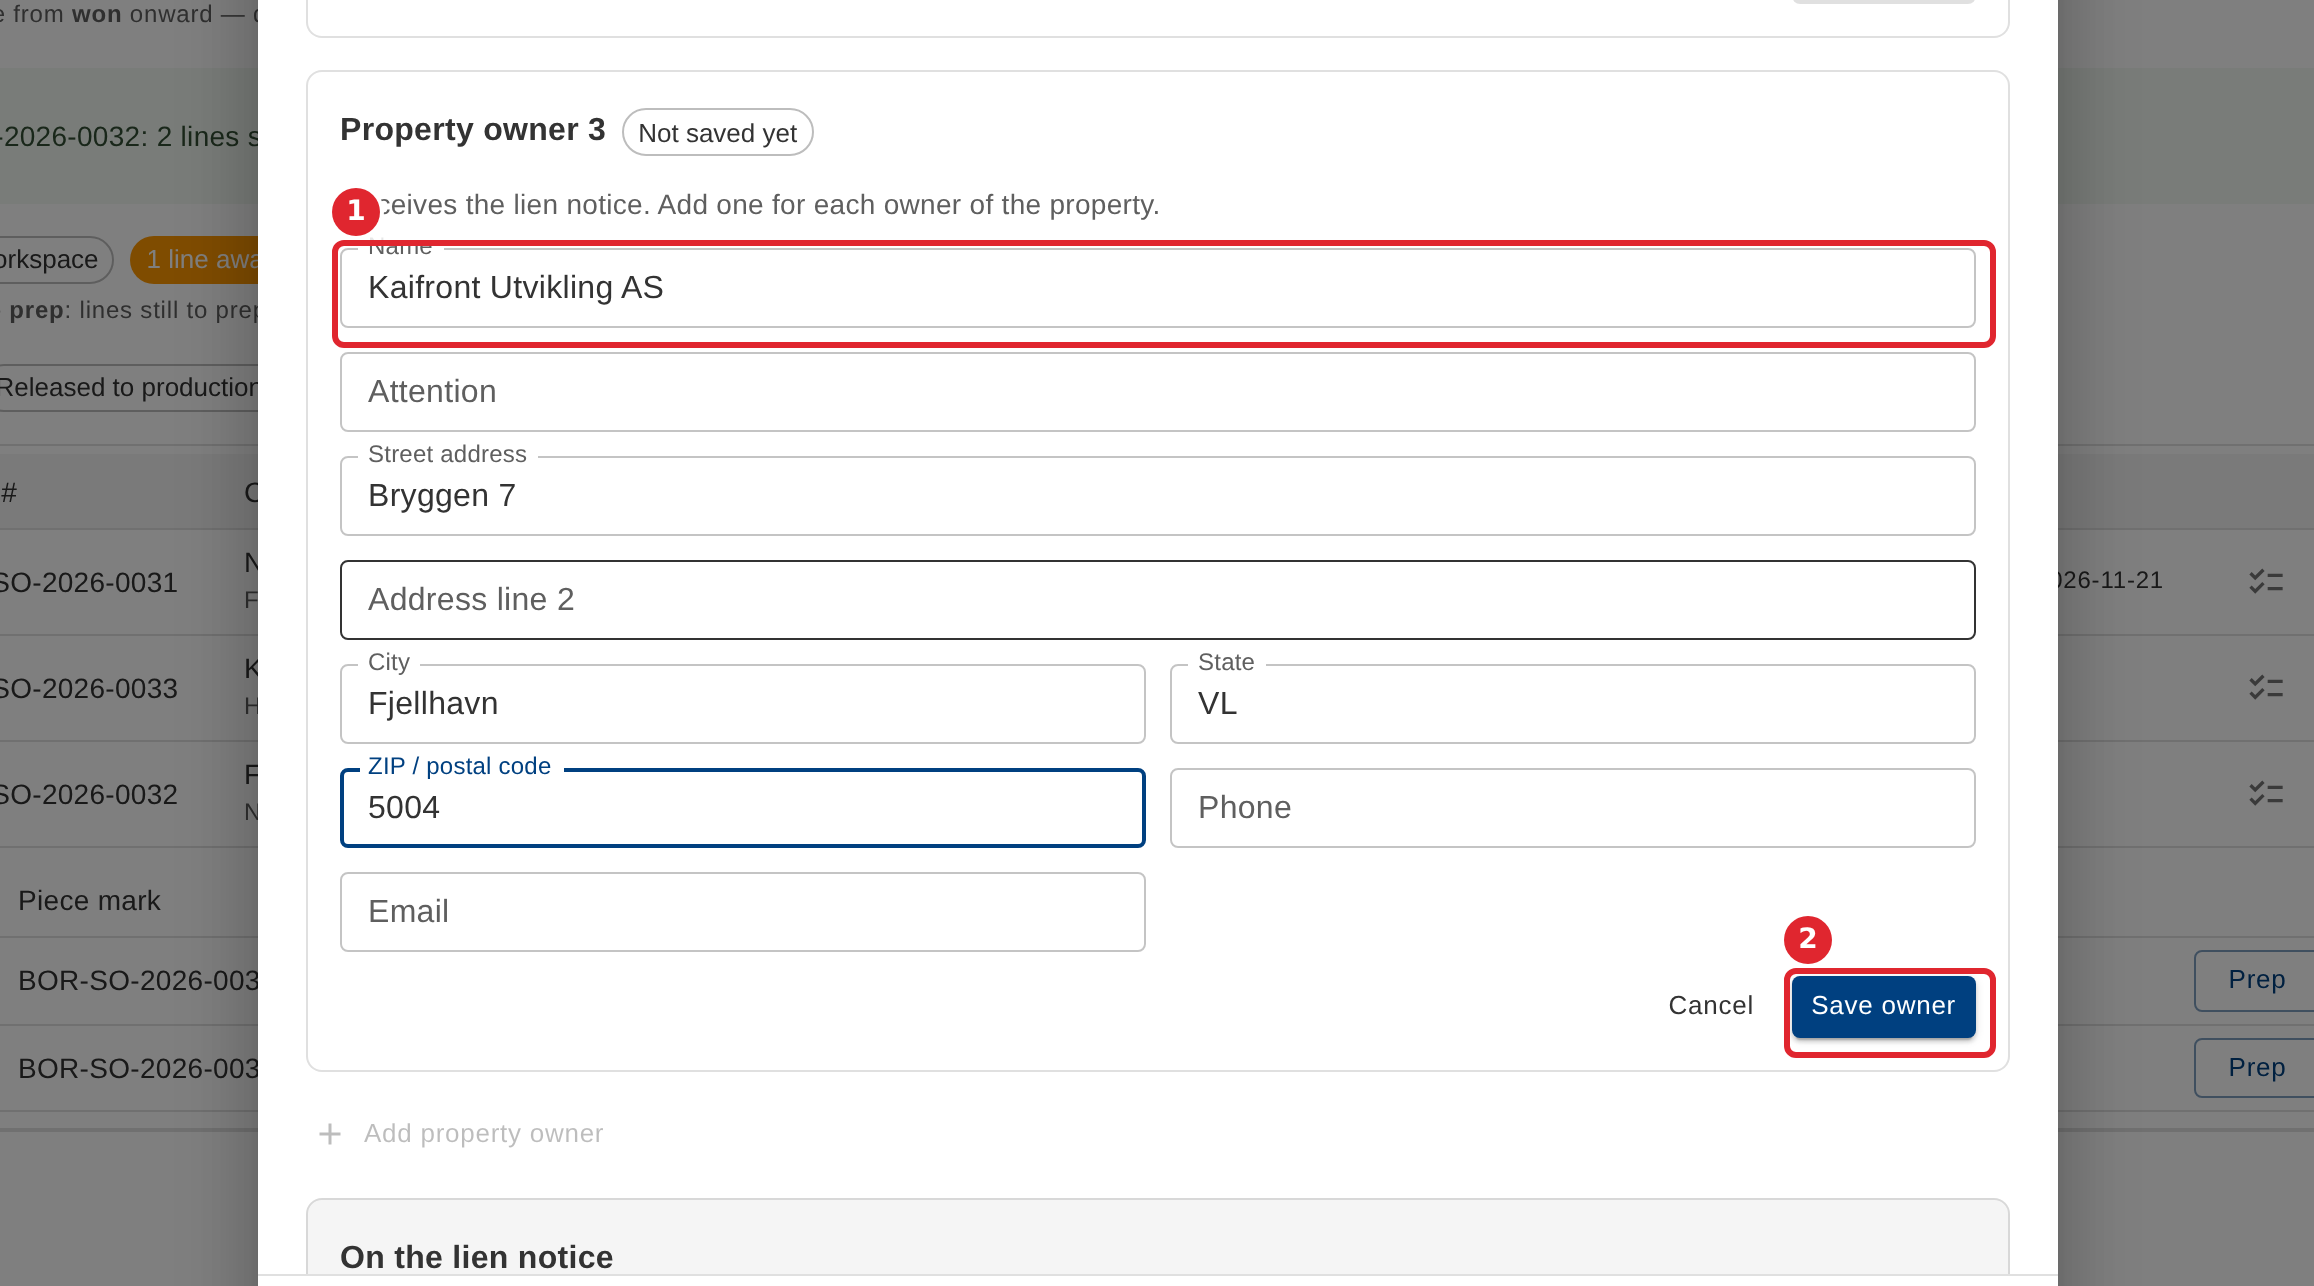
Enter the owner's name and address, then select Save owner.
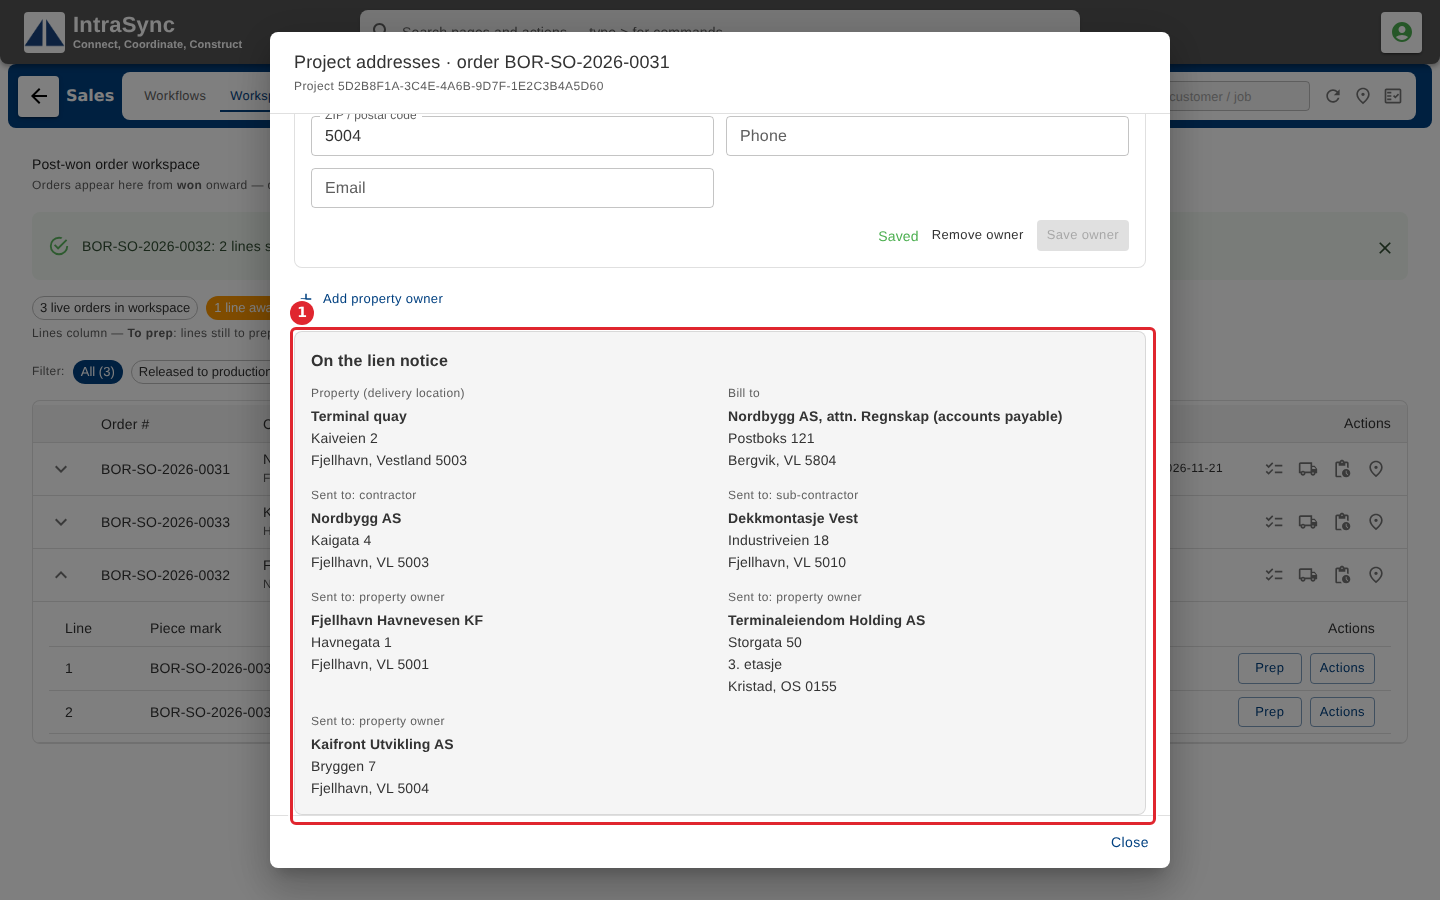
Under the cards, On the lien notice shows the addresses the notice is filled in from: the property, the bill-to, and everyone it is sent to.
Tips
- When your system asks for a delivery location before a sales order, a project without one is not ready to become a sales order, and the message at the top of the form says what is missing.
- You never type the tax code. It fills in from the delivery address when you save it. If your system does not set tax codes, the form says so.
- Fill in the billing address only when invoices go somewhere other than the contractor's own address.
- The lien notice is sent to the contractor, the sub-contractor and every property owner. If one of their addresses is incomplete, On the lien notice says what is missing.
- A card cannot be saved while one of its fields has a problem, such as an email address with no @ in it. The card says what to fix.
- Clear empties a saved card, and Remove owner takes a property owner off the project.