Prep one order line
Give a won line what production needs to make it: a catalog product, a piece mark and a definition status, and a note for anyone who works on the line after you.
Watch this in the video (0:17)
Before you start
- The order is won and appears in the Workspace.
Steps
In the pictures, a numbered red box marks where to click or type. Where a picture has more than one box, the numbers give the order.
On a line marked No prep, select Prep.
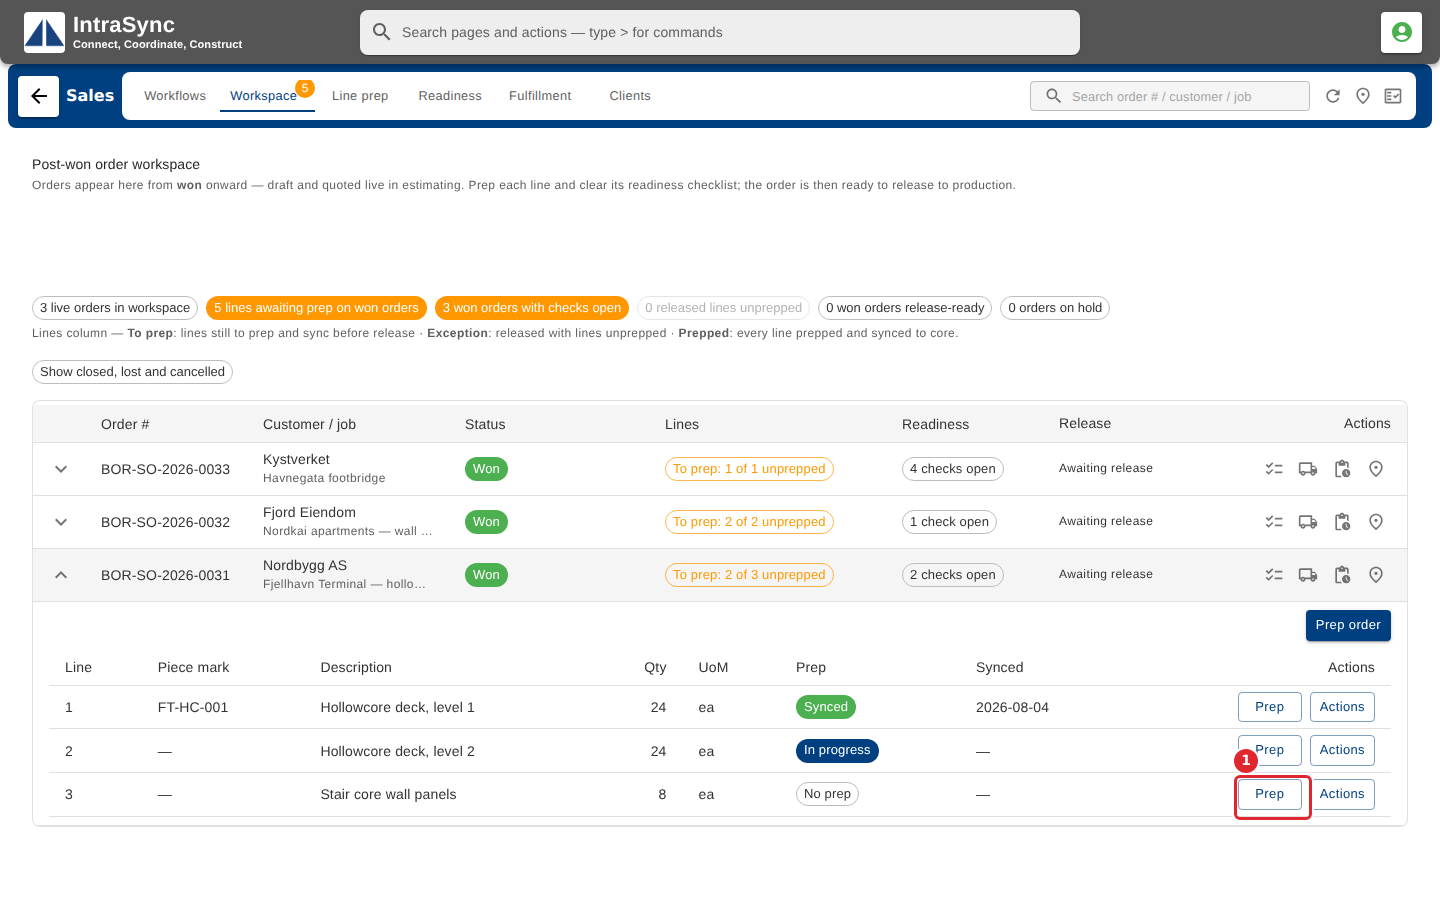
Line prep opens on that line. Select the Product list.
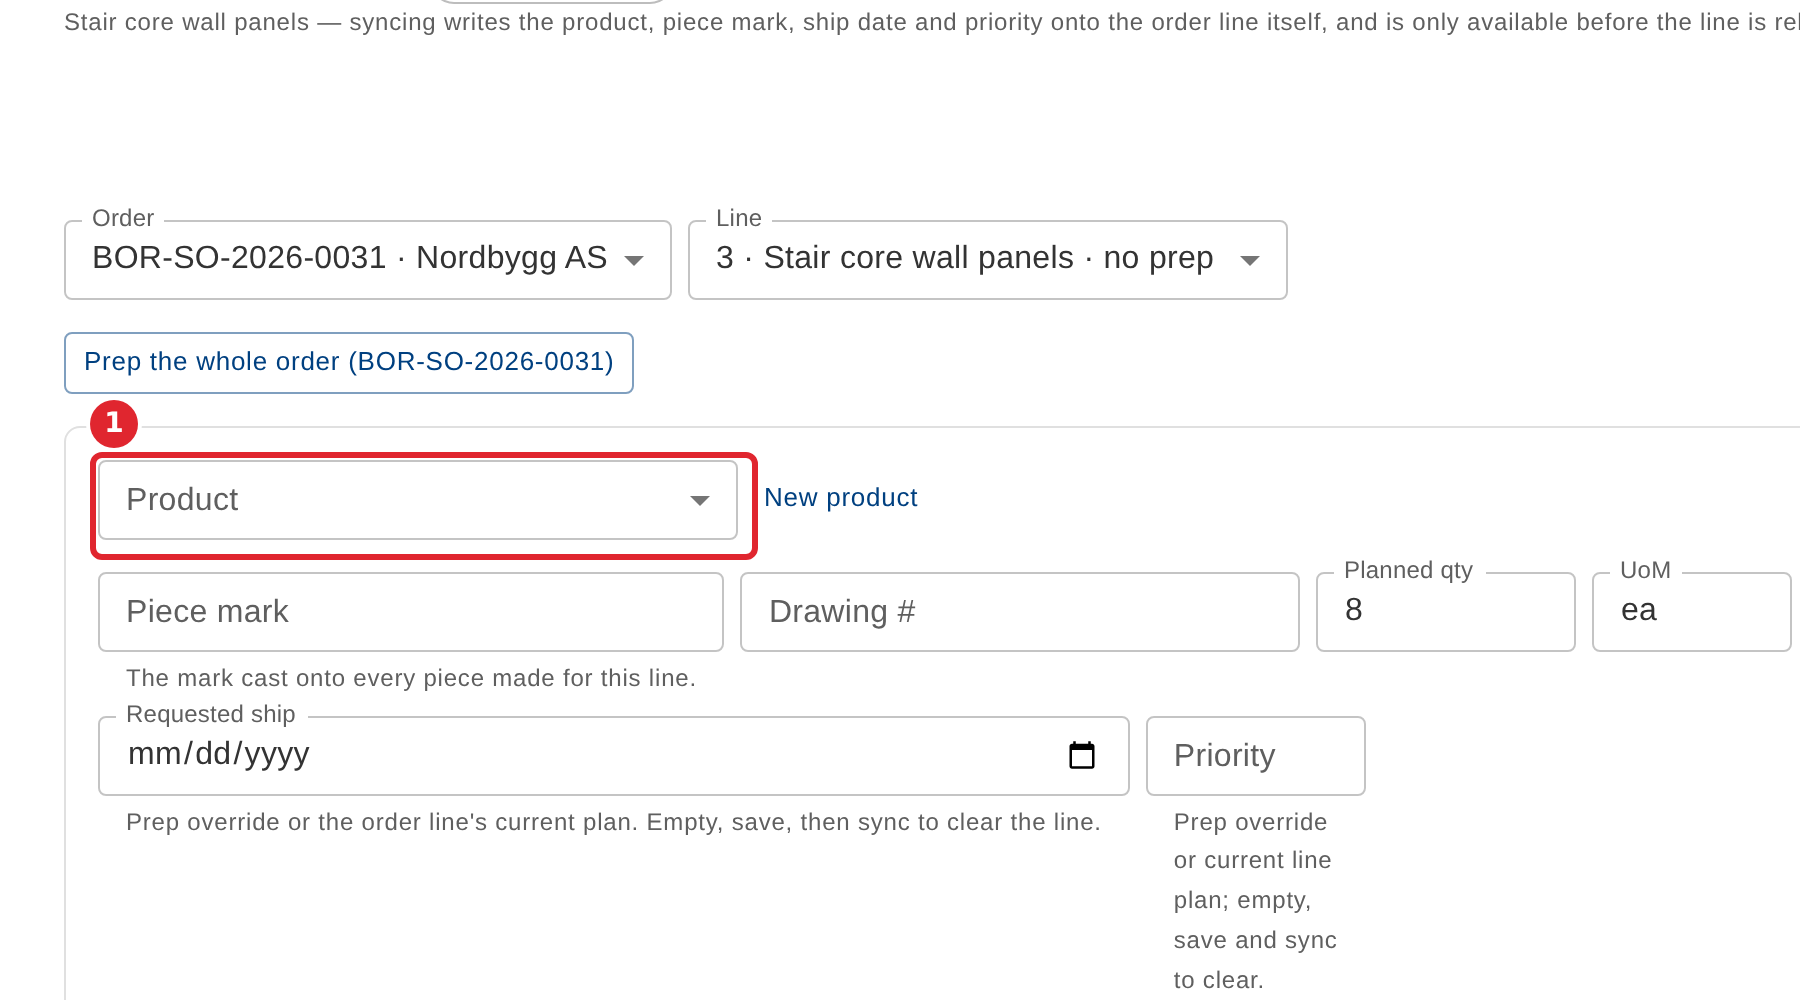
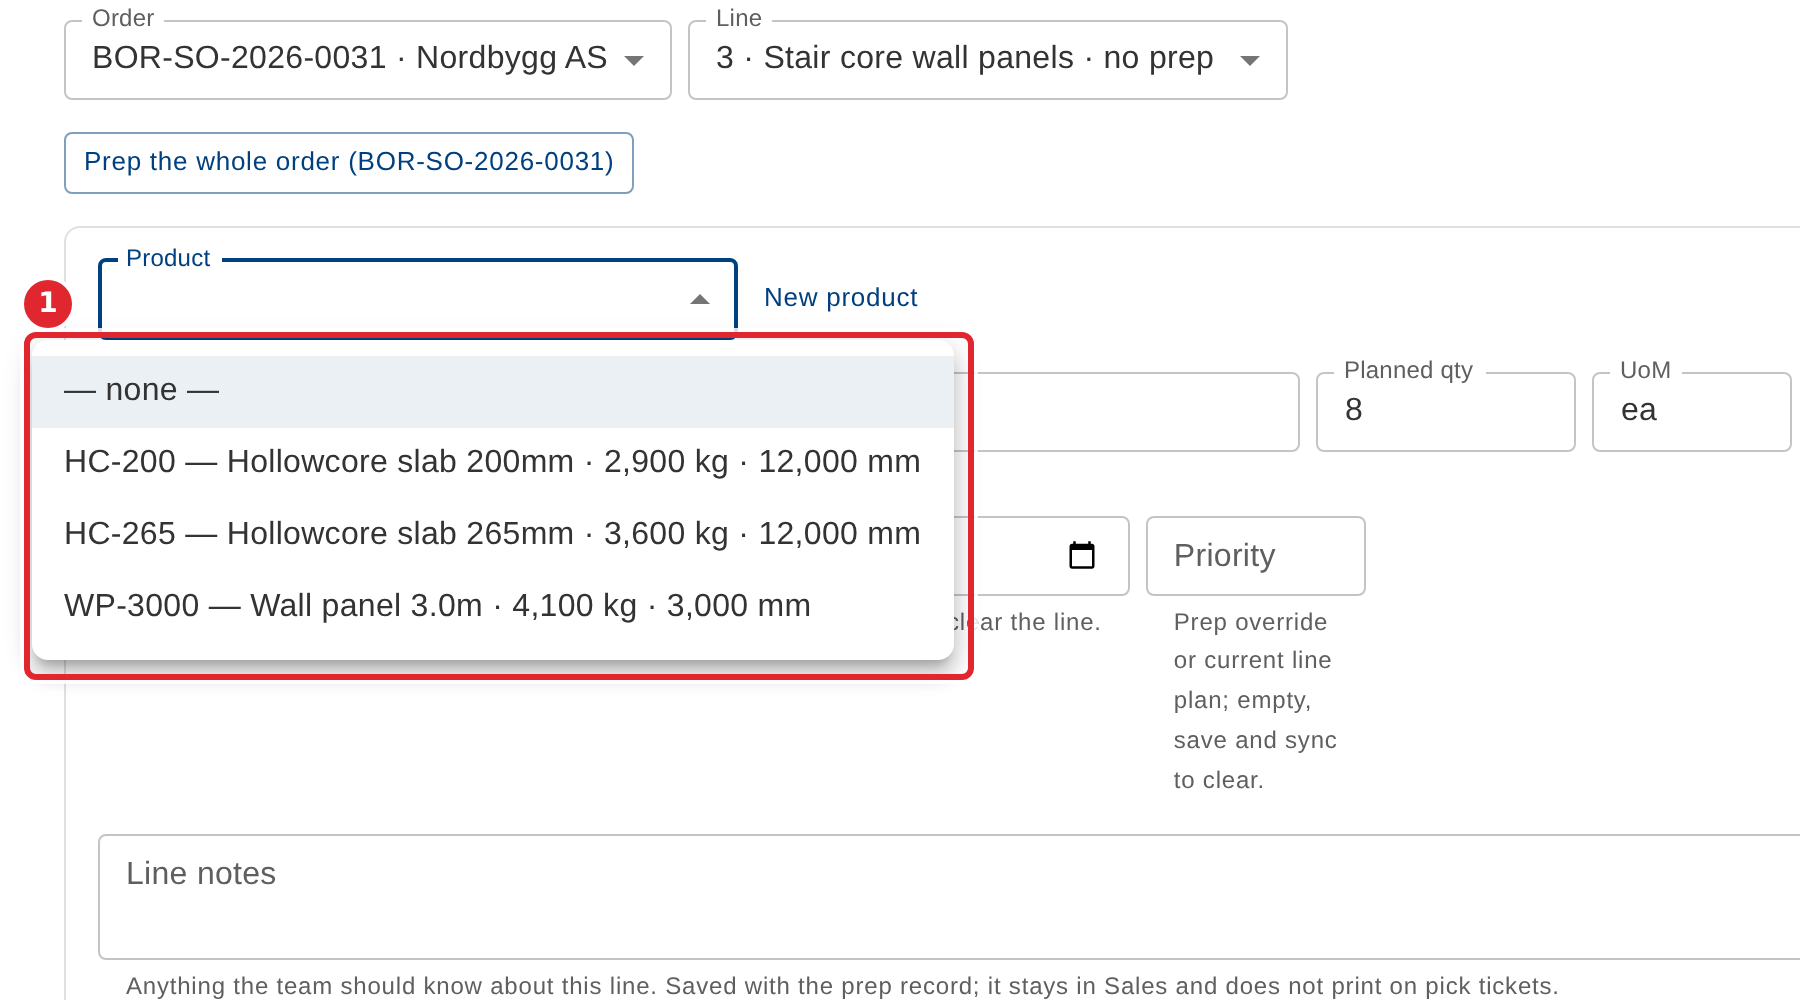
Choose the catalog product. Its standard size and weight are shown beside the list.
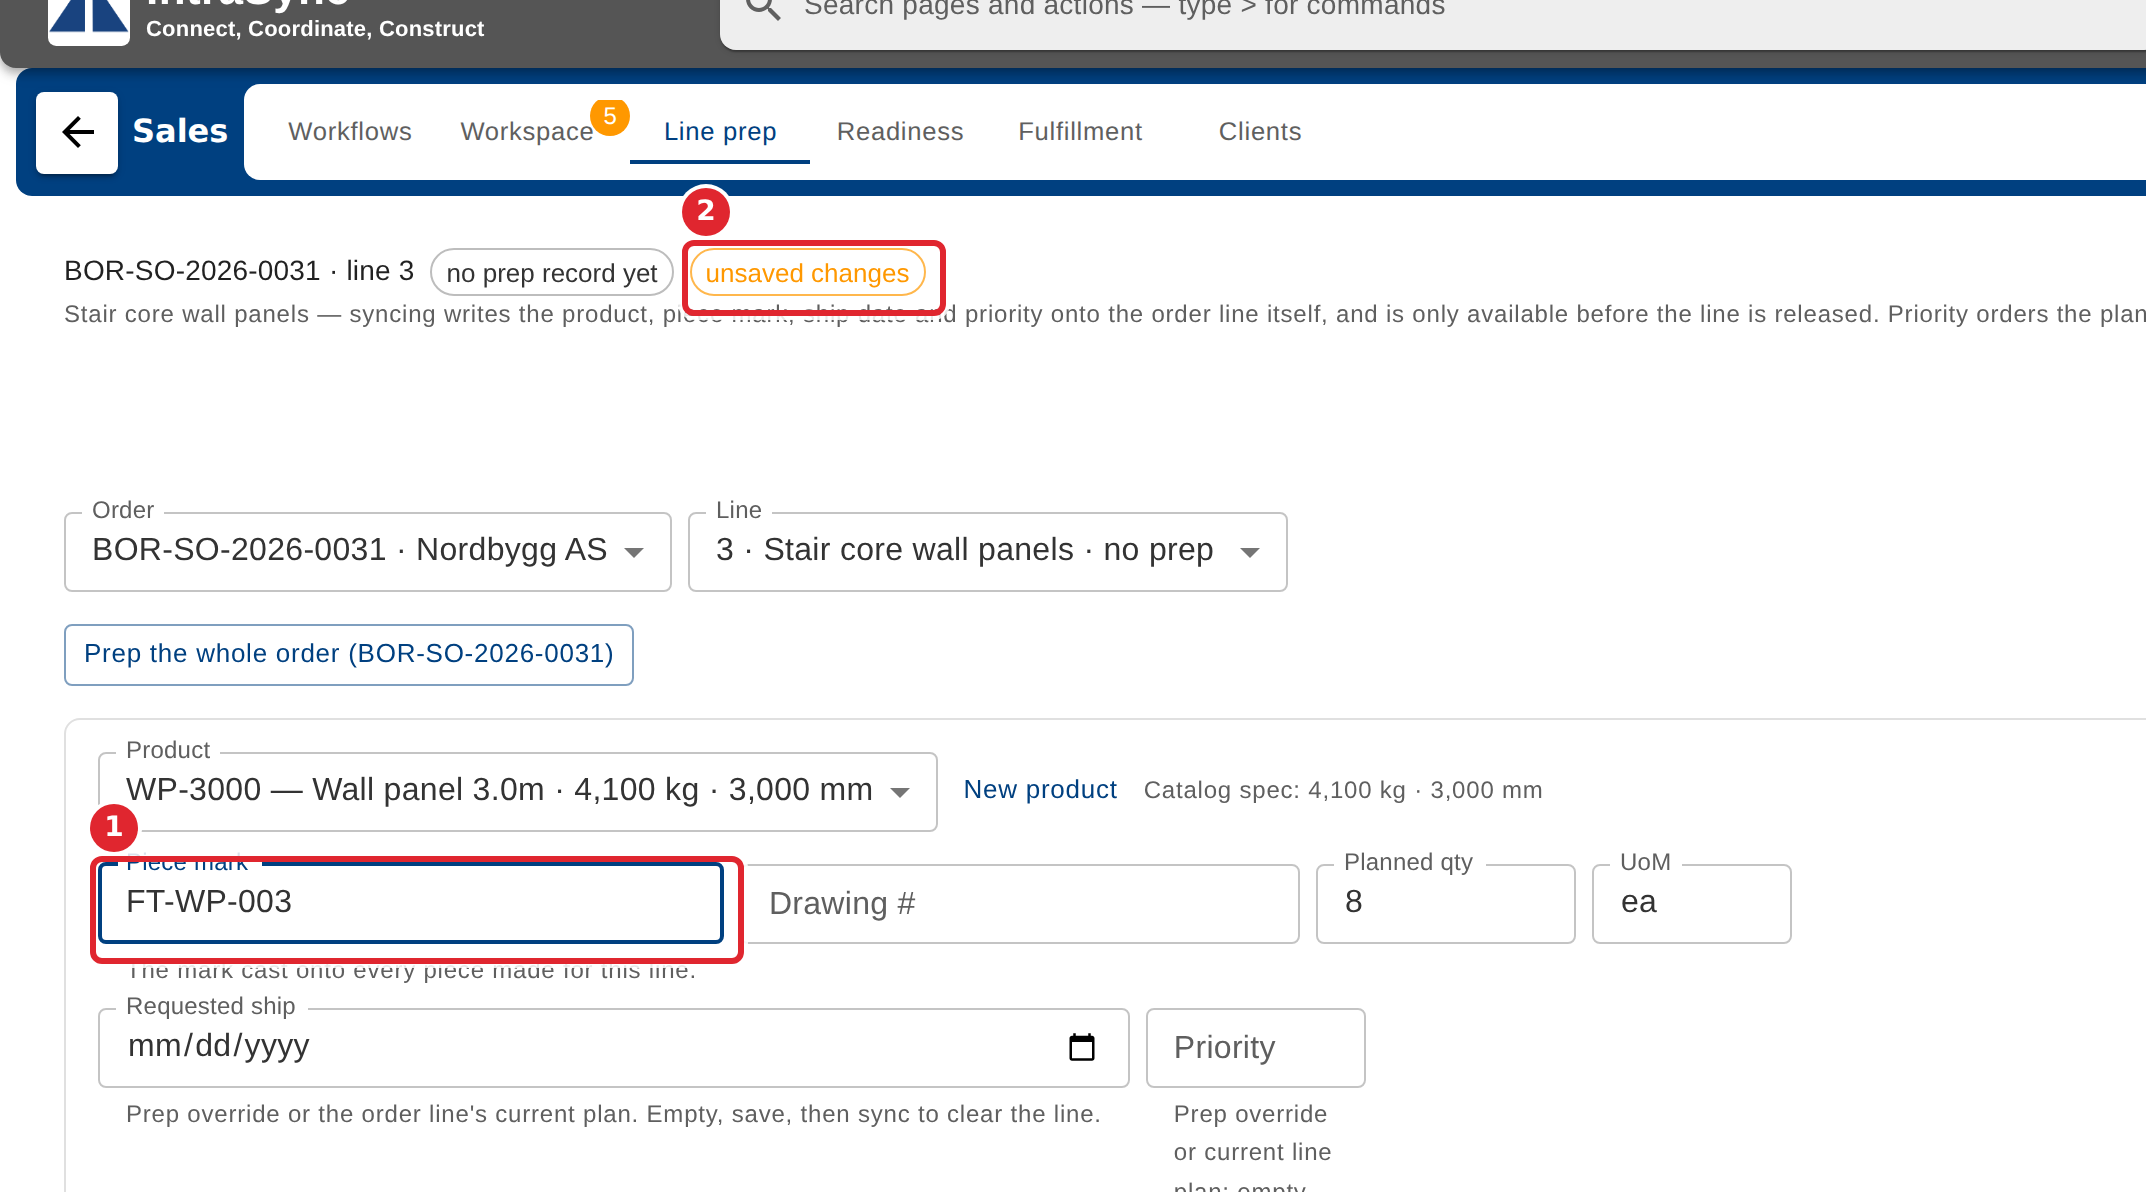
Enter the piece mark. Unsaved changes are flagged until you save.
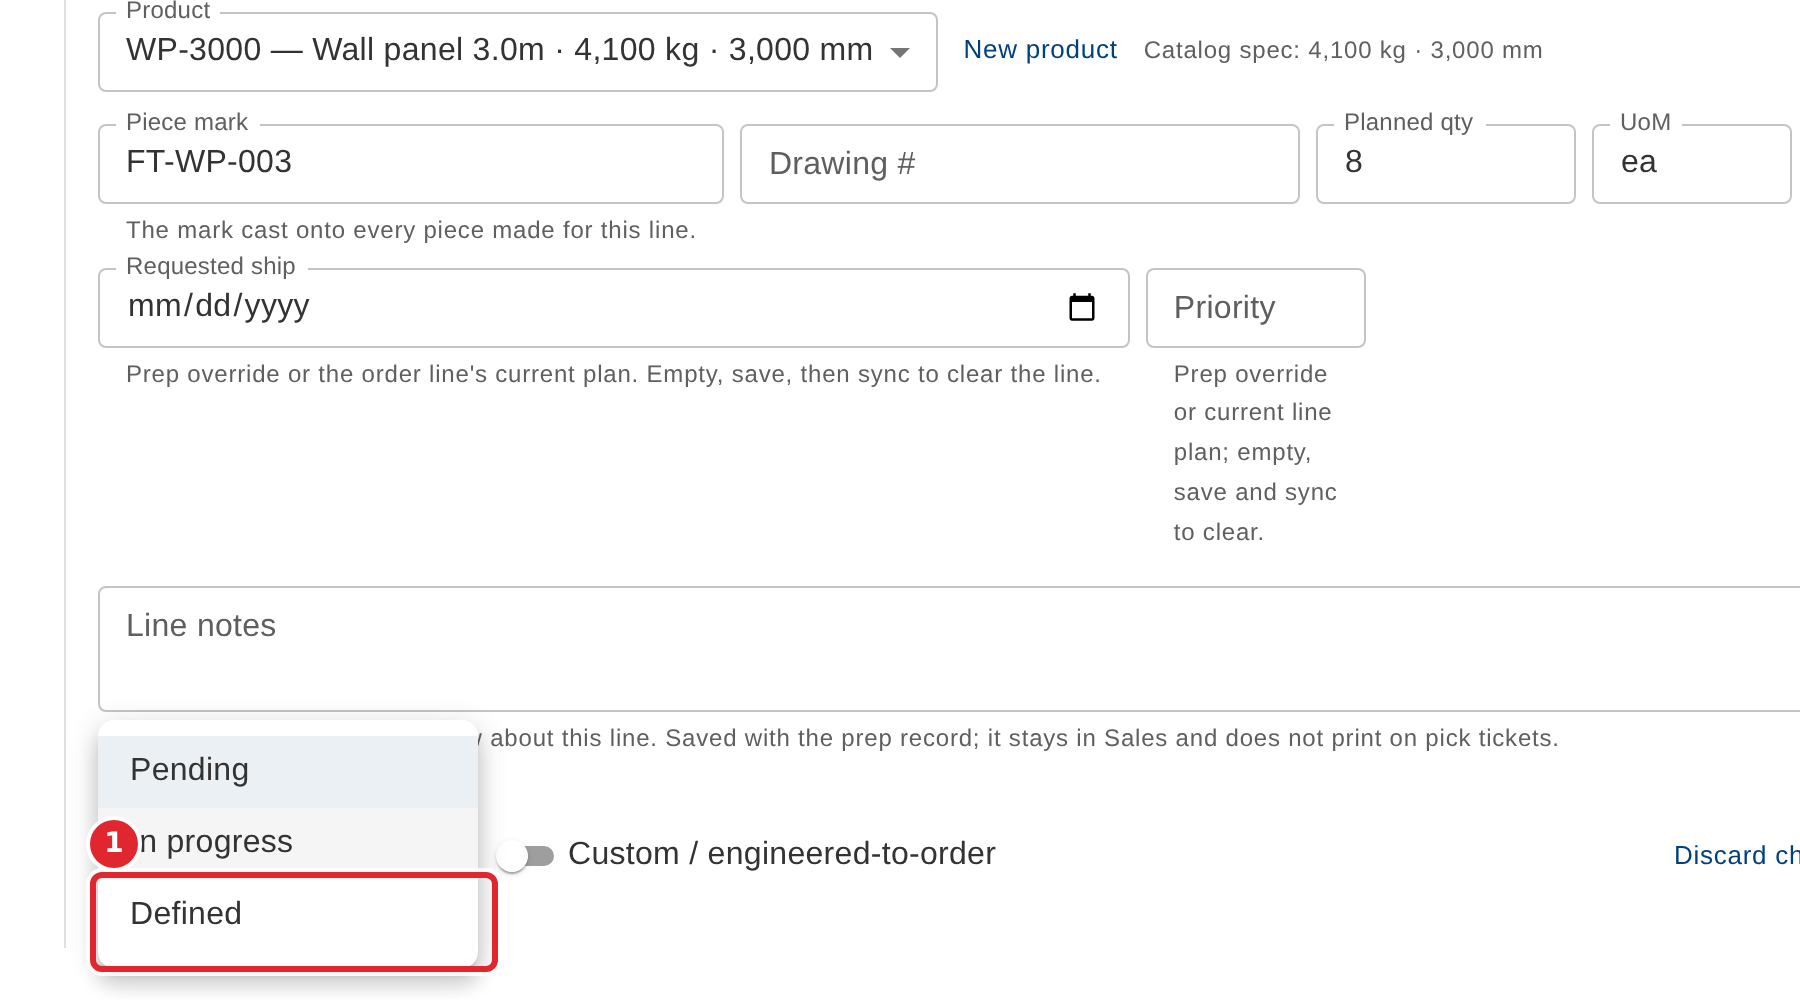
Set Definition to Defined when the line is fully specified.
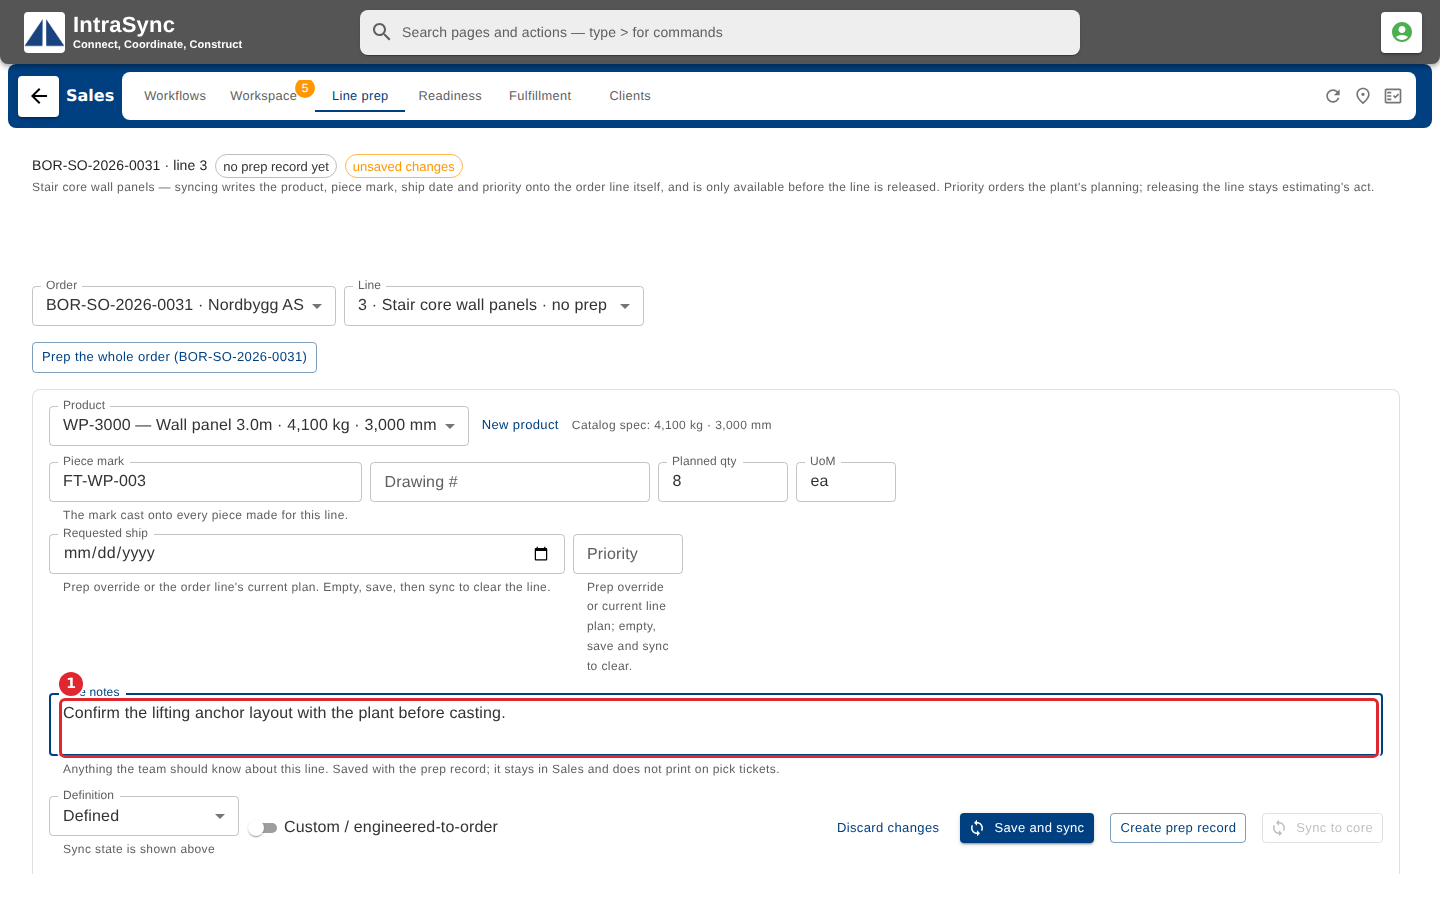
Type anything the team should know about this line in Line notes. The note is saved with the prep record.
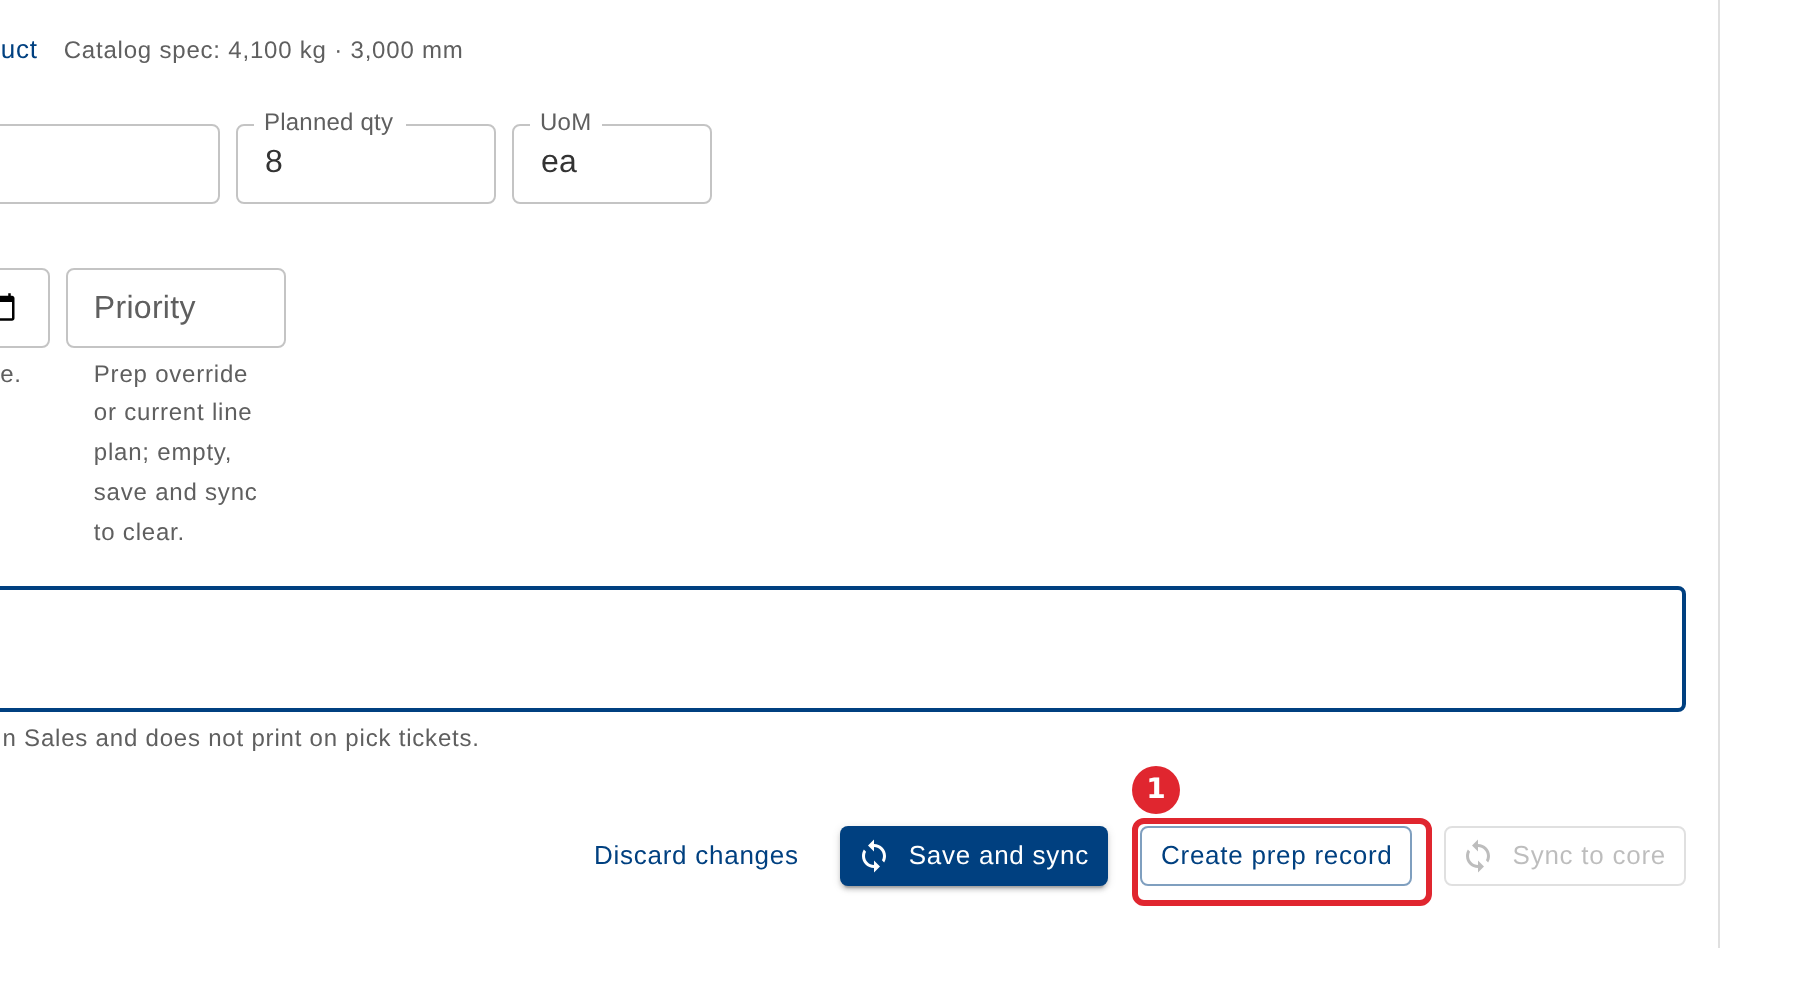
Select Create prep record.
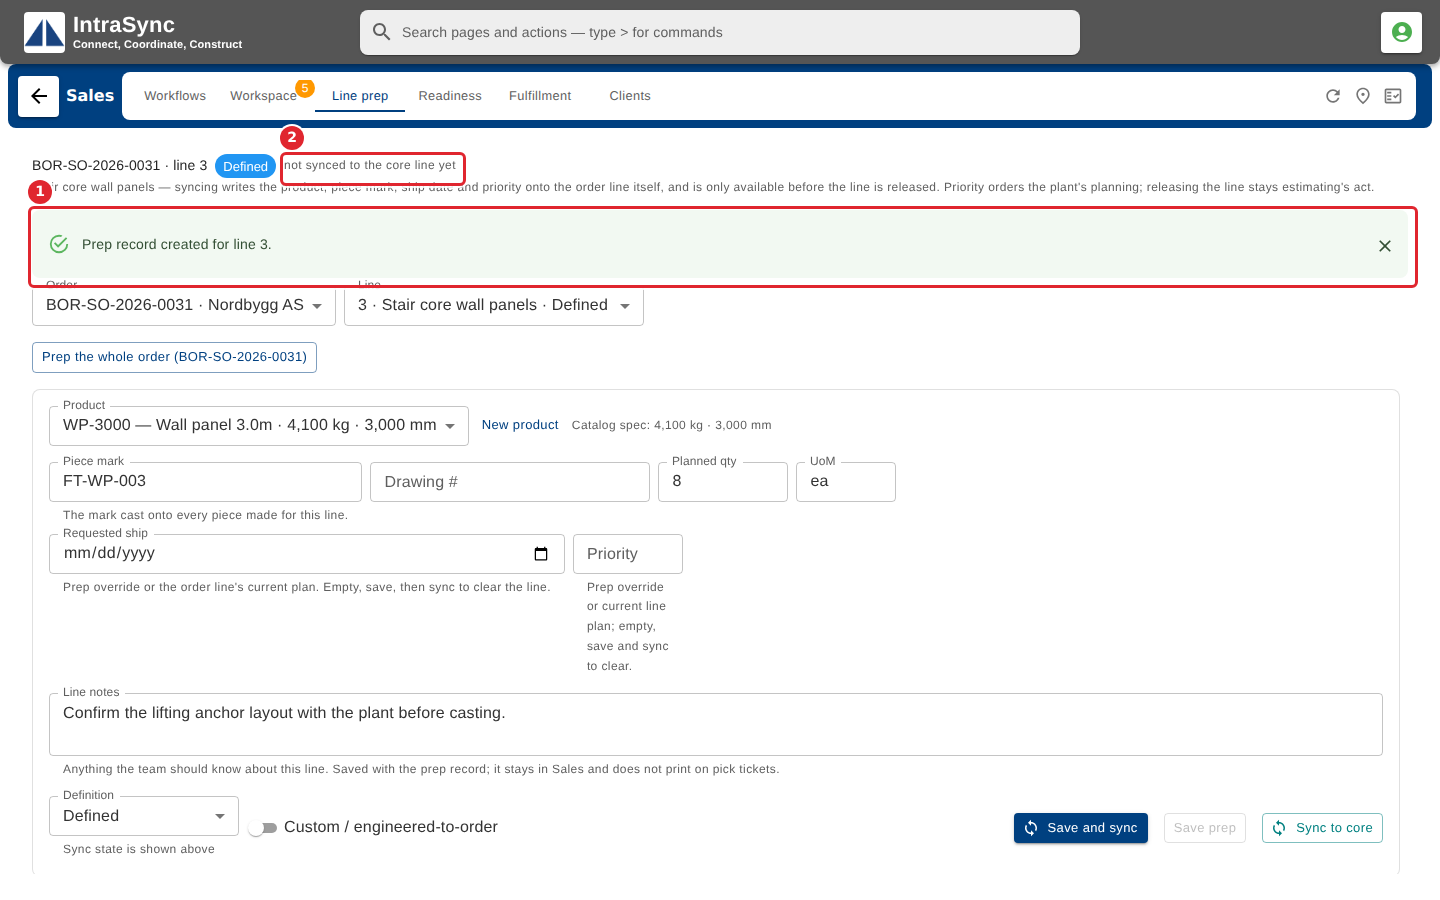
A confirmation appears, and the panel says the line is not synced yet.
Tips
- The piece mark is how production and billing match a cast piece back to this line. Give every line one.
- A line note stays in Sales. Sync to core does not copy it to the production order line, and it does not print on pick tickets. Changing only the note on a synced line keeps the line synced.
- If someone else saves a different note on the line while you have it open, your save does not overwrite theirs. Your text stays in Line notes and their note is shown in a yellow box under it. Combine the two, then save again, or select Discard changes to keep theirs.
- If you switch to another line with unsaved changes, Line prep asks before it discards them.
- Creating the prep record does not change the production order yet. That happens when you sync.