Fill in customer billing and contacts from QuickBooks or a spreadsheet
Bring the billing and shipping addresses, email, phone and contacts your company already keeps in QuickBooks or a spreadsheet into the customer master, so every order for that customer has them.
Before you start
- Your system has the customer import switched on. Otherwise the Import billing & contacts button is not shown on Clients.
- The customers are already in the customer master. The import fills in blank details only. It creates no customer.
- Your customer list is saved as a CSV file, or open in Excel so you can copy its rows.
Steps
In the pictures, a numbered red box marks where to click or type. Where a picture has more than one box, the numbers give the order.
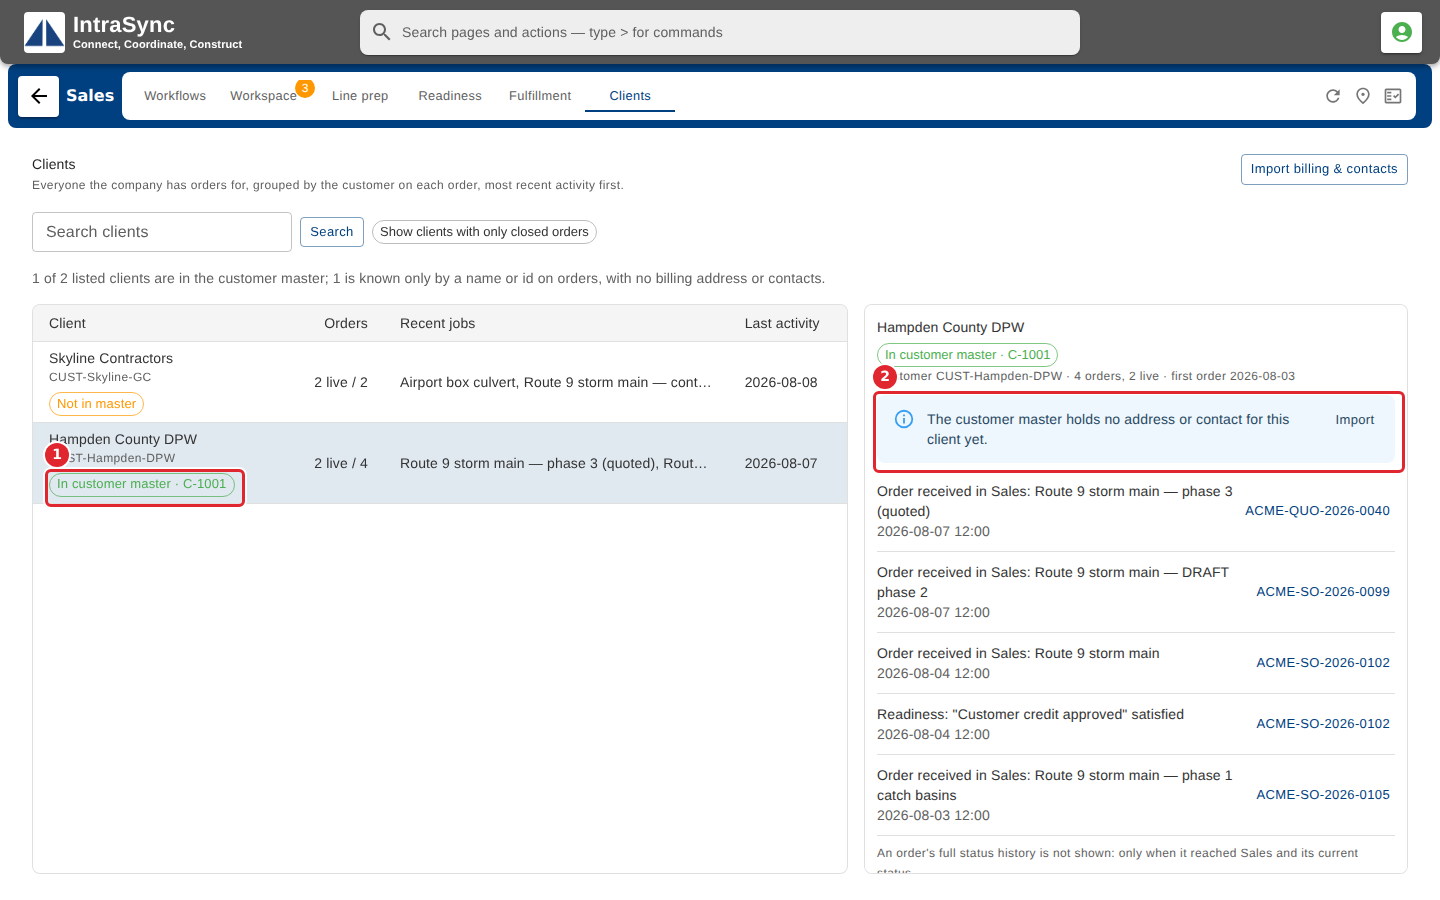
Select Clients, then a client marked In customer master. Its billing address and contacts come from the customer master. Here they are still blank, and the note offers an Import shortcut.
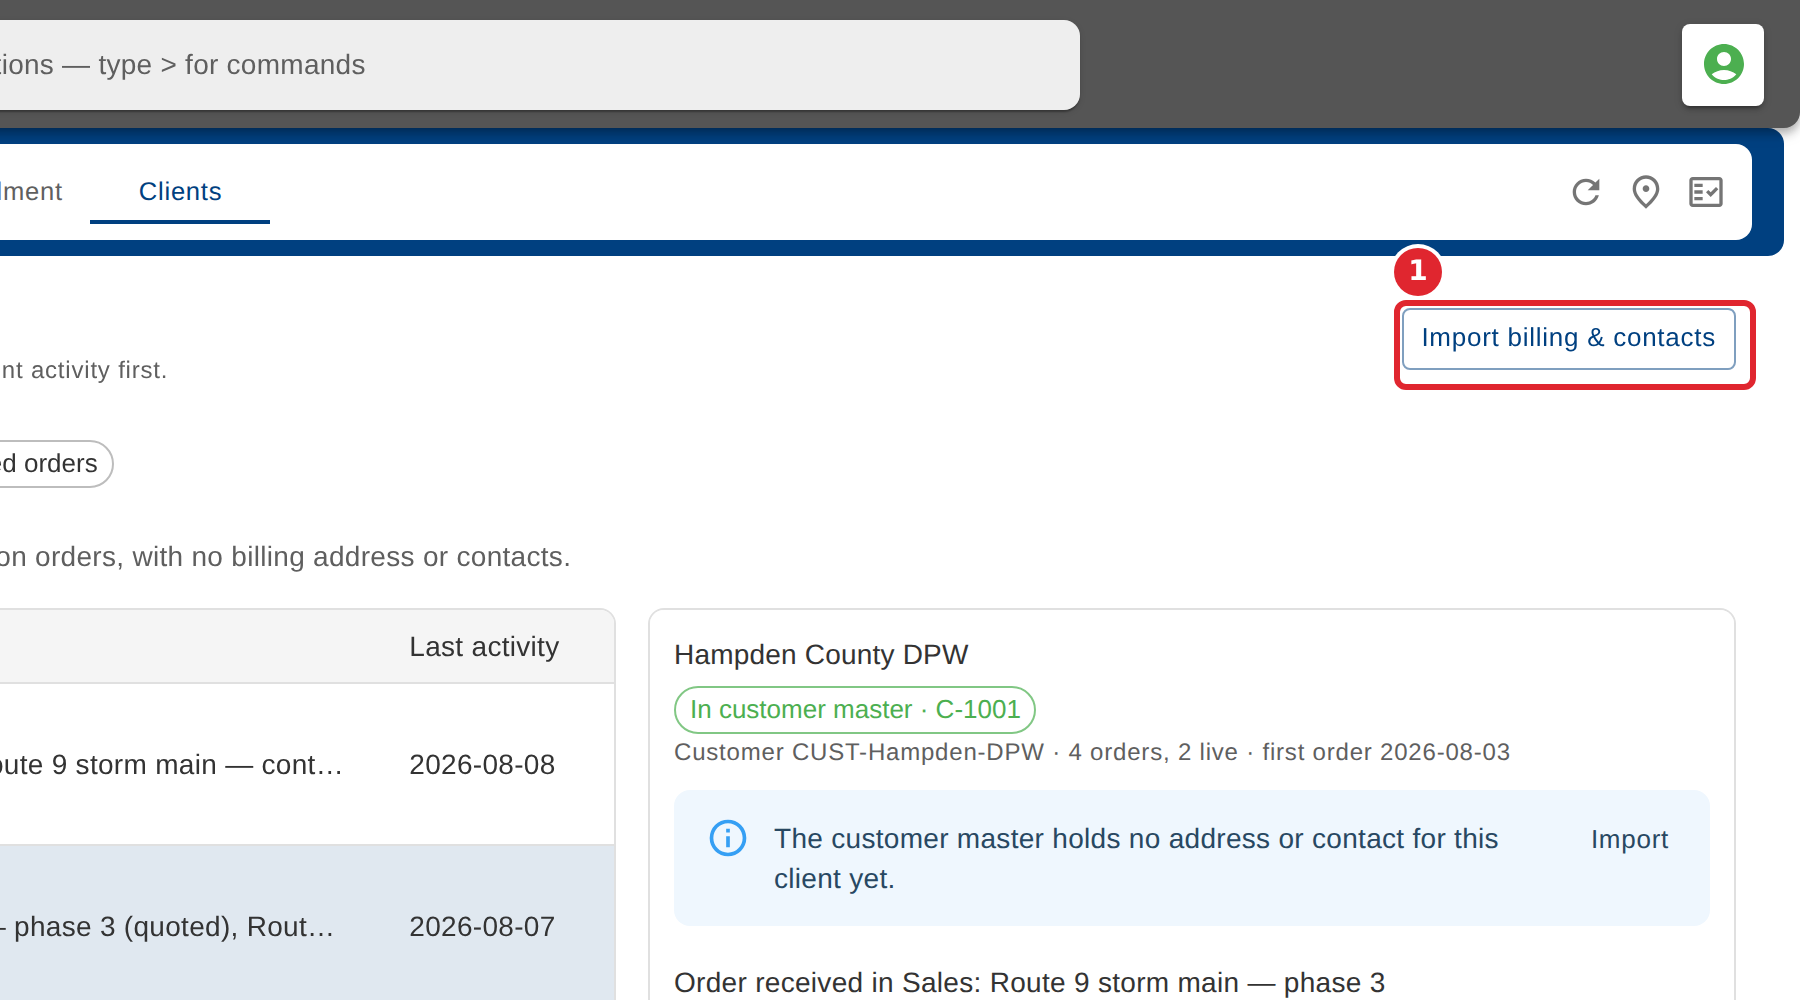
Select Import billing & contacts.
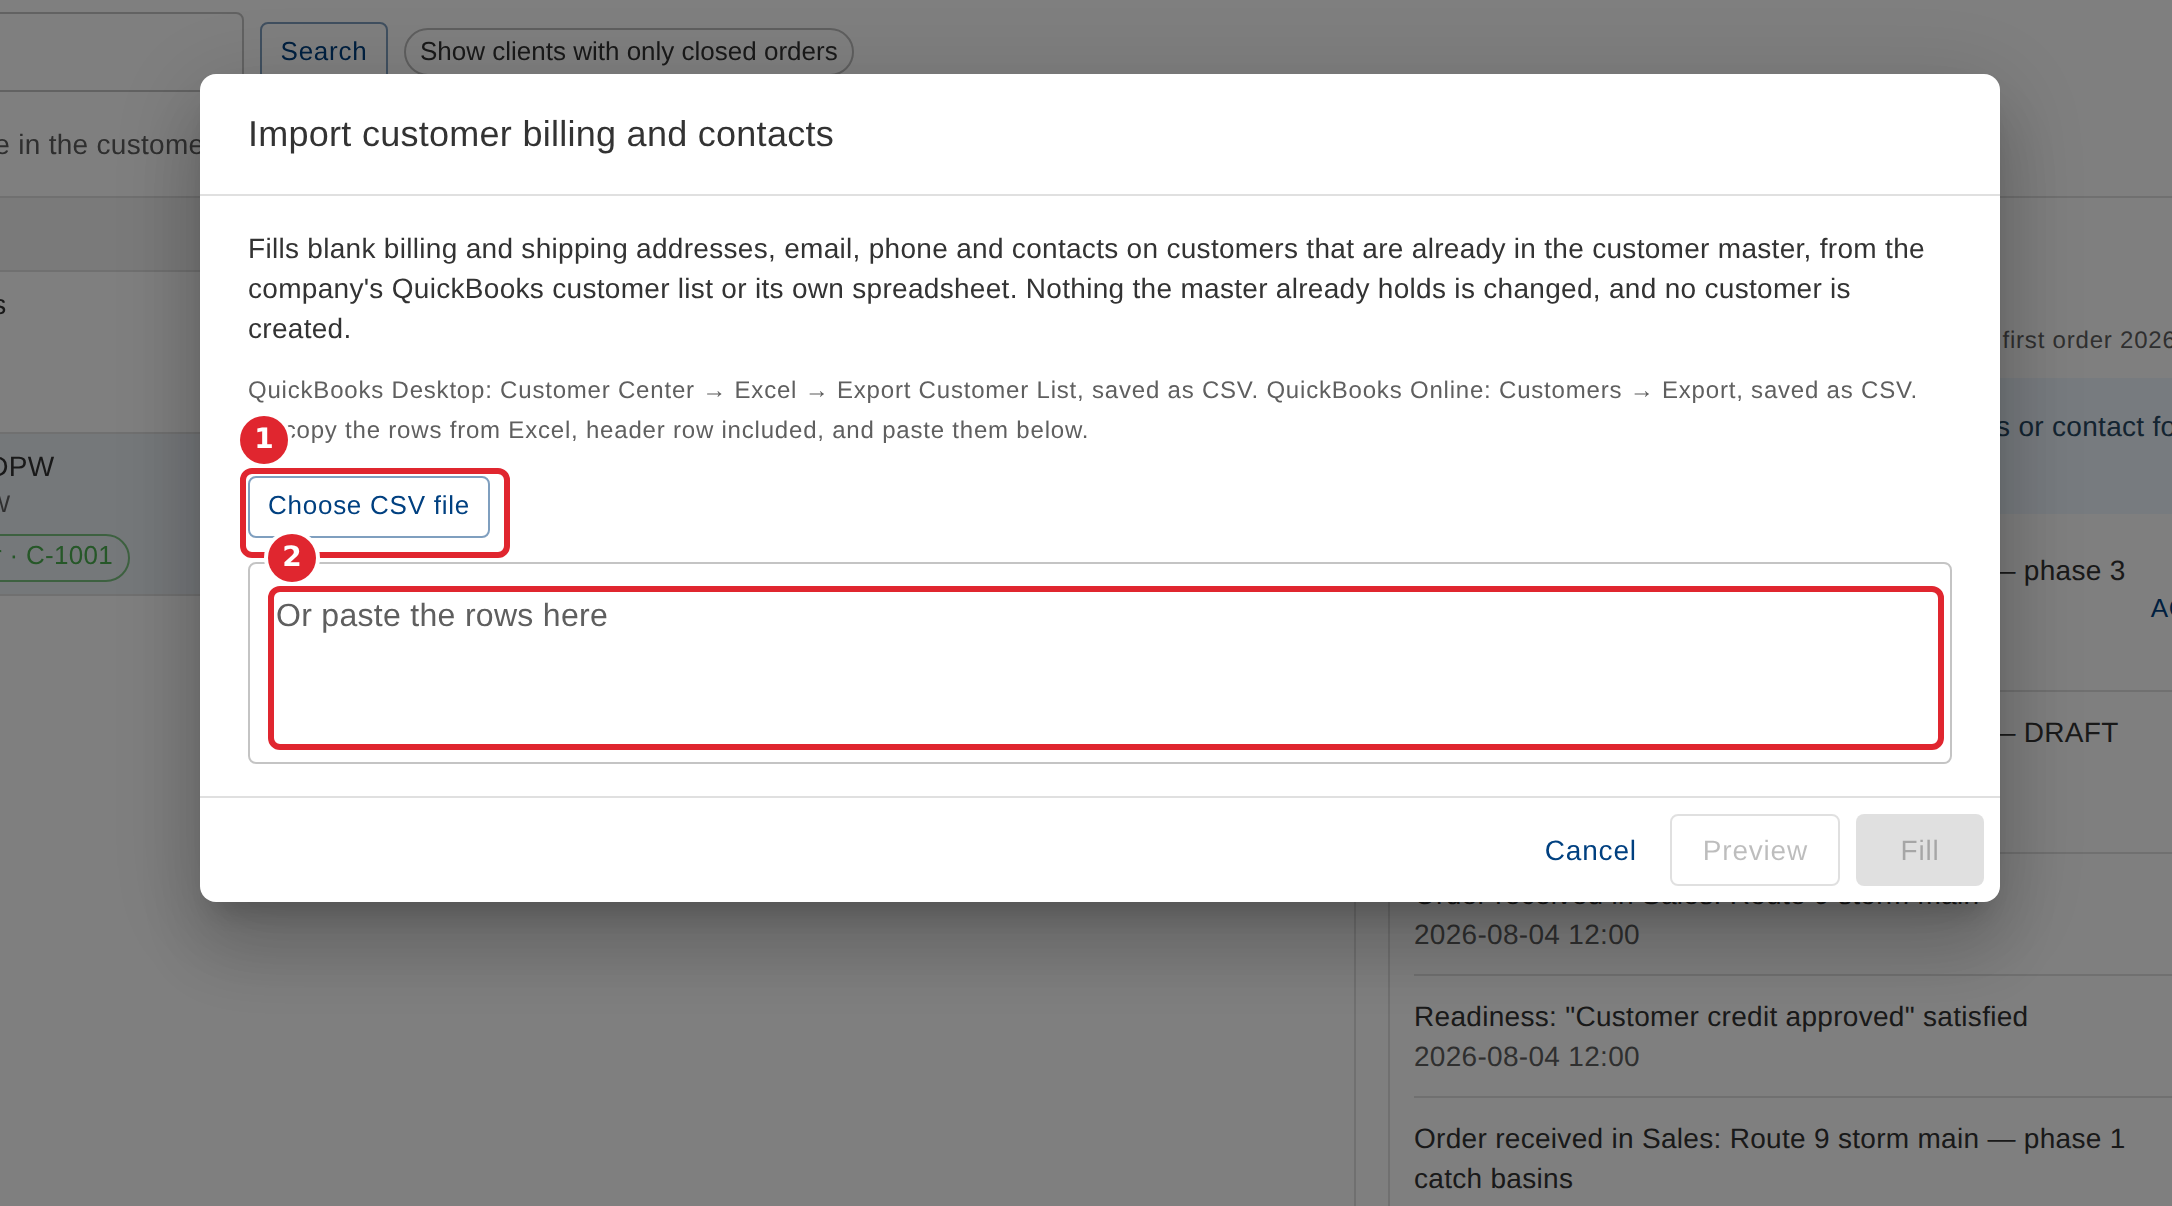
Export your customer list from QuickBooks as a CSV file, as the dialog describes. Select Choose CSV file and pick it, or copy the rows from Excel, header row included, and paste them into the box.
Select Preview. Nothing is written yet. The summary says how many blank fields would be filled, and on how many customers.
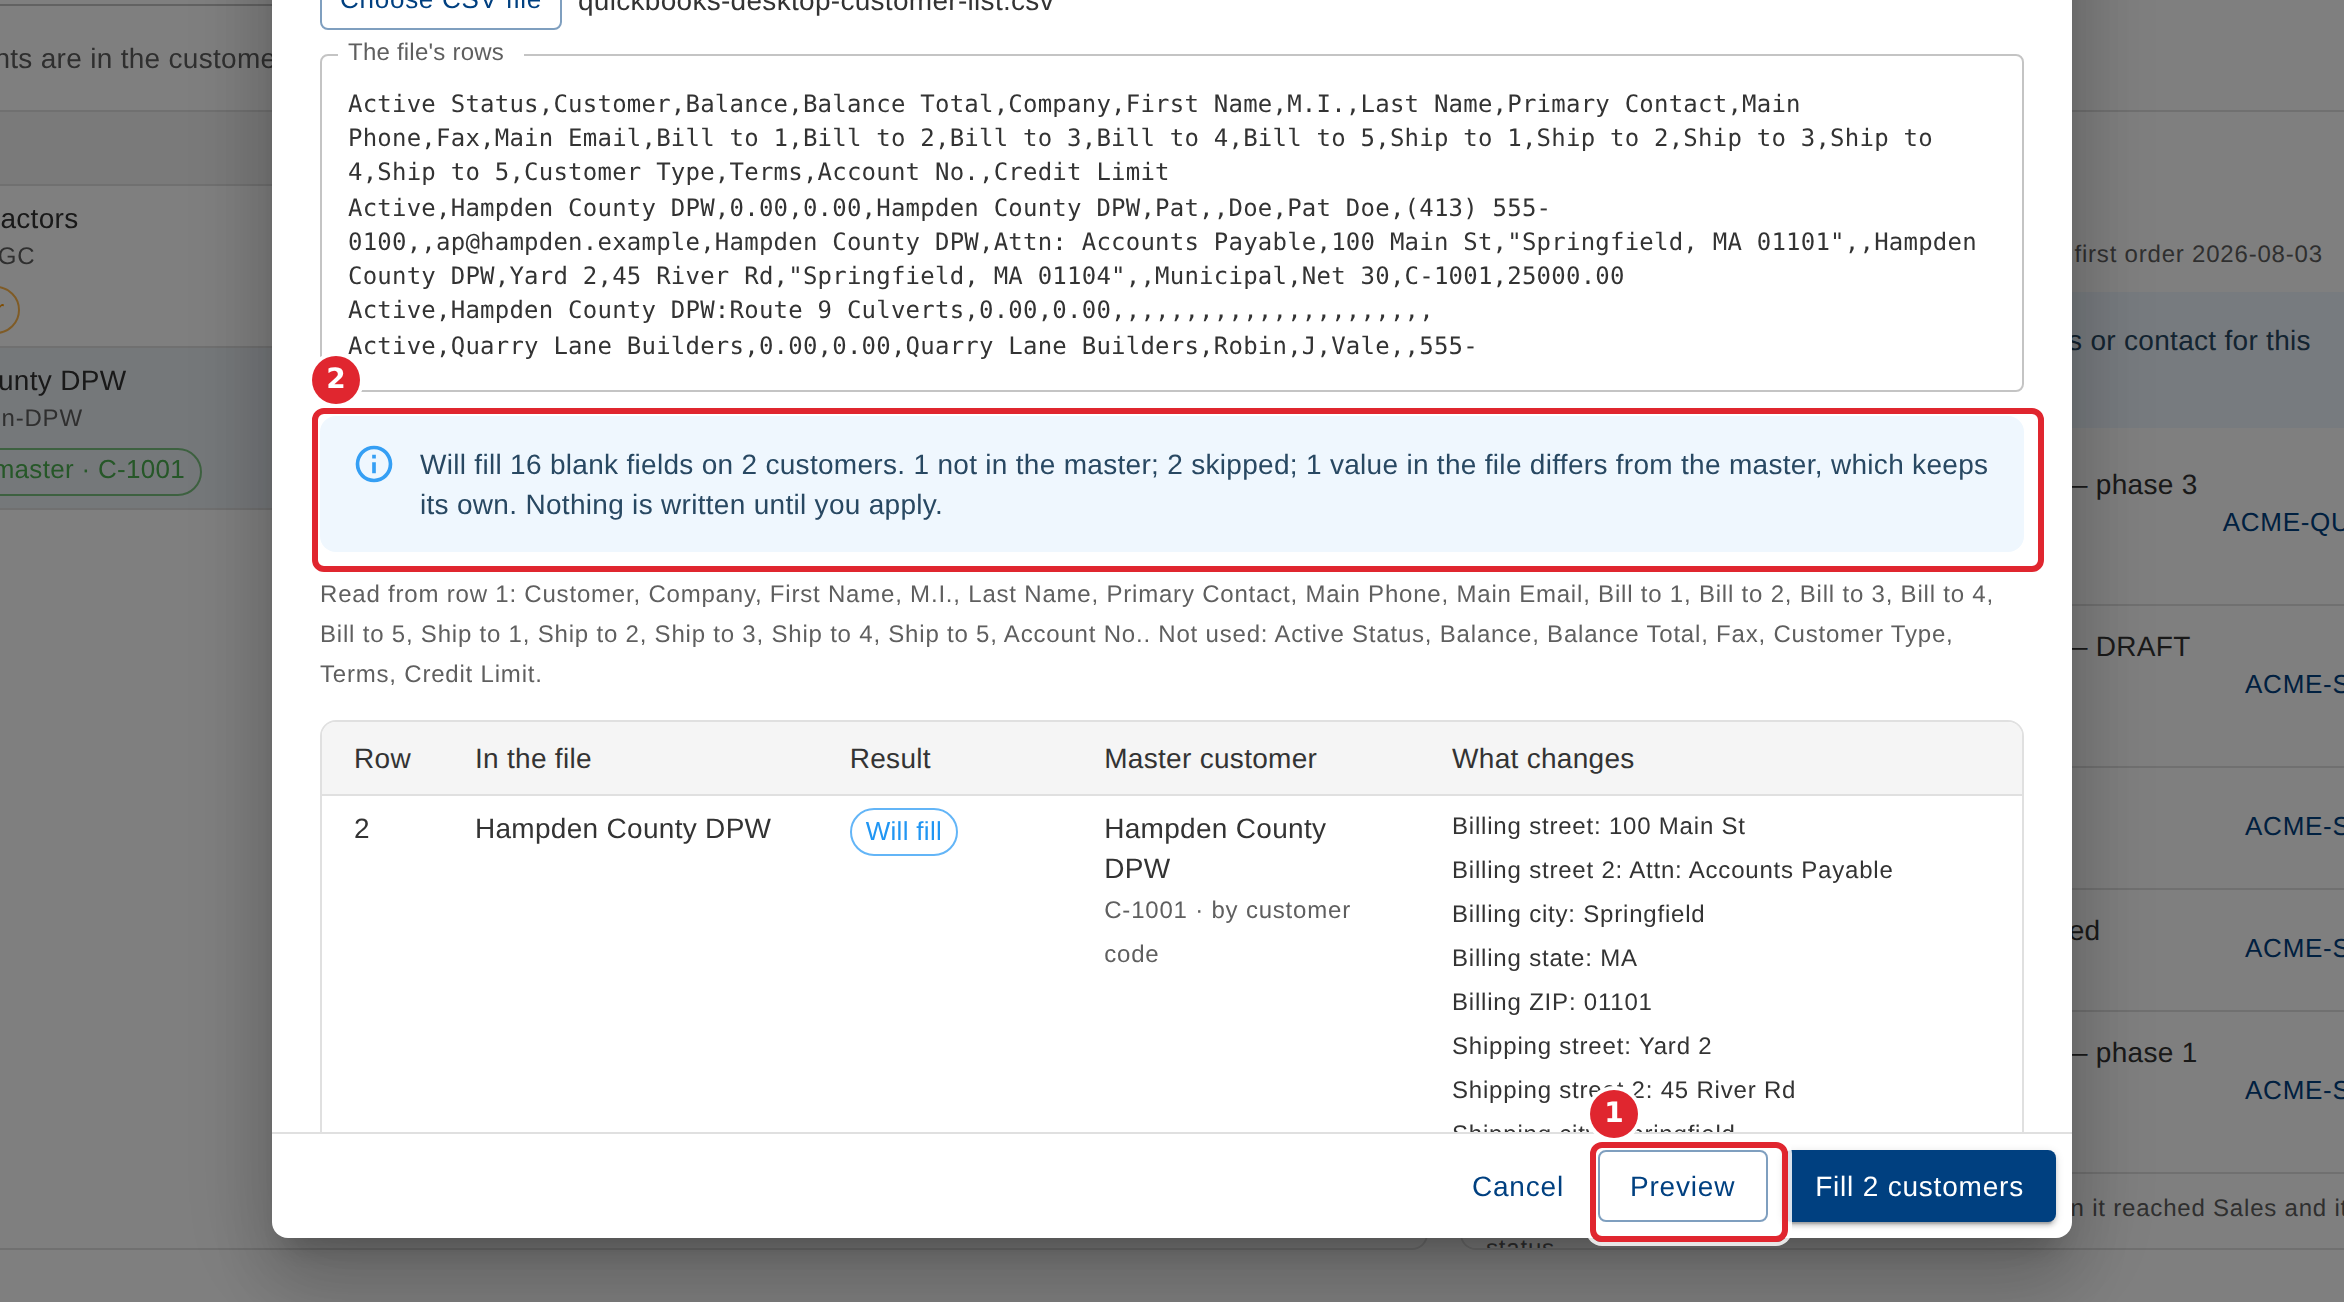
Read the table. Each row of your file shows its result, the master customer it matched, and what would change. A value the master already holds is kept, and the row says so.
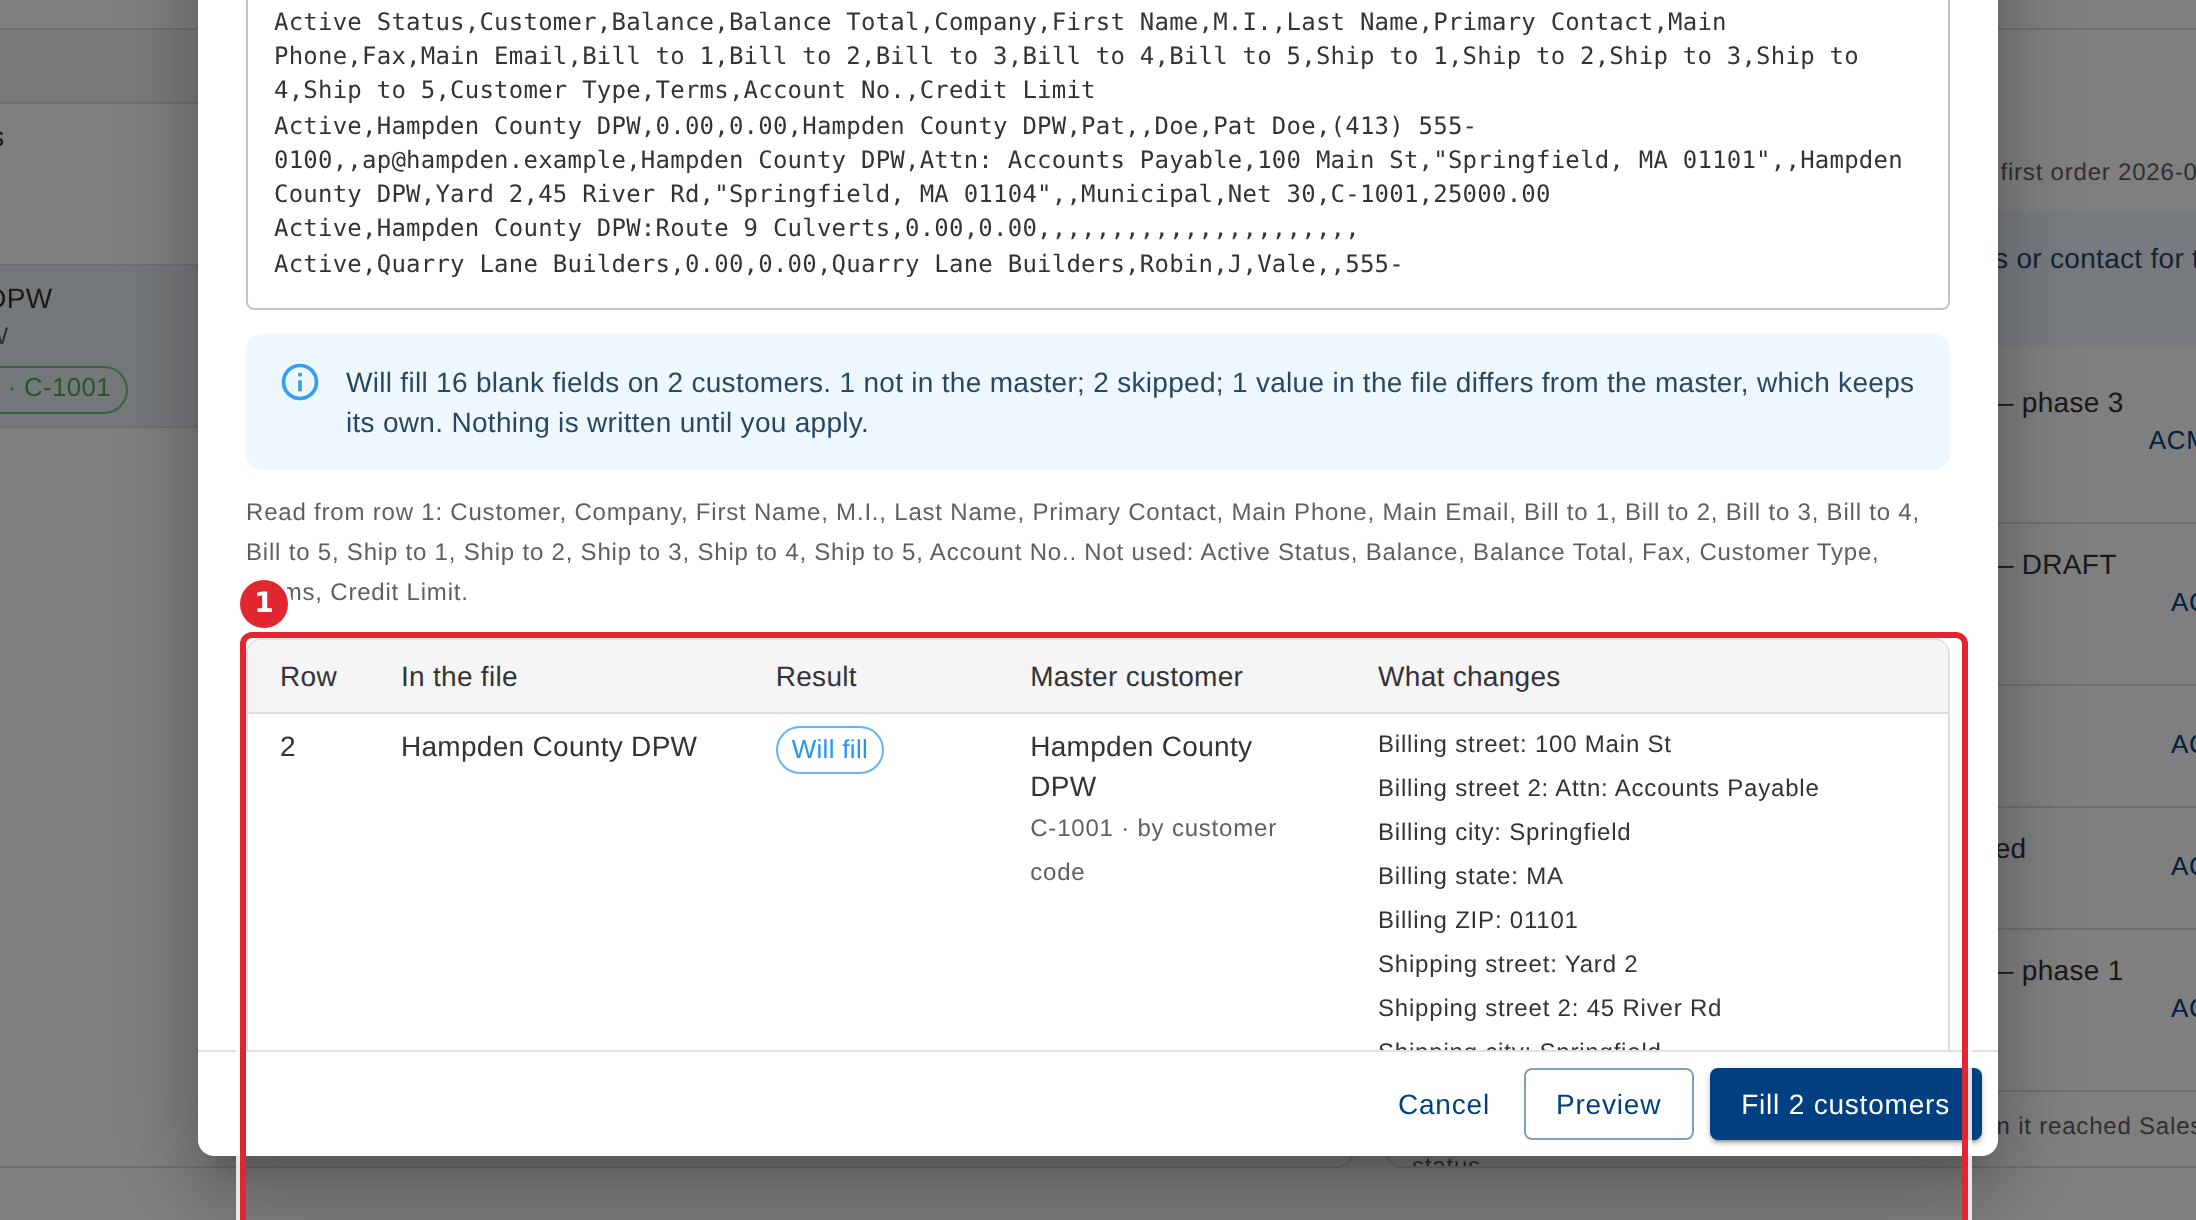
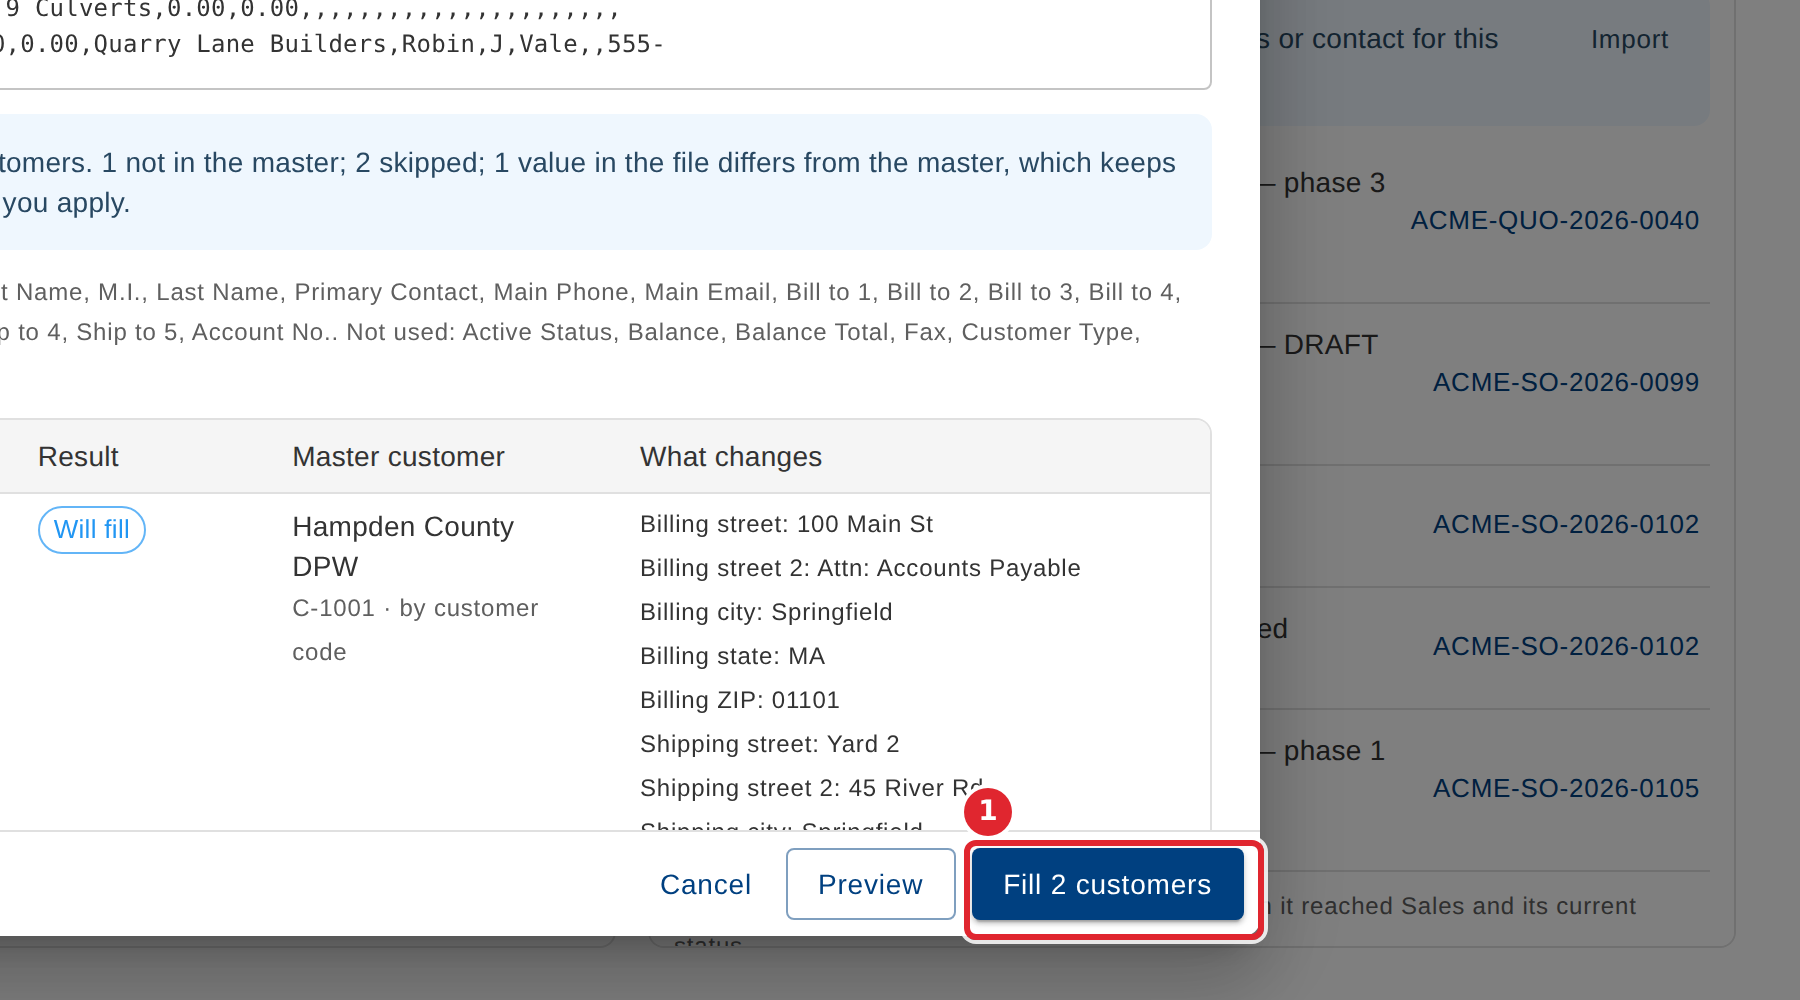
When the preview is what you expect, select Fill. It names how many customers it will fill.
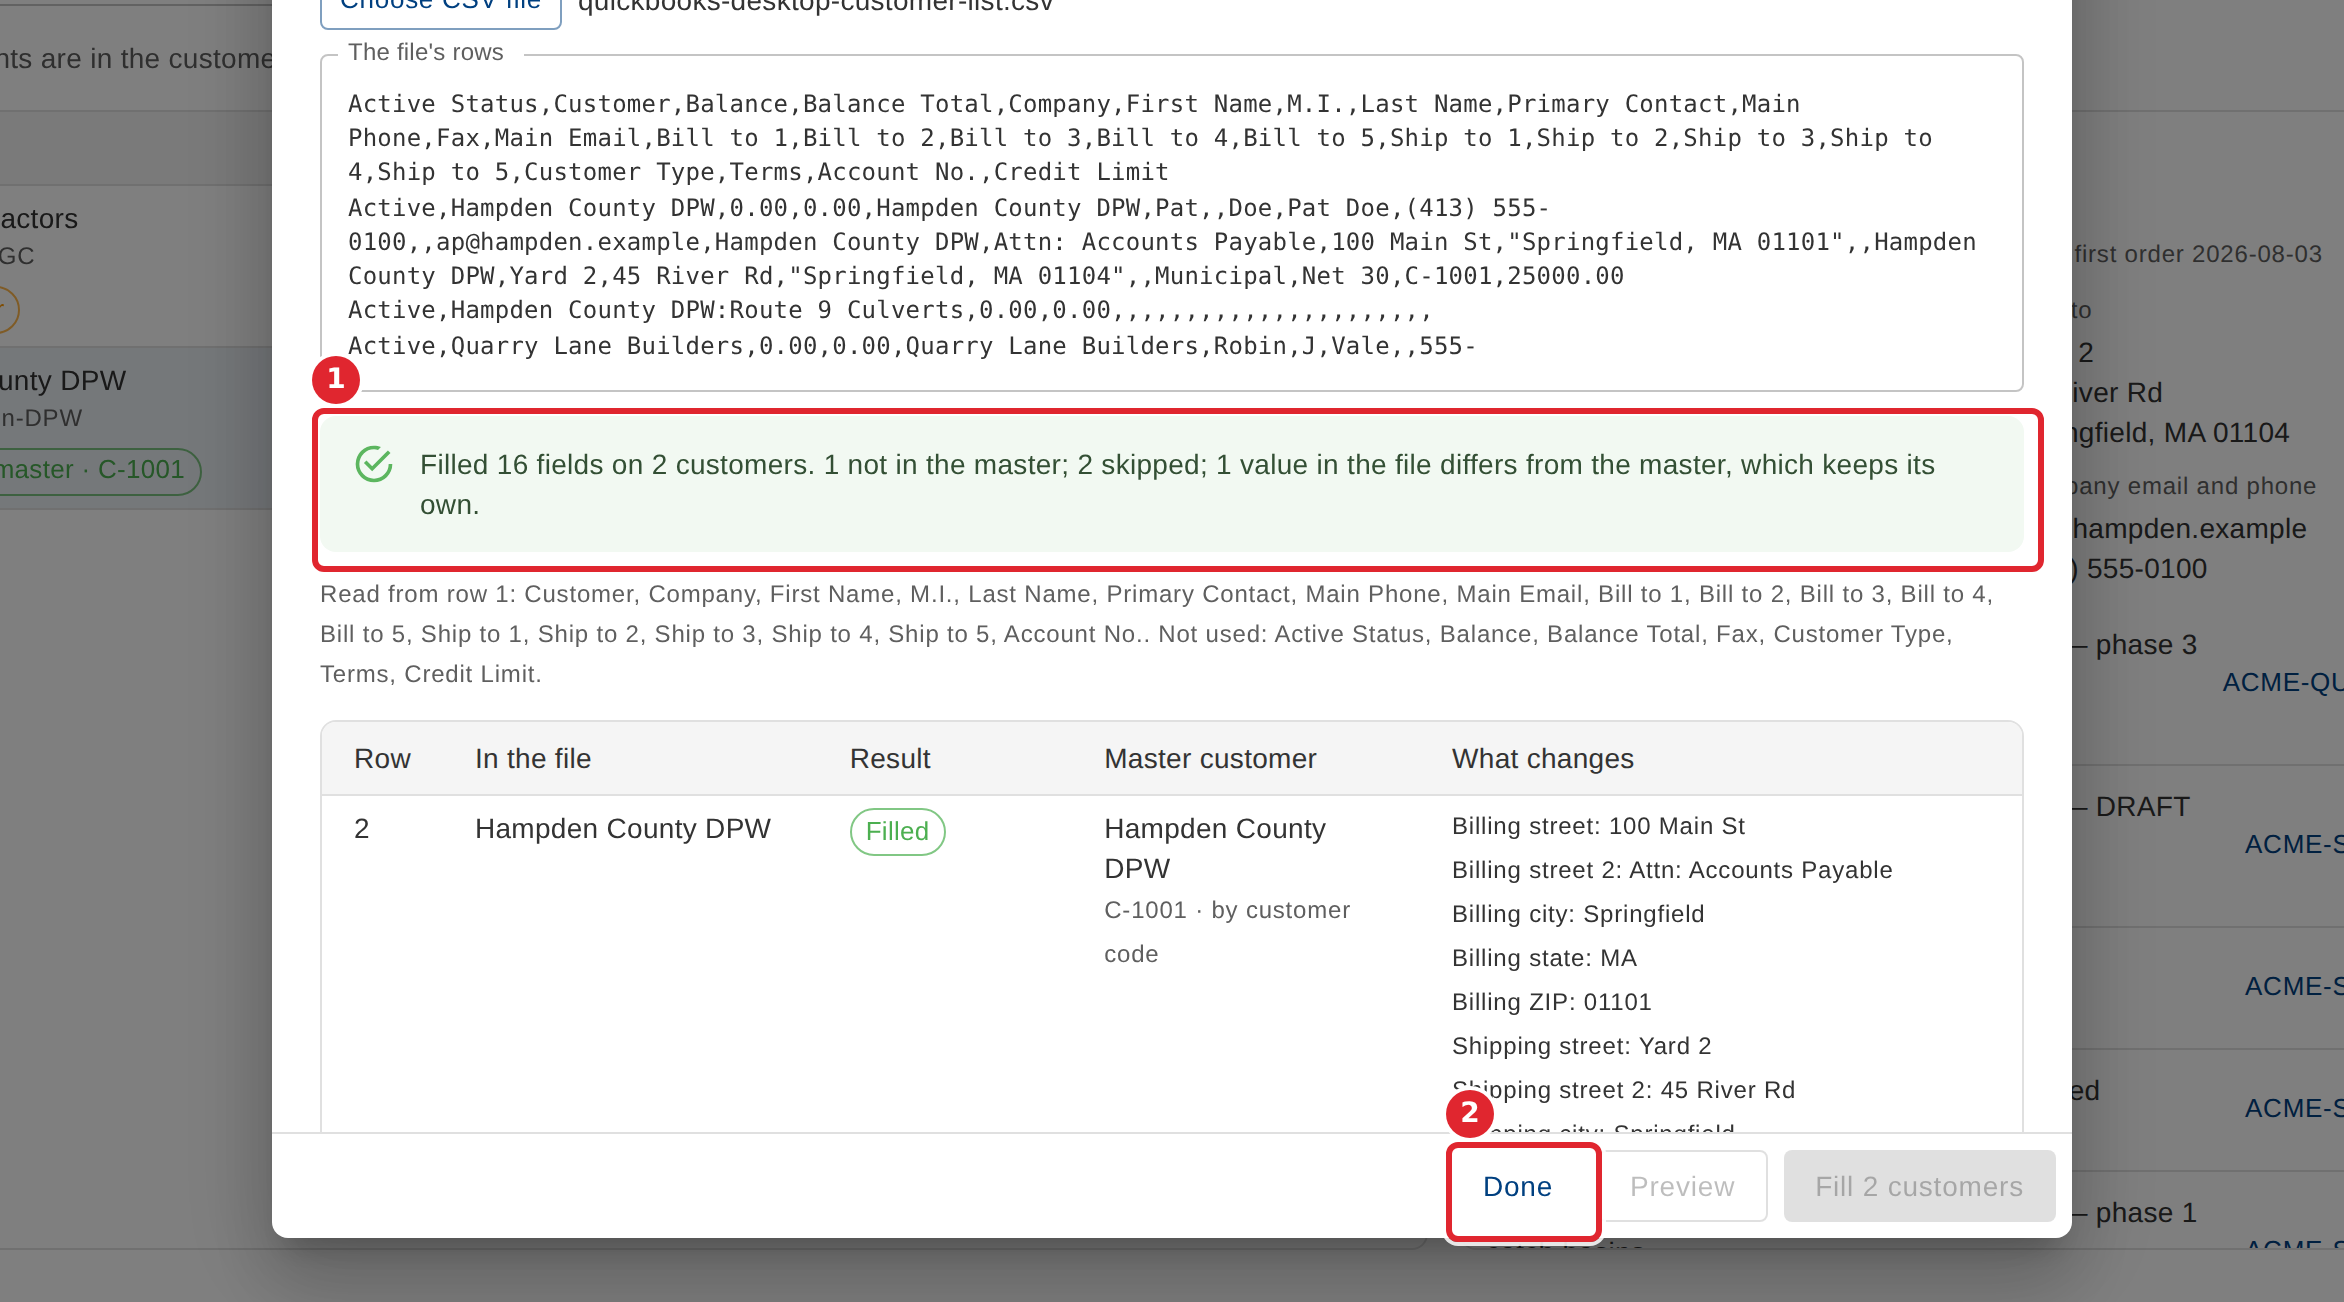
The summary now says what was filled. Select Done.
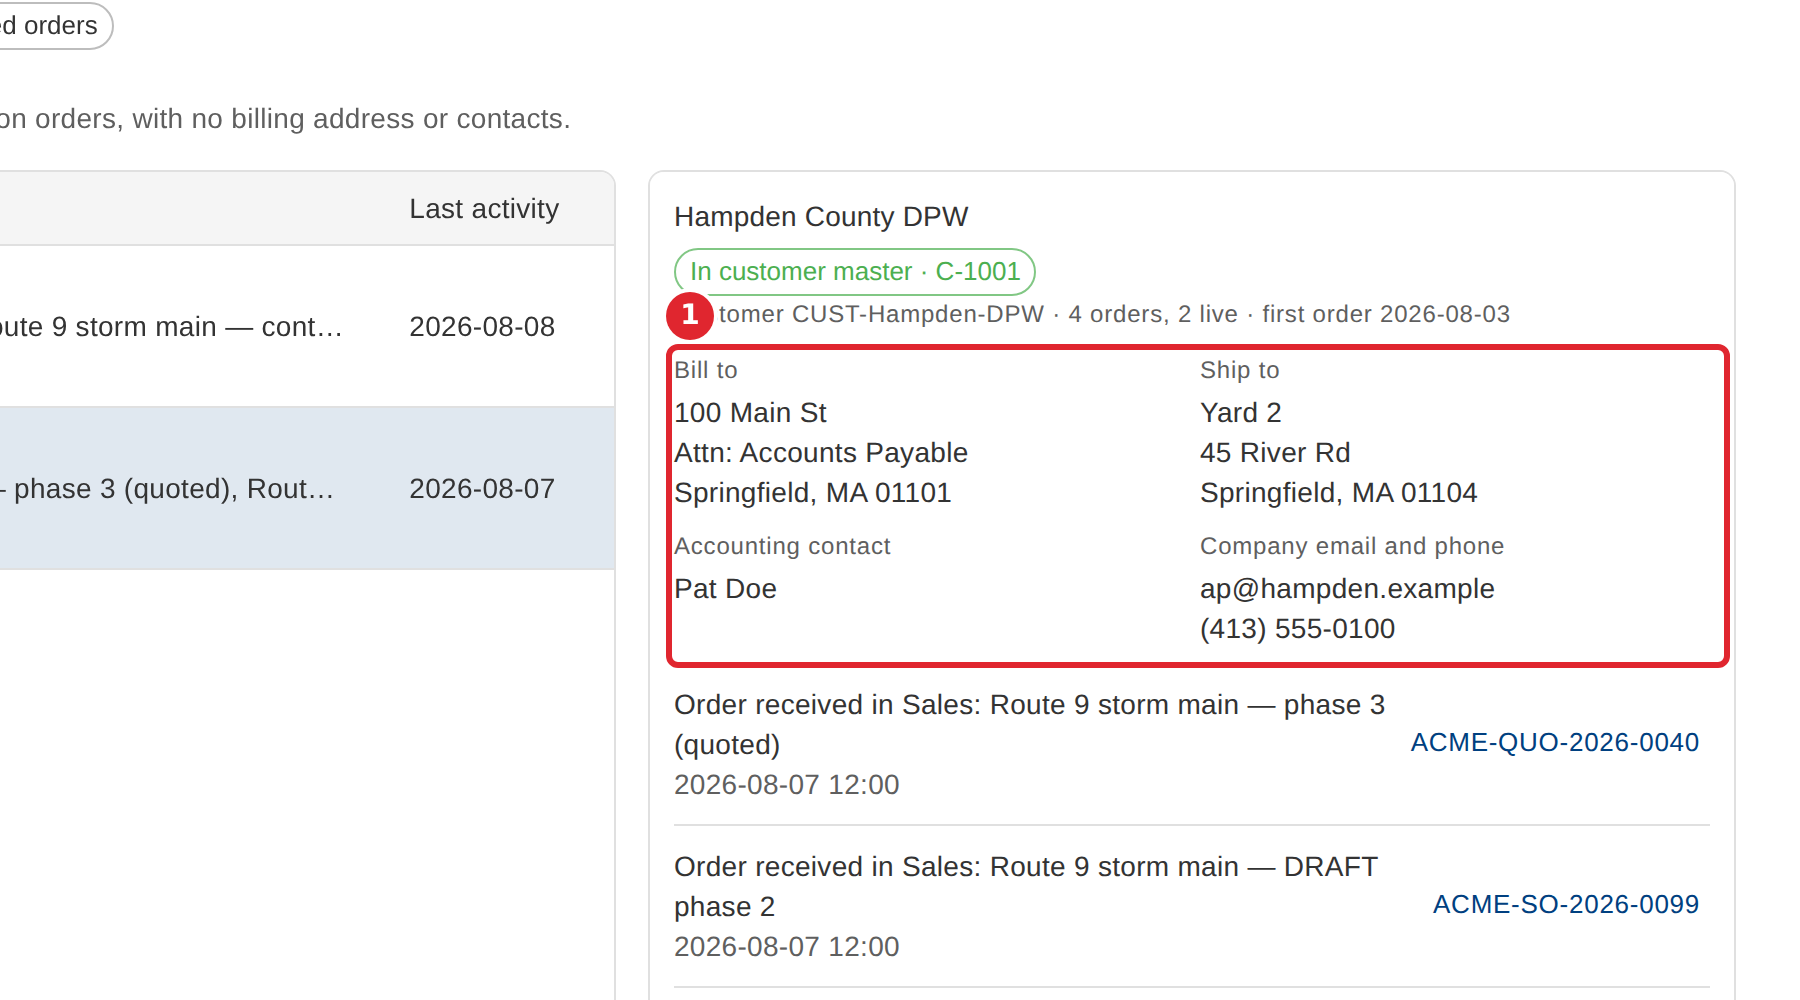
Select the client again. Its billing and shipping addresses and contacts now show beside its orders.
Tips
- Nothing the customer master already holds is changed. Where your file says something different, the preview shows the value the master keeps and the value in your file.
- Choosing another file, or changing the pasted rows, throws the preview away. Preview again before you fill.
- A list too large for one import is refused with a note. Split it into parts and import each one: importing the same part twice is safe.
- A row that matches no customer, or more than one, is listed with the reason and changes nothing.