Add cells to a layout
A cell is a place in the yard, such as a row or a bay, that holds pieces. Roads, forms and equipment areas can be drawn too, for reference.
Watch this in the video (0:20)
Steps
In the pictures, a numbered red box marks where to click or type. Where a picture has more than one box, the numbers give the order.
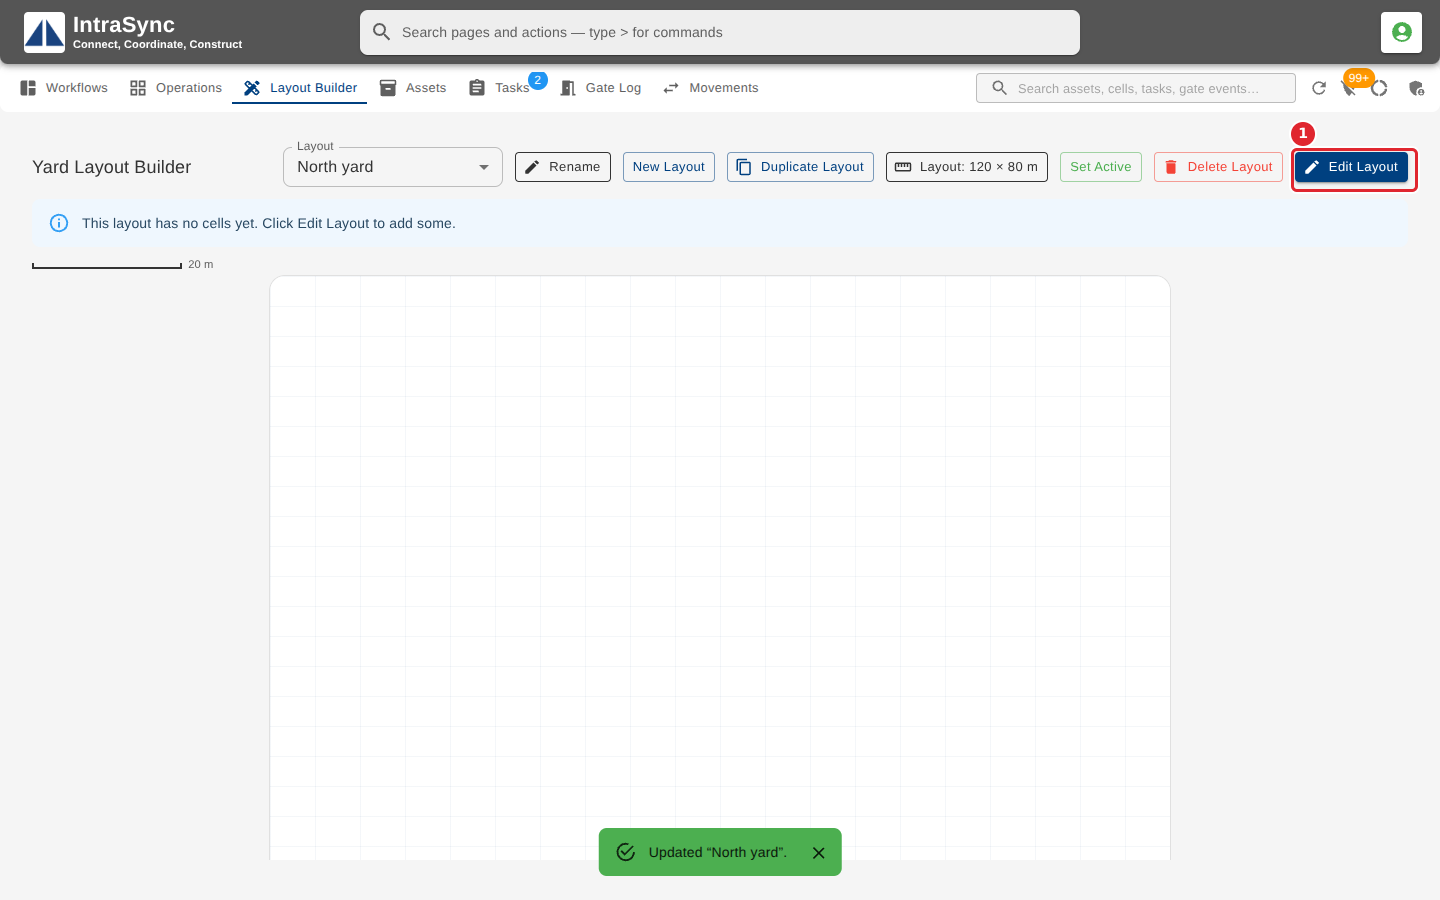
With the layout selected, select Edit Layout.
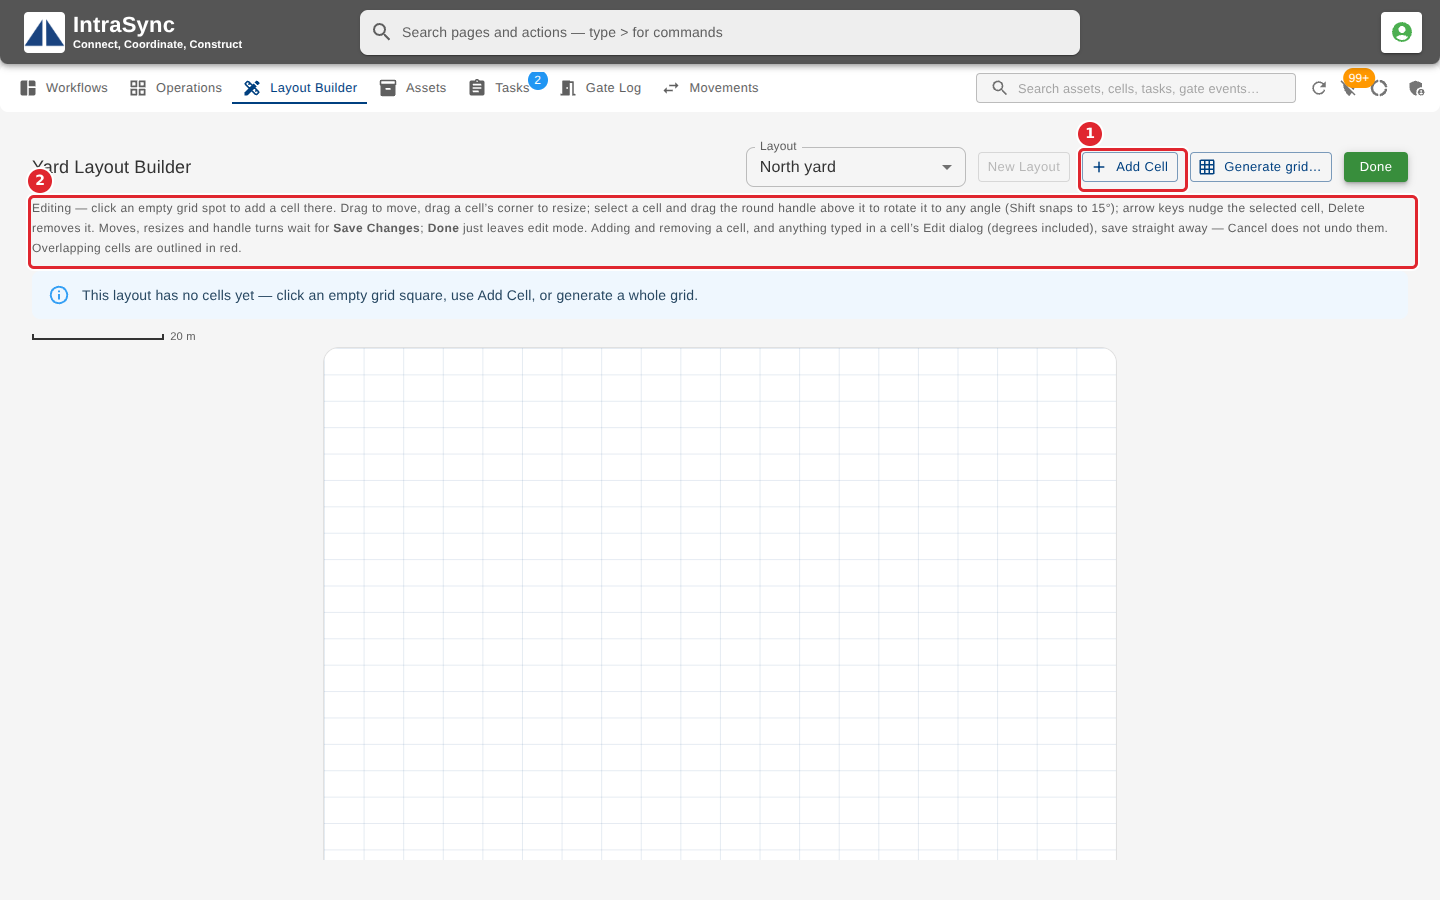
Select Add Cell. You can also click an empty spot on the grid.
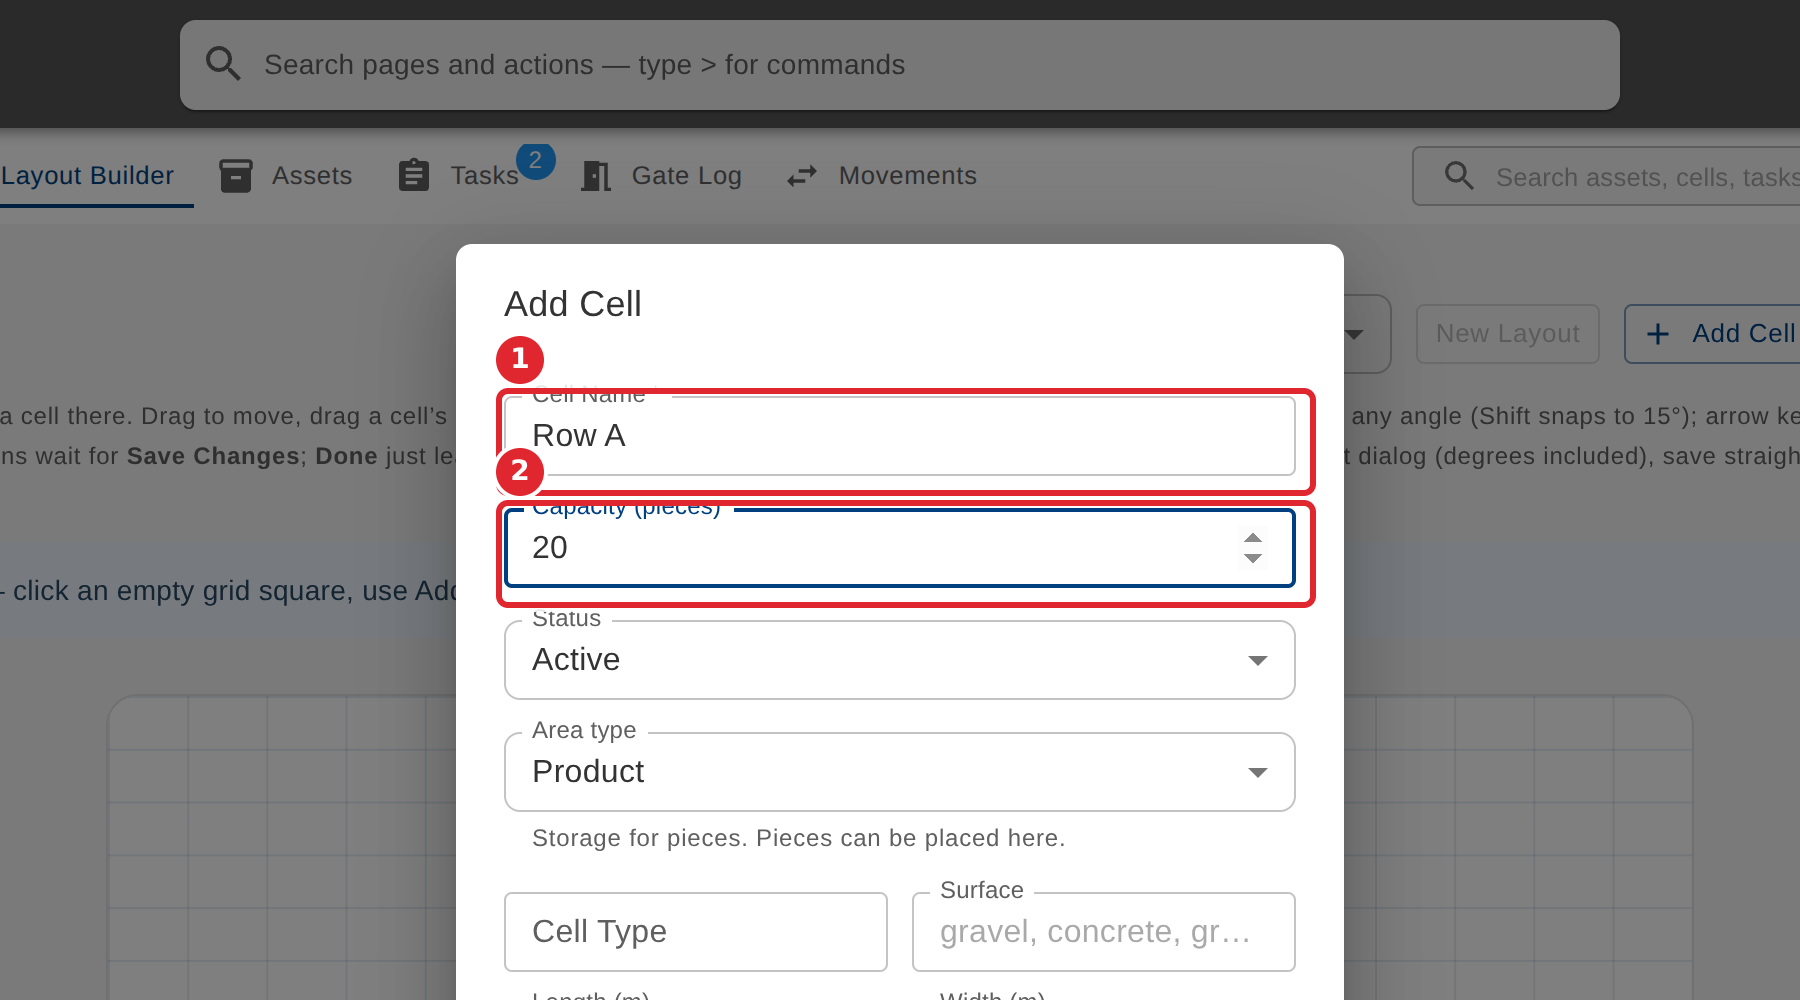
Enter the Cell Name and its Capacity in pieces. Leave Capacity blank for no limit.
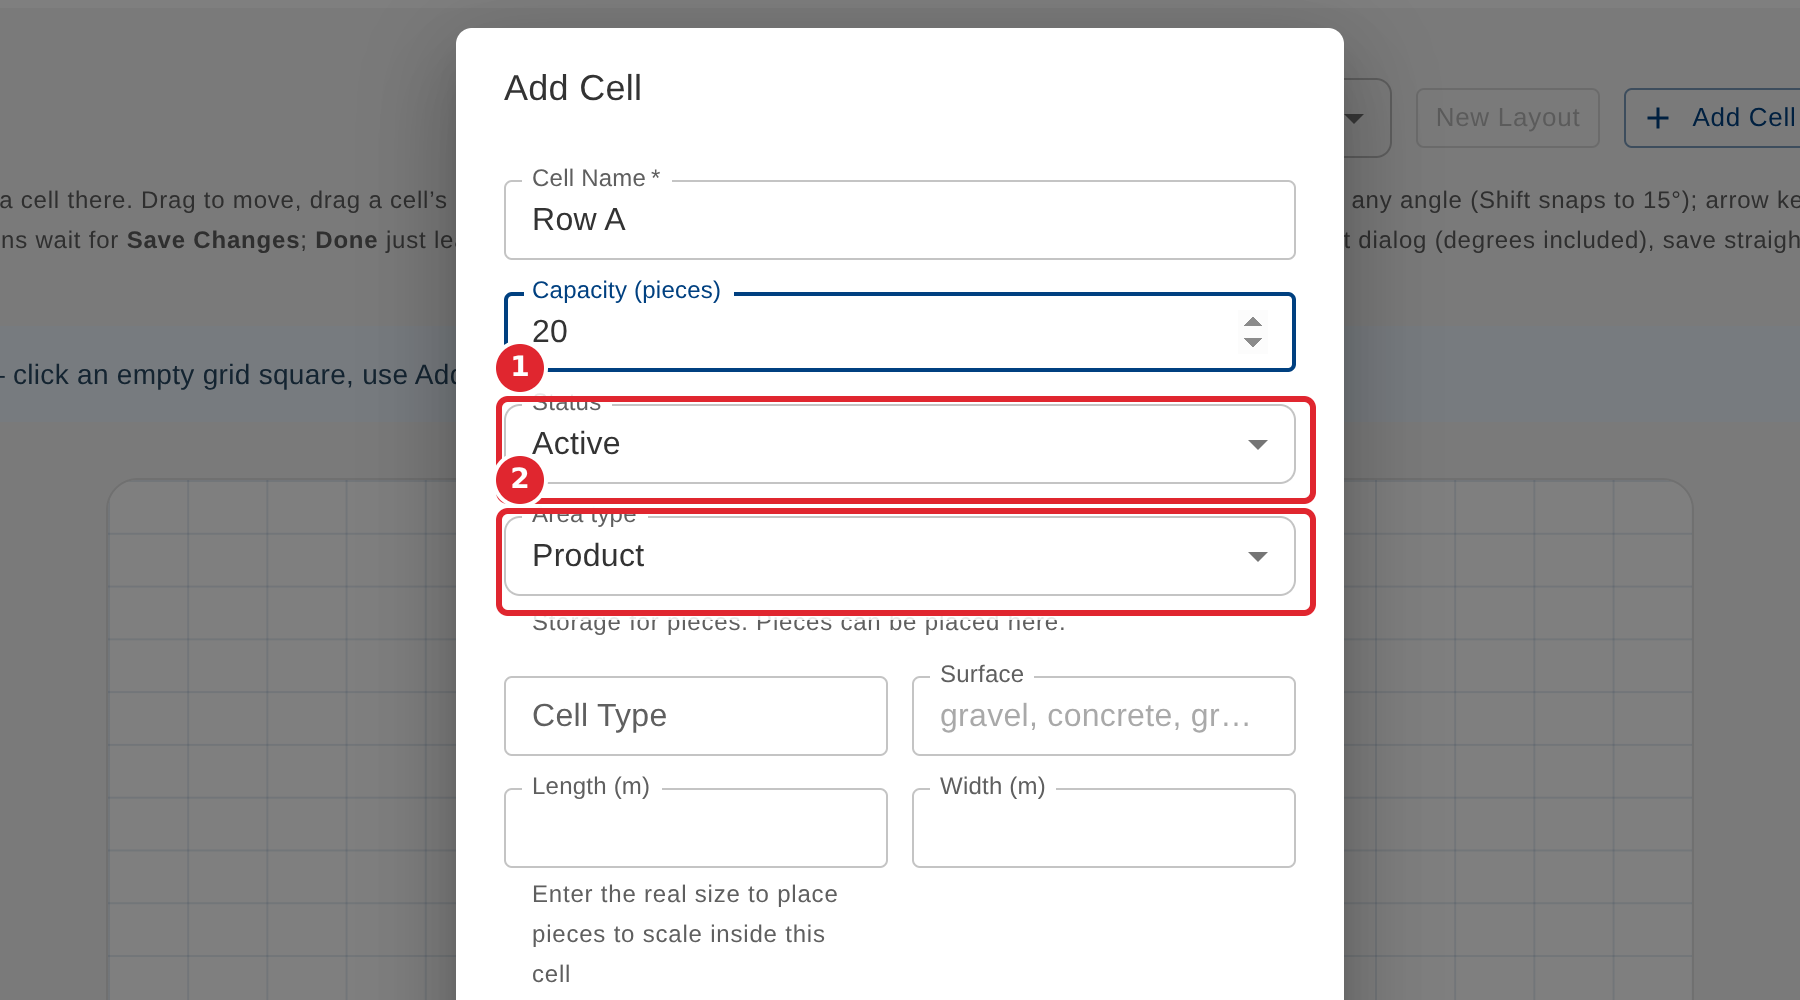
Choose the Status and the Area type. Pieces can only be placed in a Product area; roads, forms and equipment areas are drawn for reference.
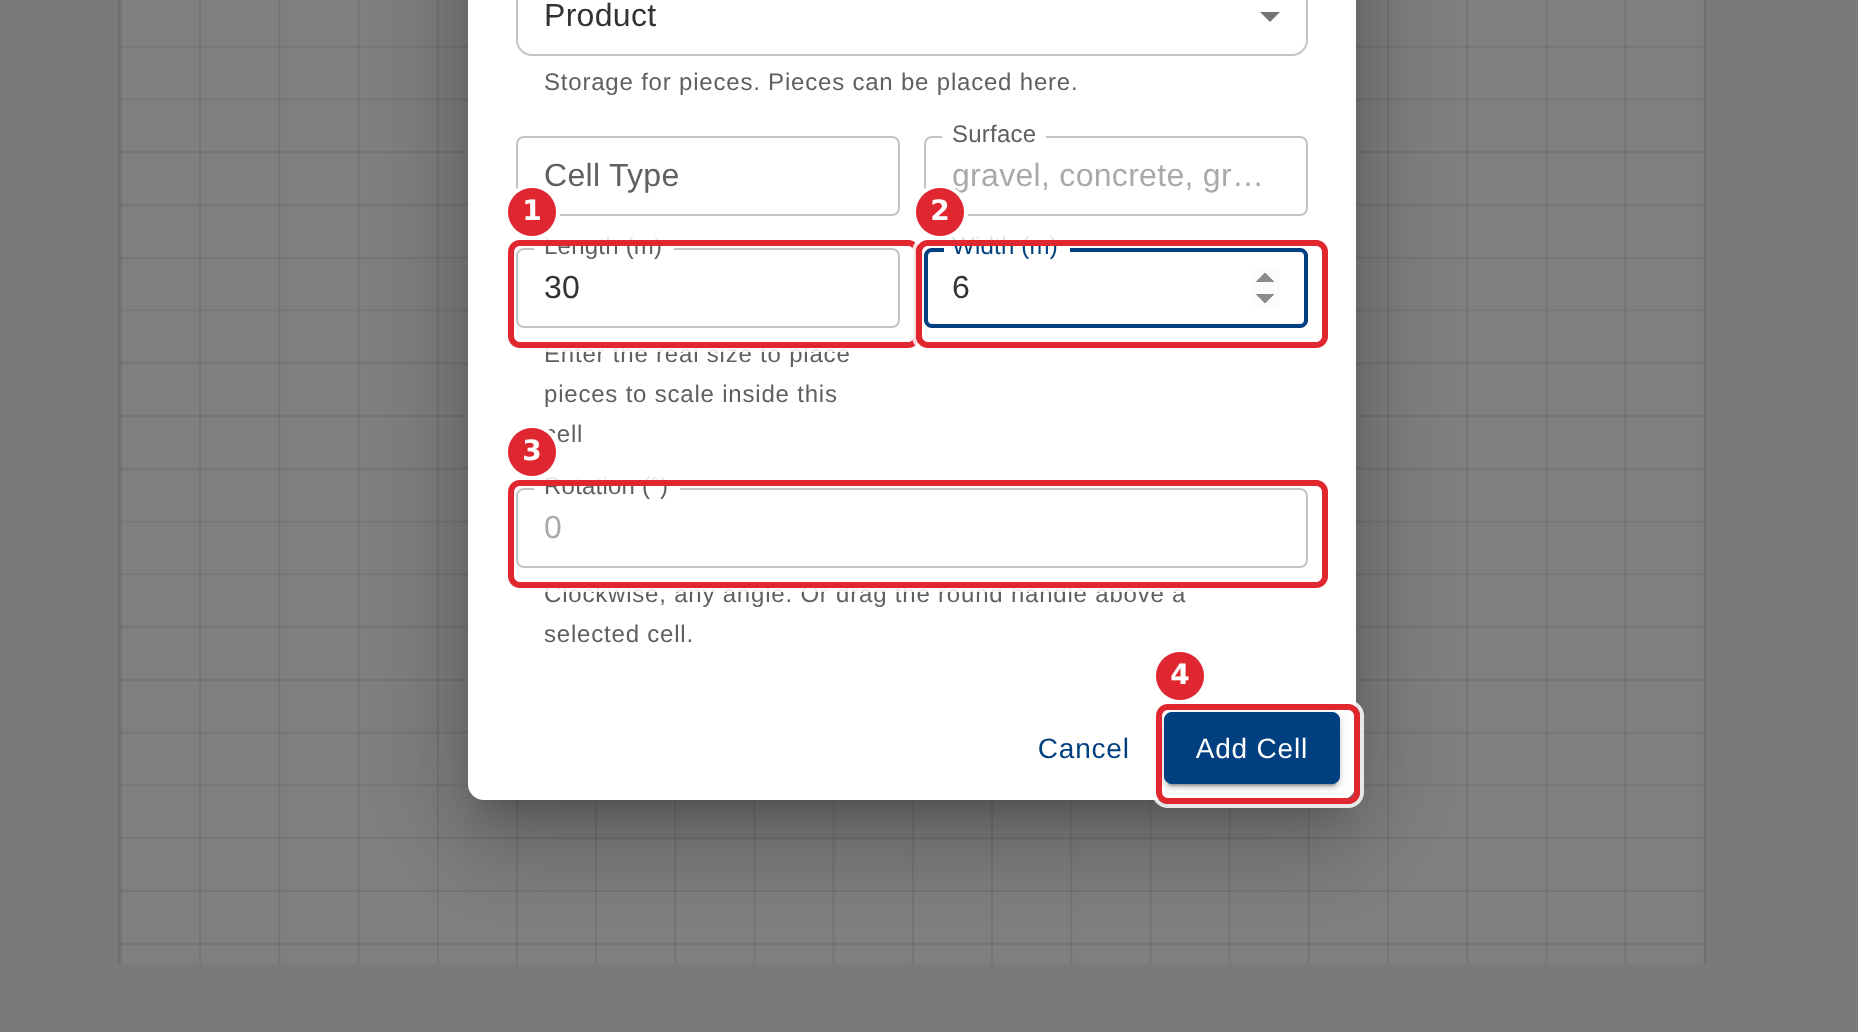
Enter the cell's real Length and Width, and its Rotation if it is not square to the yard. Then select Add Cell.
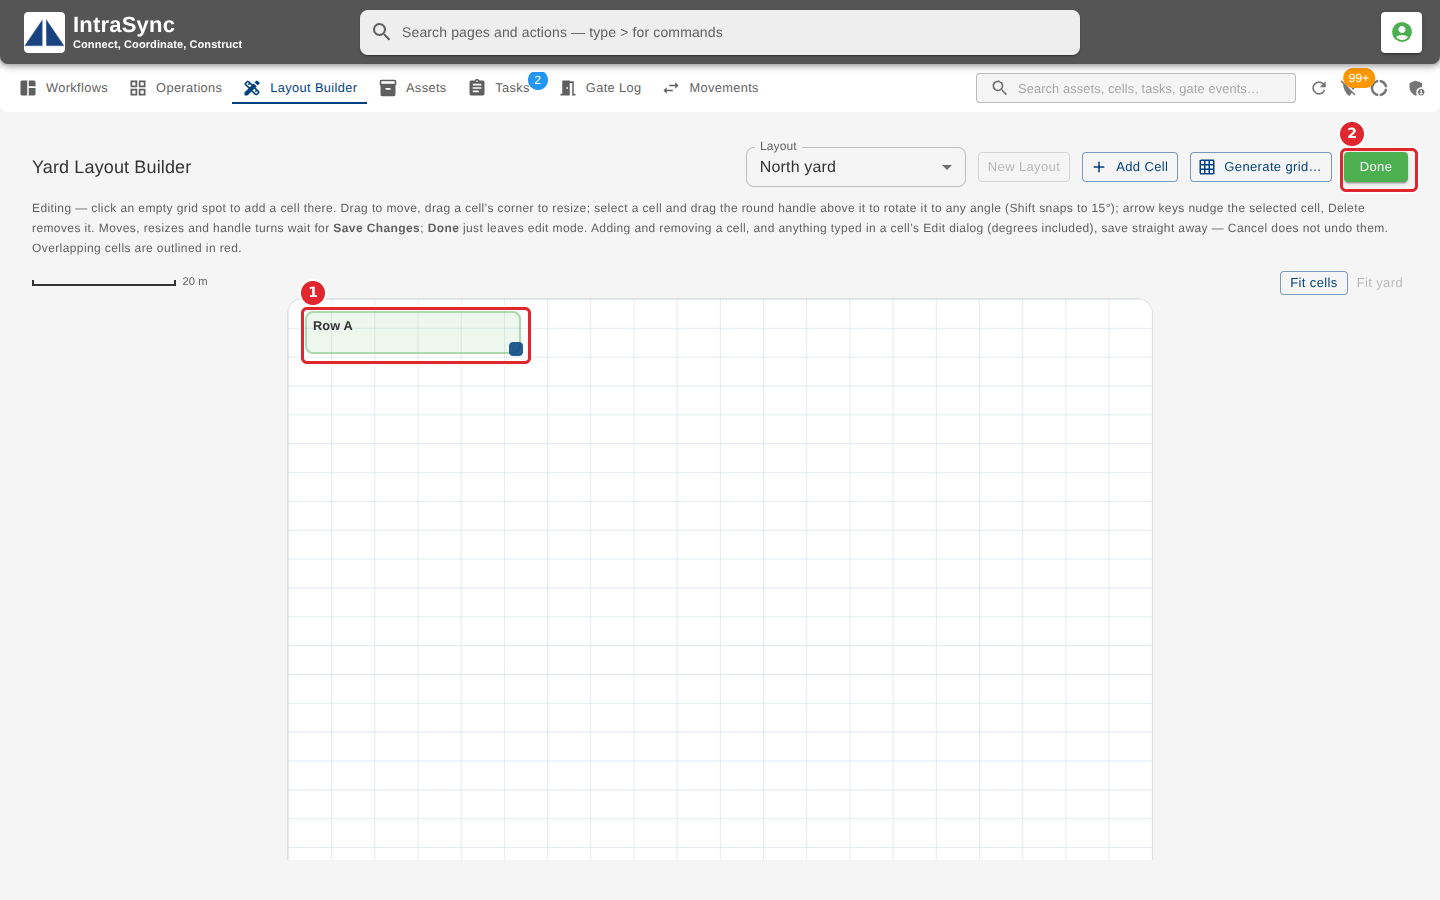
The cell is drawn on the grid at its real size. Drag it to where it sits in the yard, then select Save Changes, or Done when nothing is waiting to be saved.
Tips
- Cell Name is required: Add Cell stays unavailable until it is filled in.
- Length and Width are in metres, or in feet where your company uses imperial units. A size under half a metre is flagged, because pieces cannot be placed to scale in a cell that small. Check you have not typed millimetres.
- A cell that holds pieces cannot be made a road, forms or equipment area until the pieces are moved out.
- Adding or removing a cell, and anything typed in a cell's Edit window, is saved straight away. Moves, resizes and turns made by dragging wait for Save Changes, and Cancel discards them.
- Cells that overlap are outlined in red.